How to Make a QUILT AS YOU GO – MUG RUG
MATERIALS INCLUDED IN YOUR MUG RUG KIT:
you may purchase in my etsy shop: https://www.etsy.com/shop/QuiltSewStitch
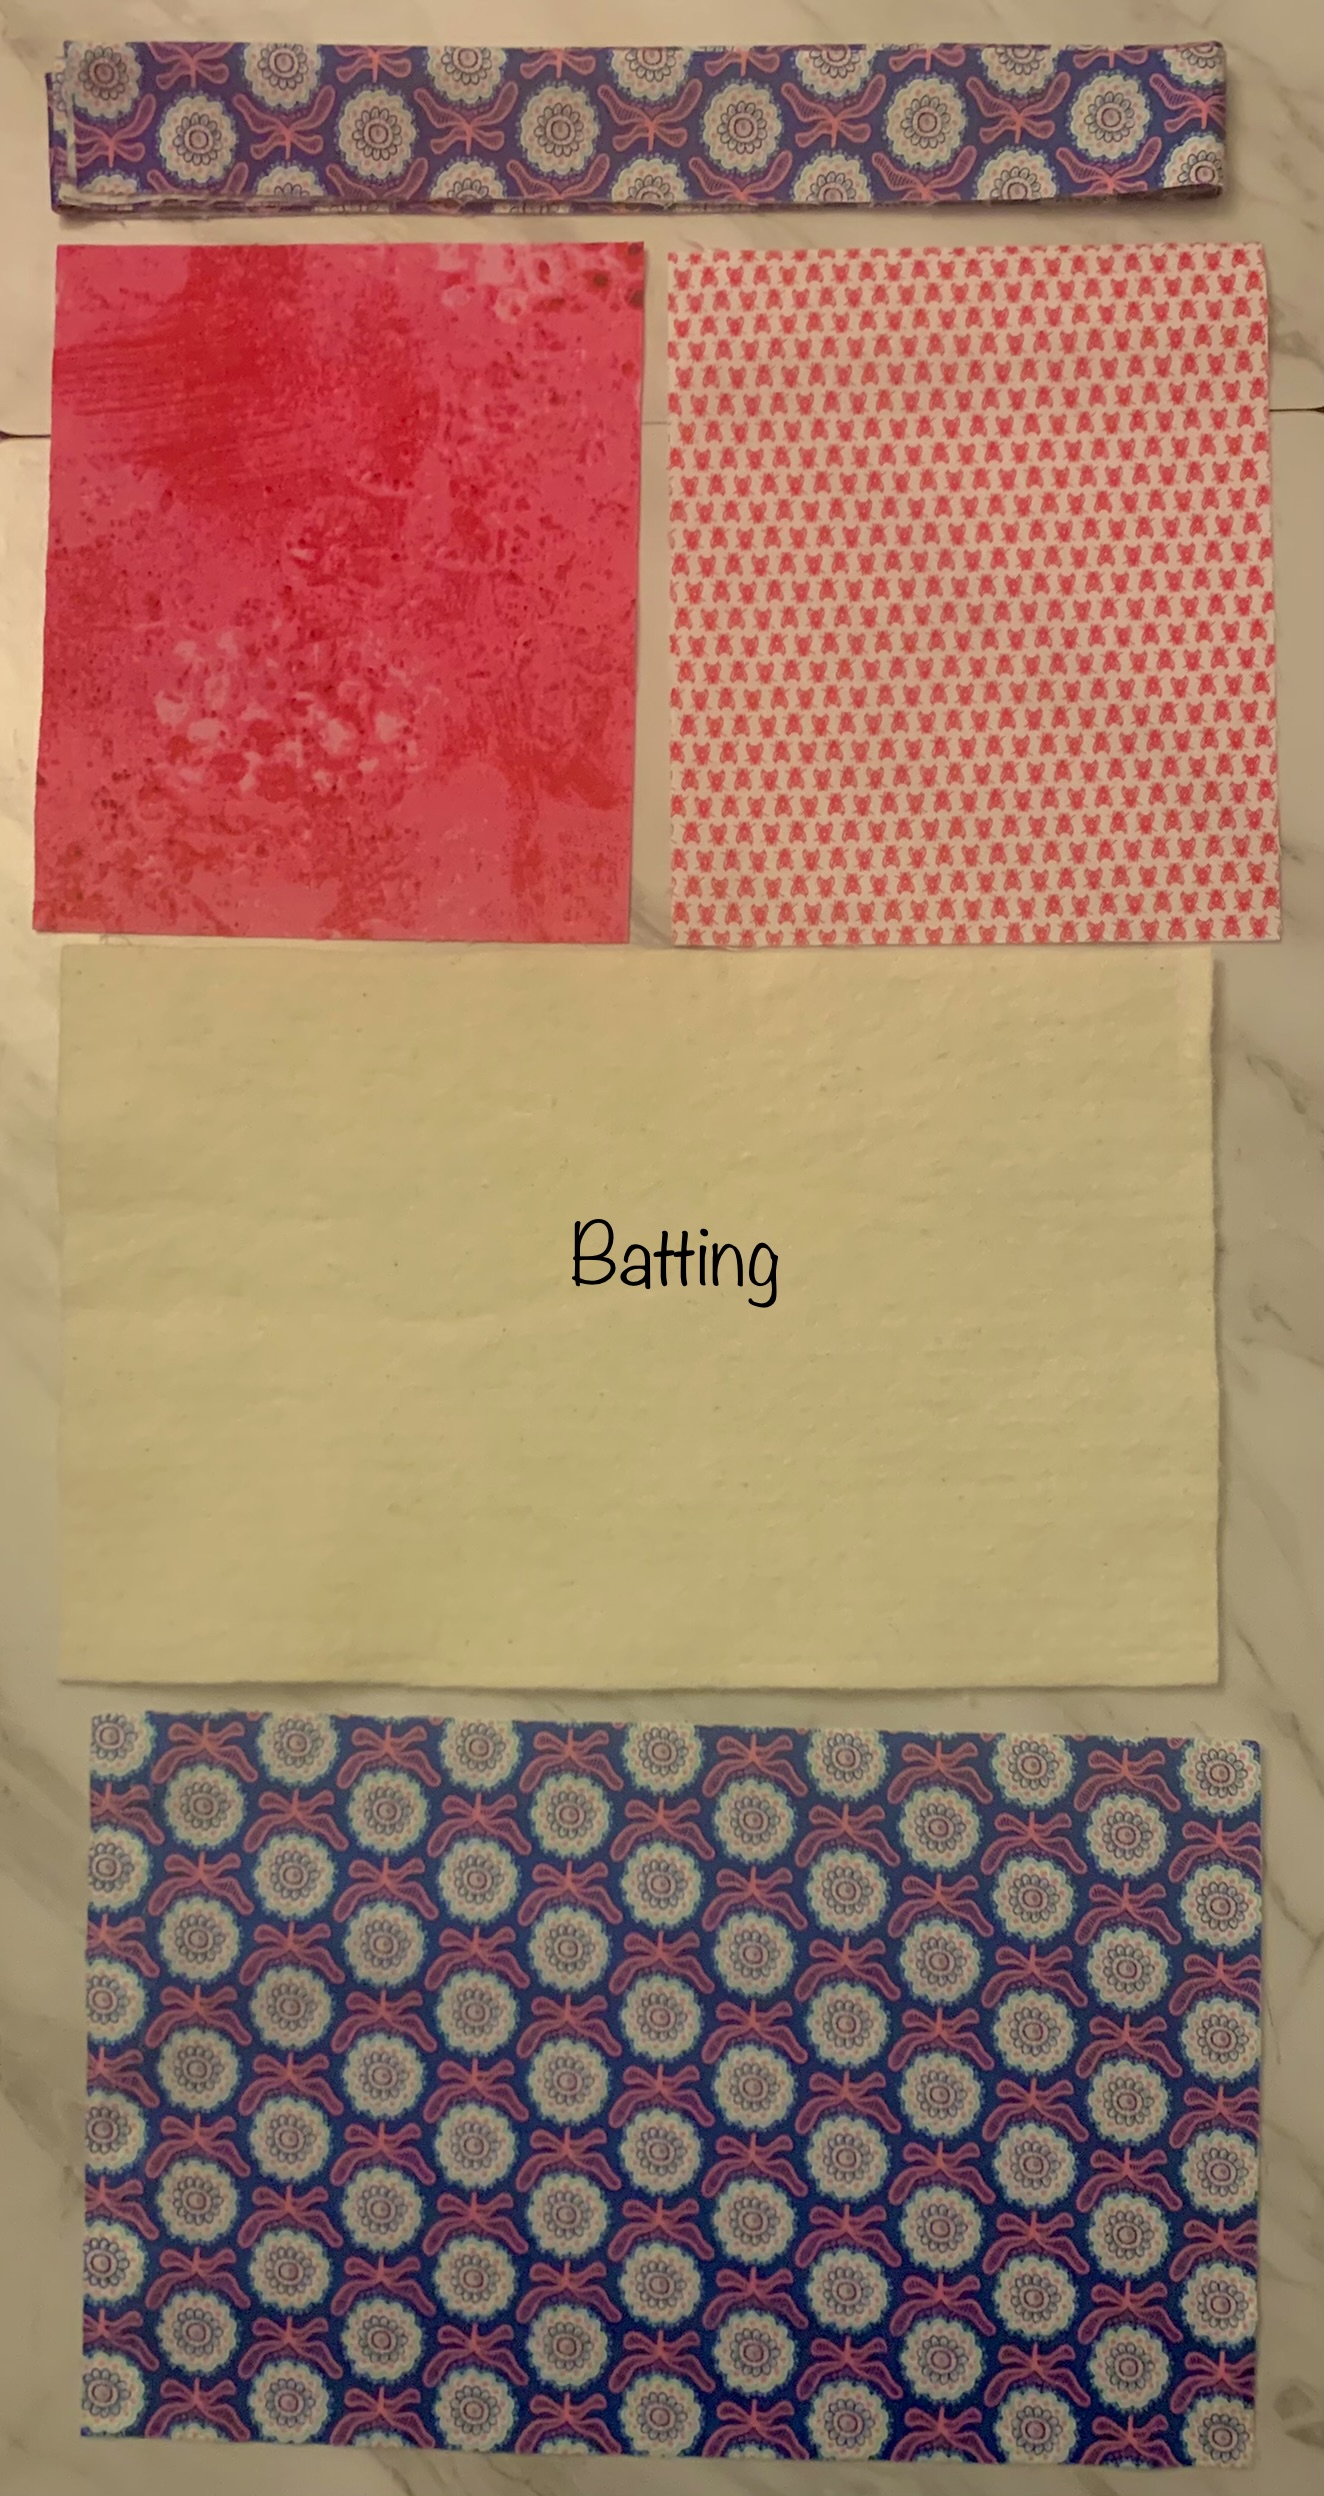
Binding Fabric – 2 ½ “ x 40” (Blue, Pink & White Flowers)
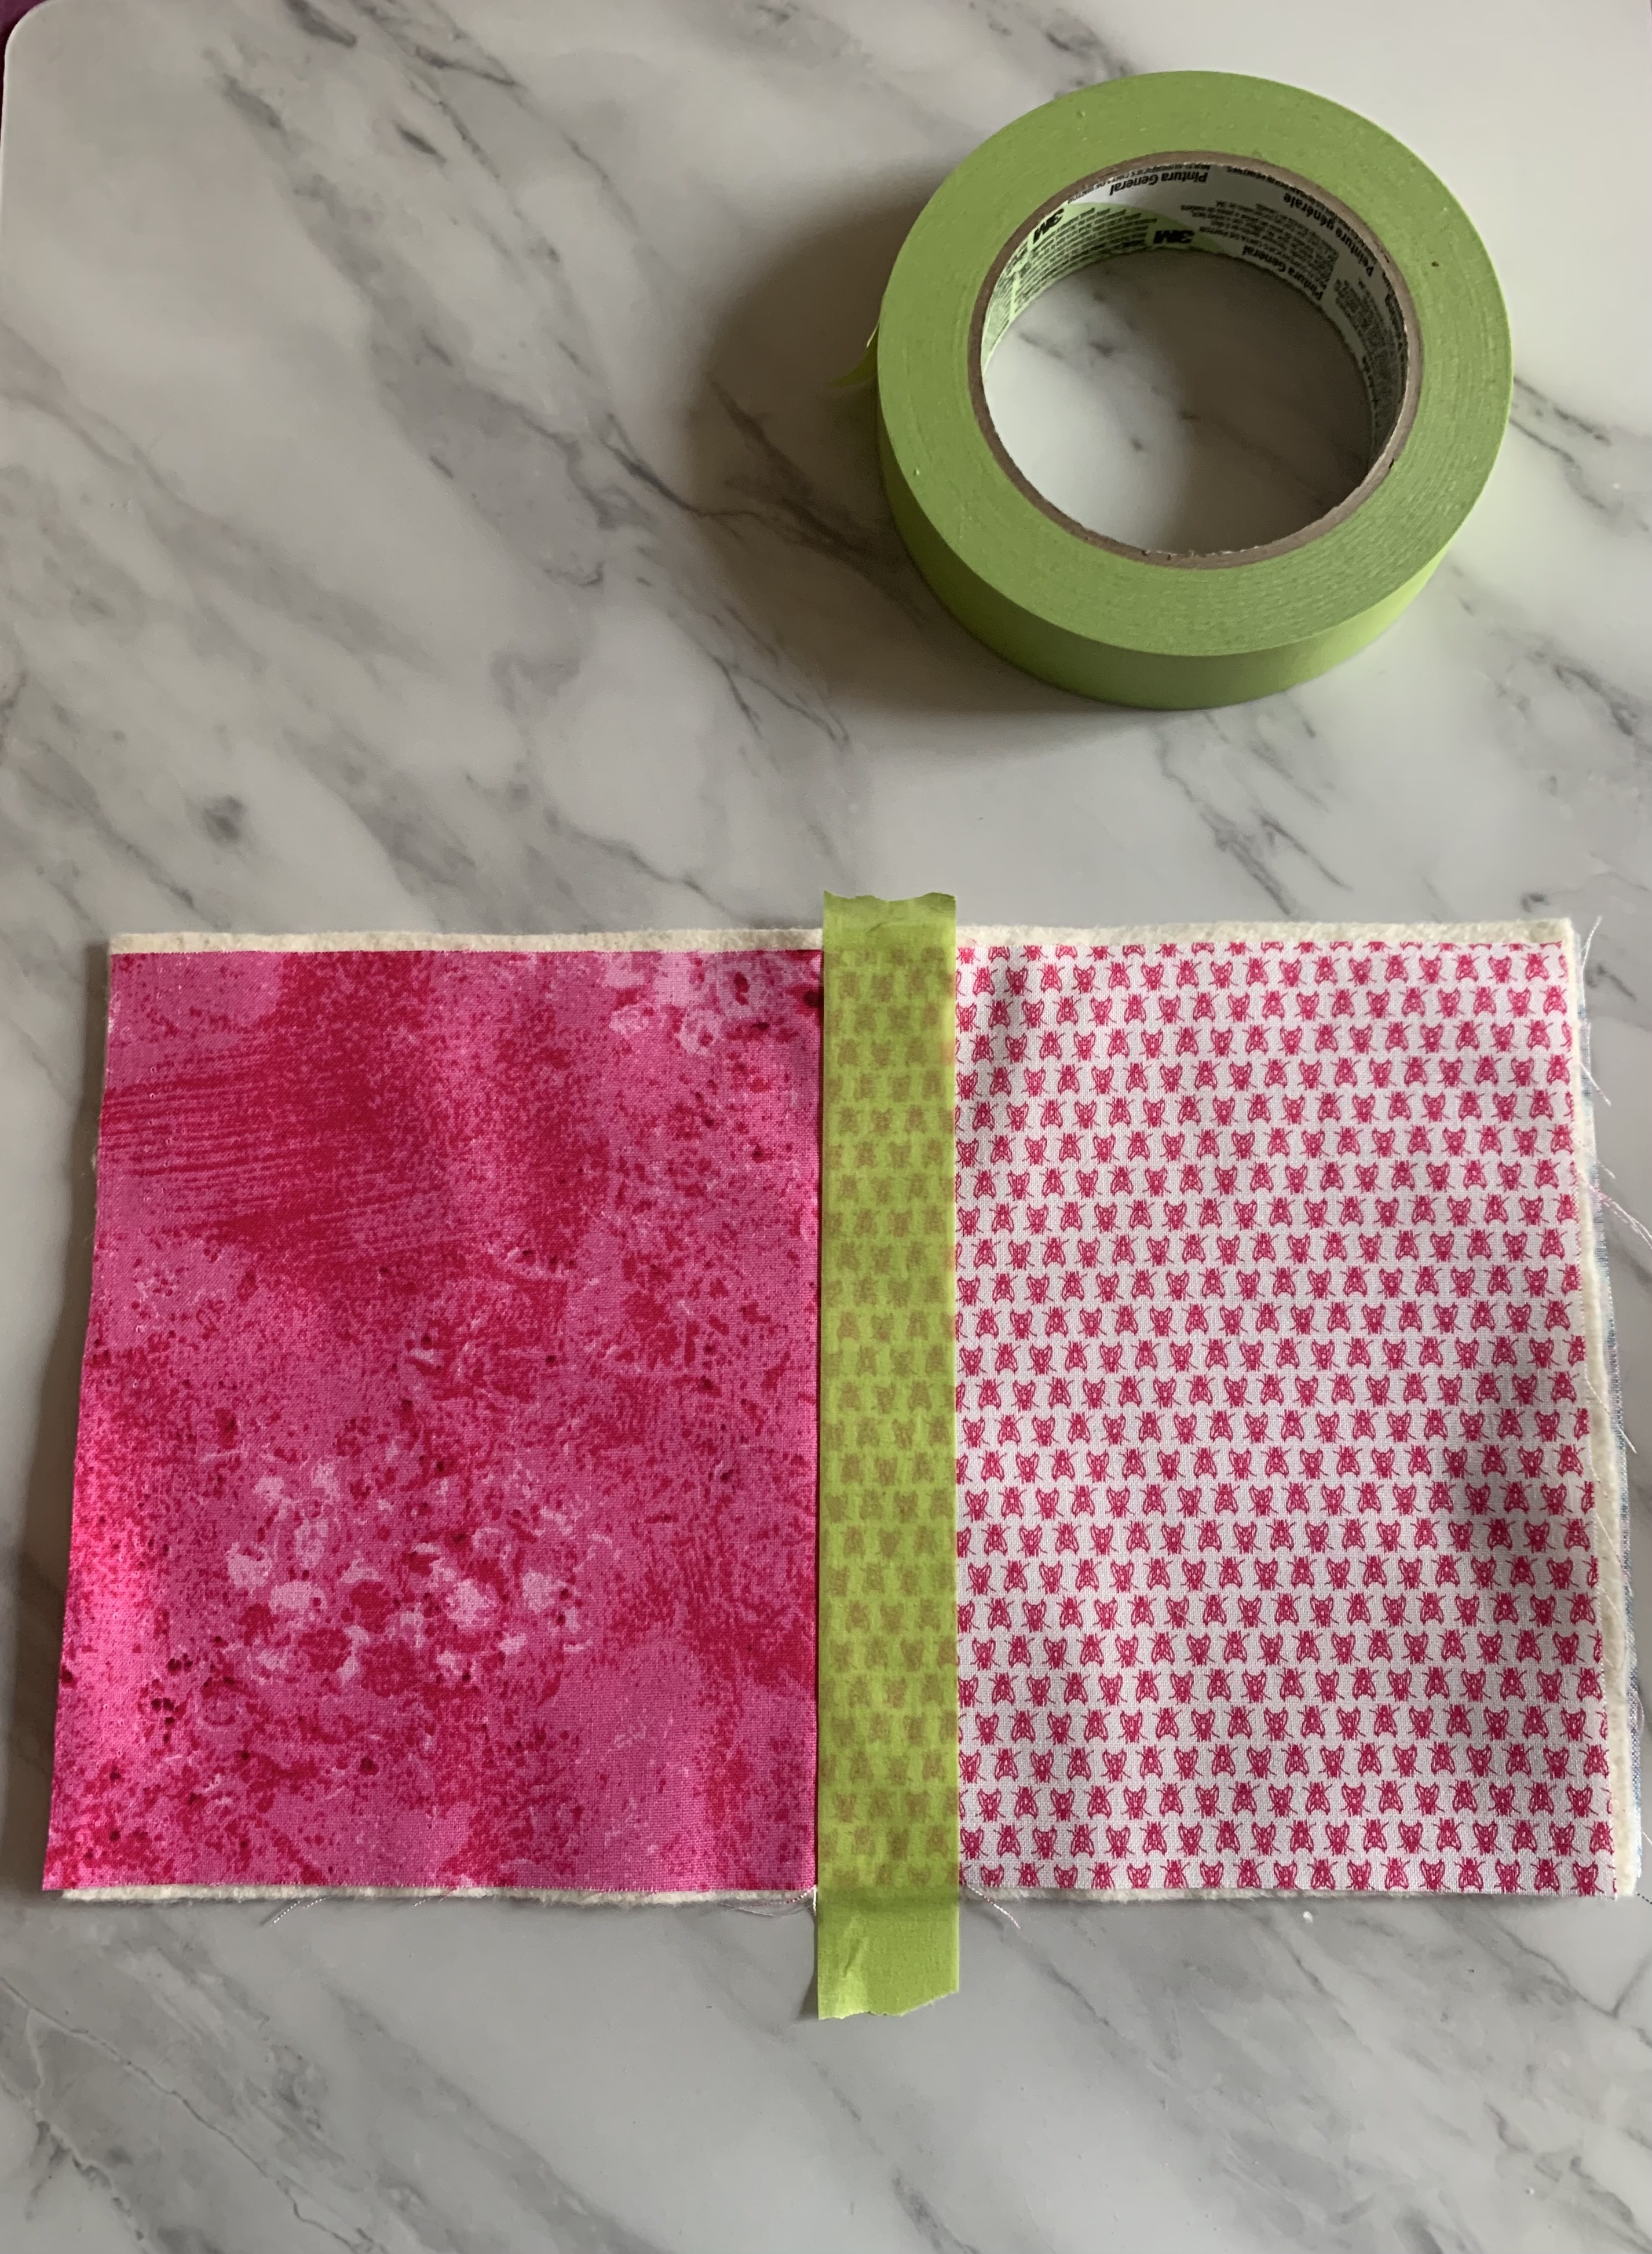
2 Pieces of Fabric -6 ½ “ x 5 ½ “ (1 = Pink / 1= Pink & White Fly)
Quilt Batting – 10 ½ “ x 6 ½ “
Backing Fabric – 10 ½ “ x 6 ½ “
Pink Cotton Thread
OTHER SUPPLIES:
Basting Spray (or just light baste stitch)
Rotary Trimmer / Cutter or Sharp Sewing Scissors
Acrylic Ruler
Sewing Machine – OR Hand Quilt
INSTRUCTIONS:

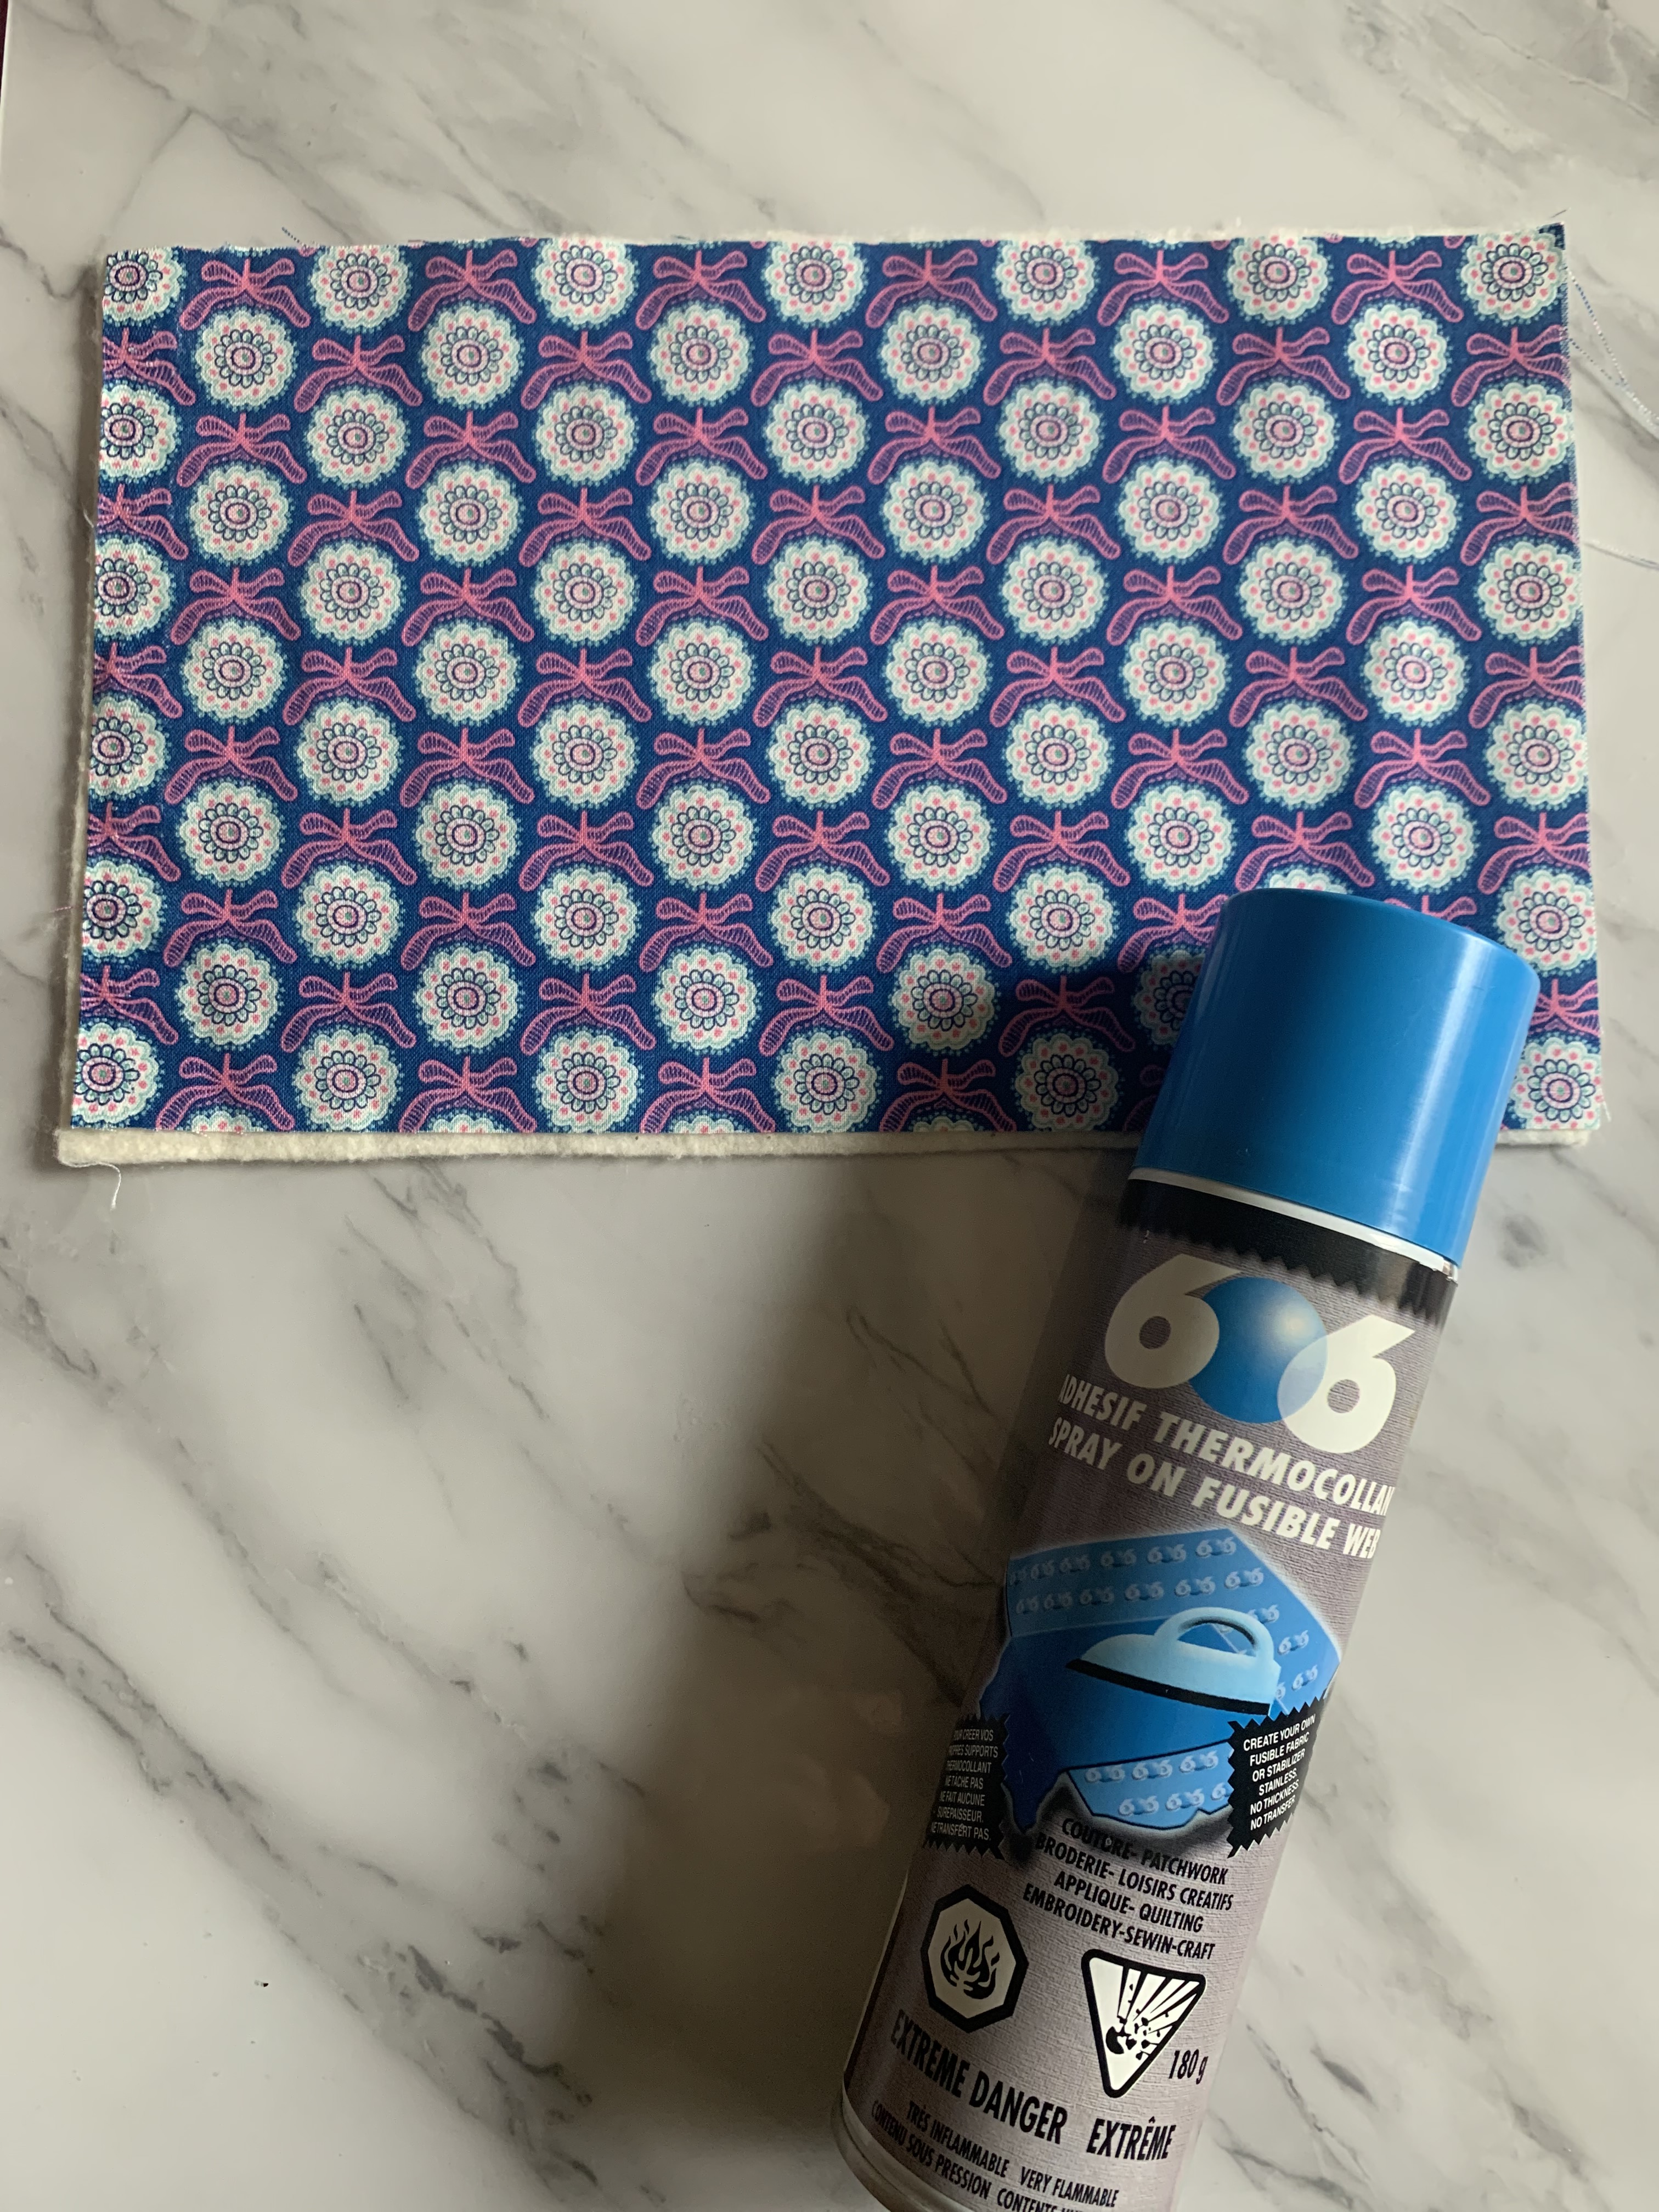
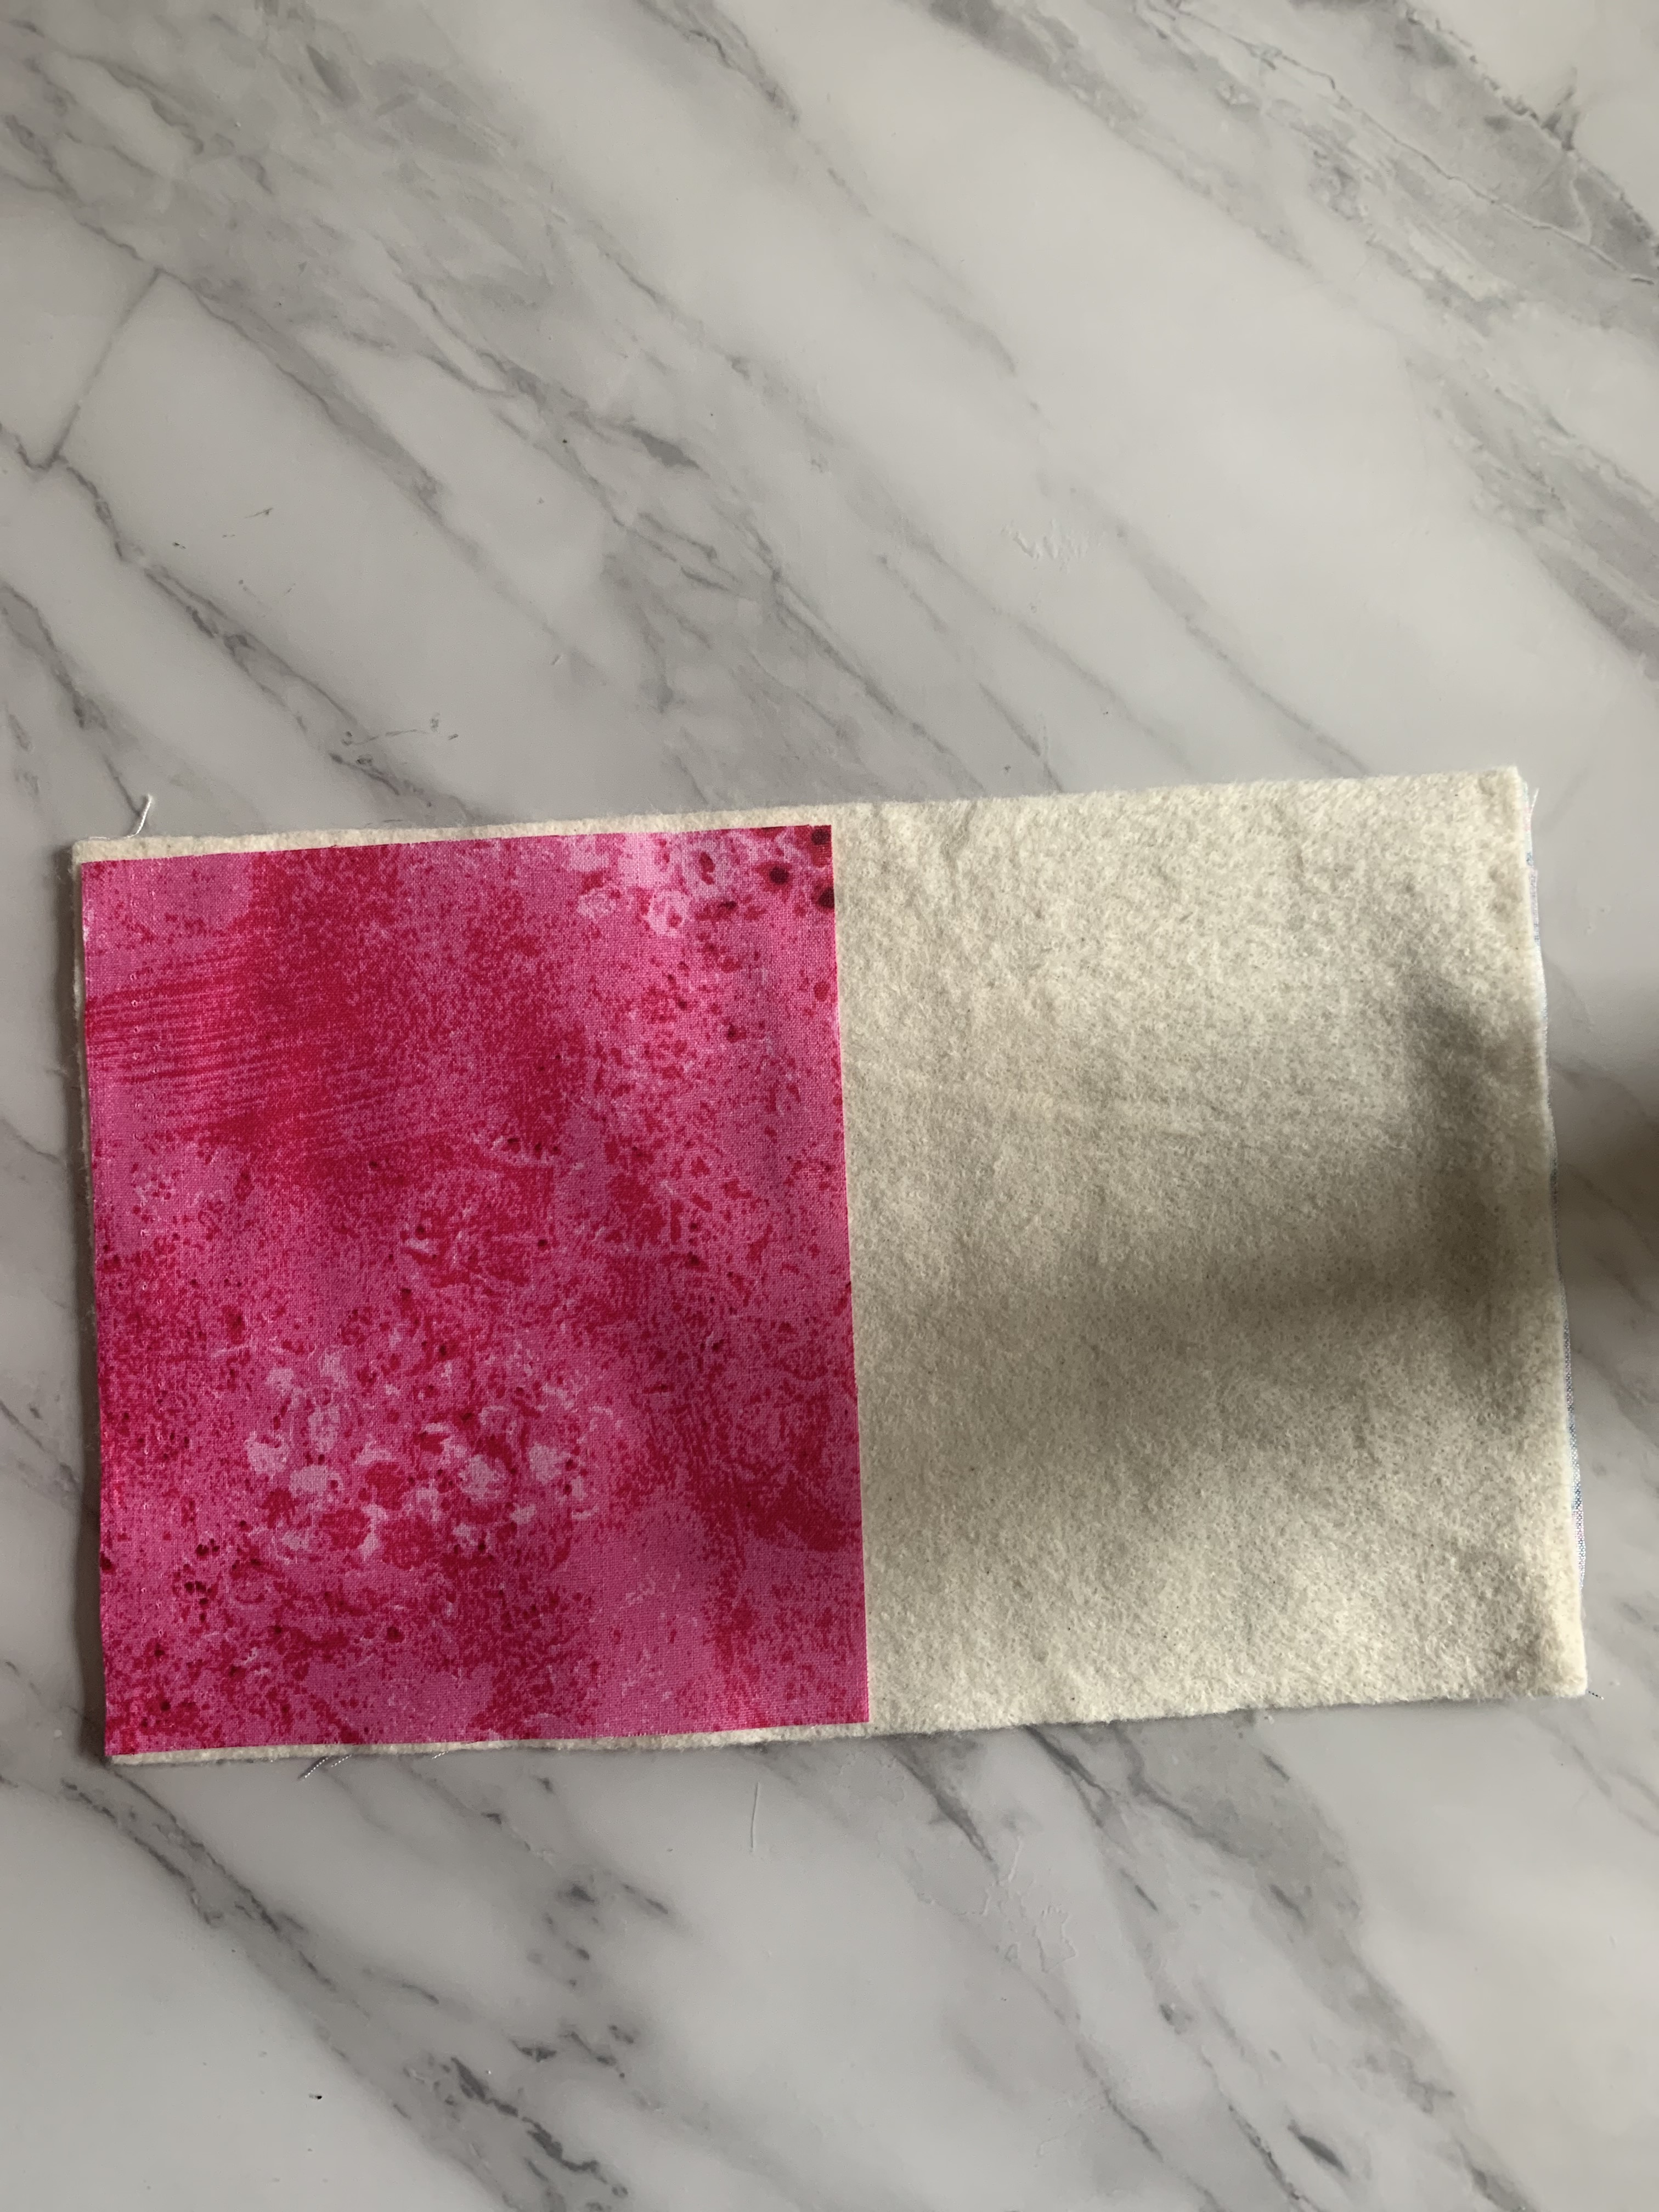
Lay batting down flat. Light spray with Basting Spray – Just a little in the center being careful not to over-spray. You just want your fabric to stay in place while quilting. Turn the fabric attached the batting over and place the Pink Square on the left side of the batting
Now place the white and pink fabric on top of the pink fabric right sides together.
Sew a ¼ inch seam
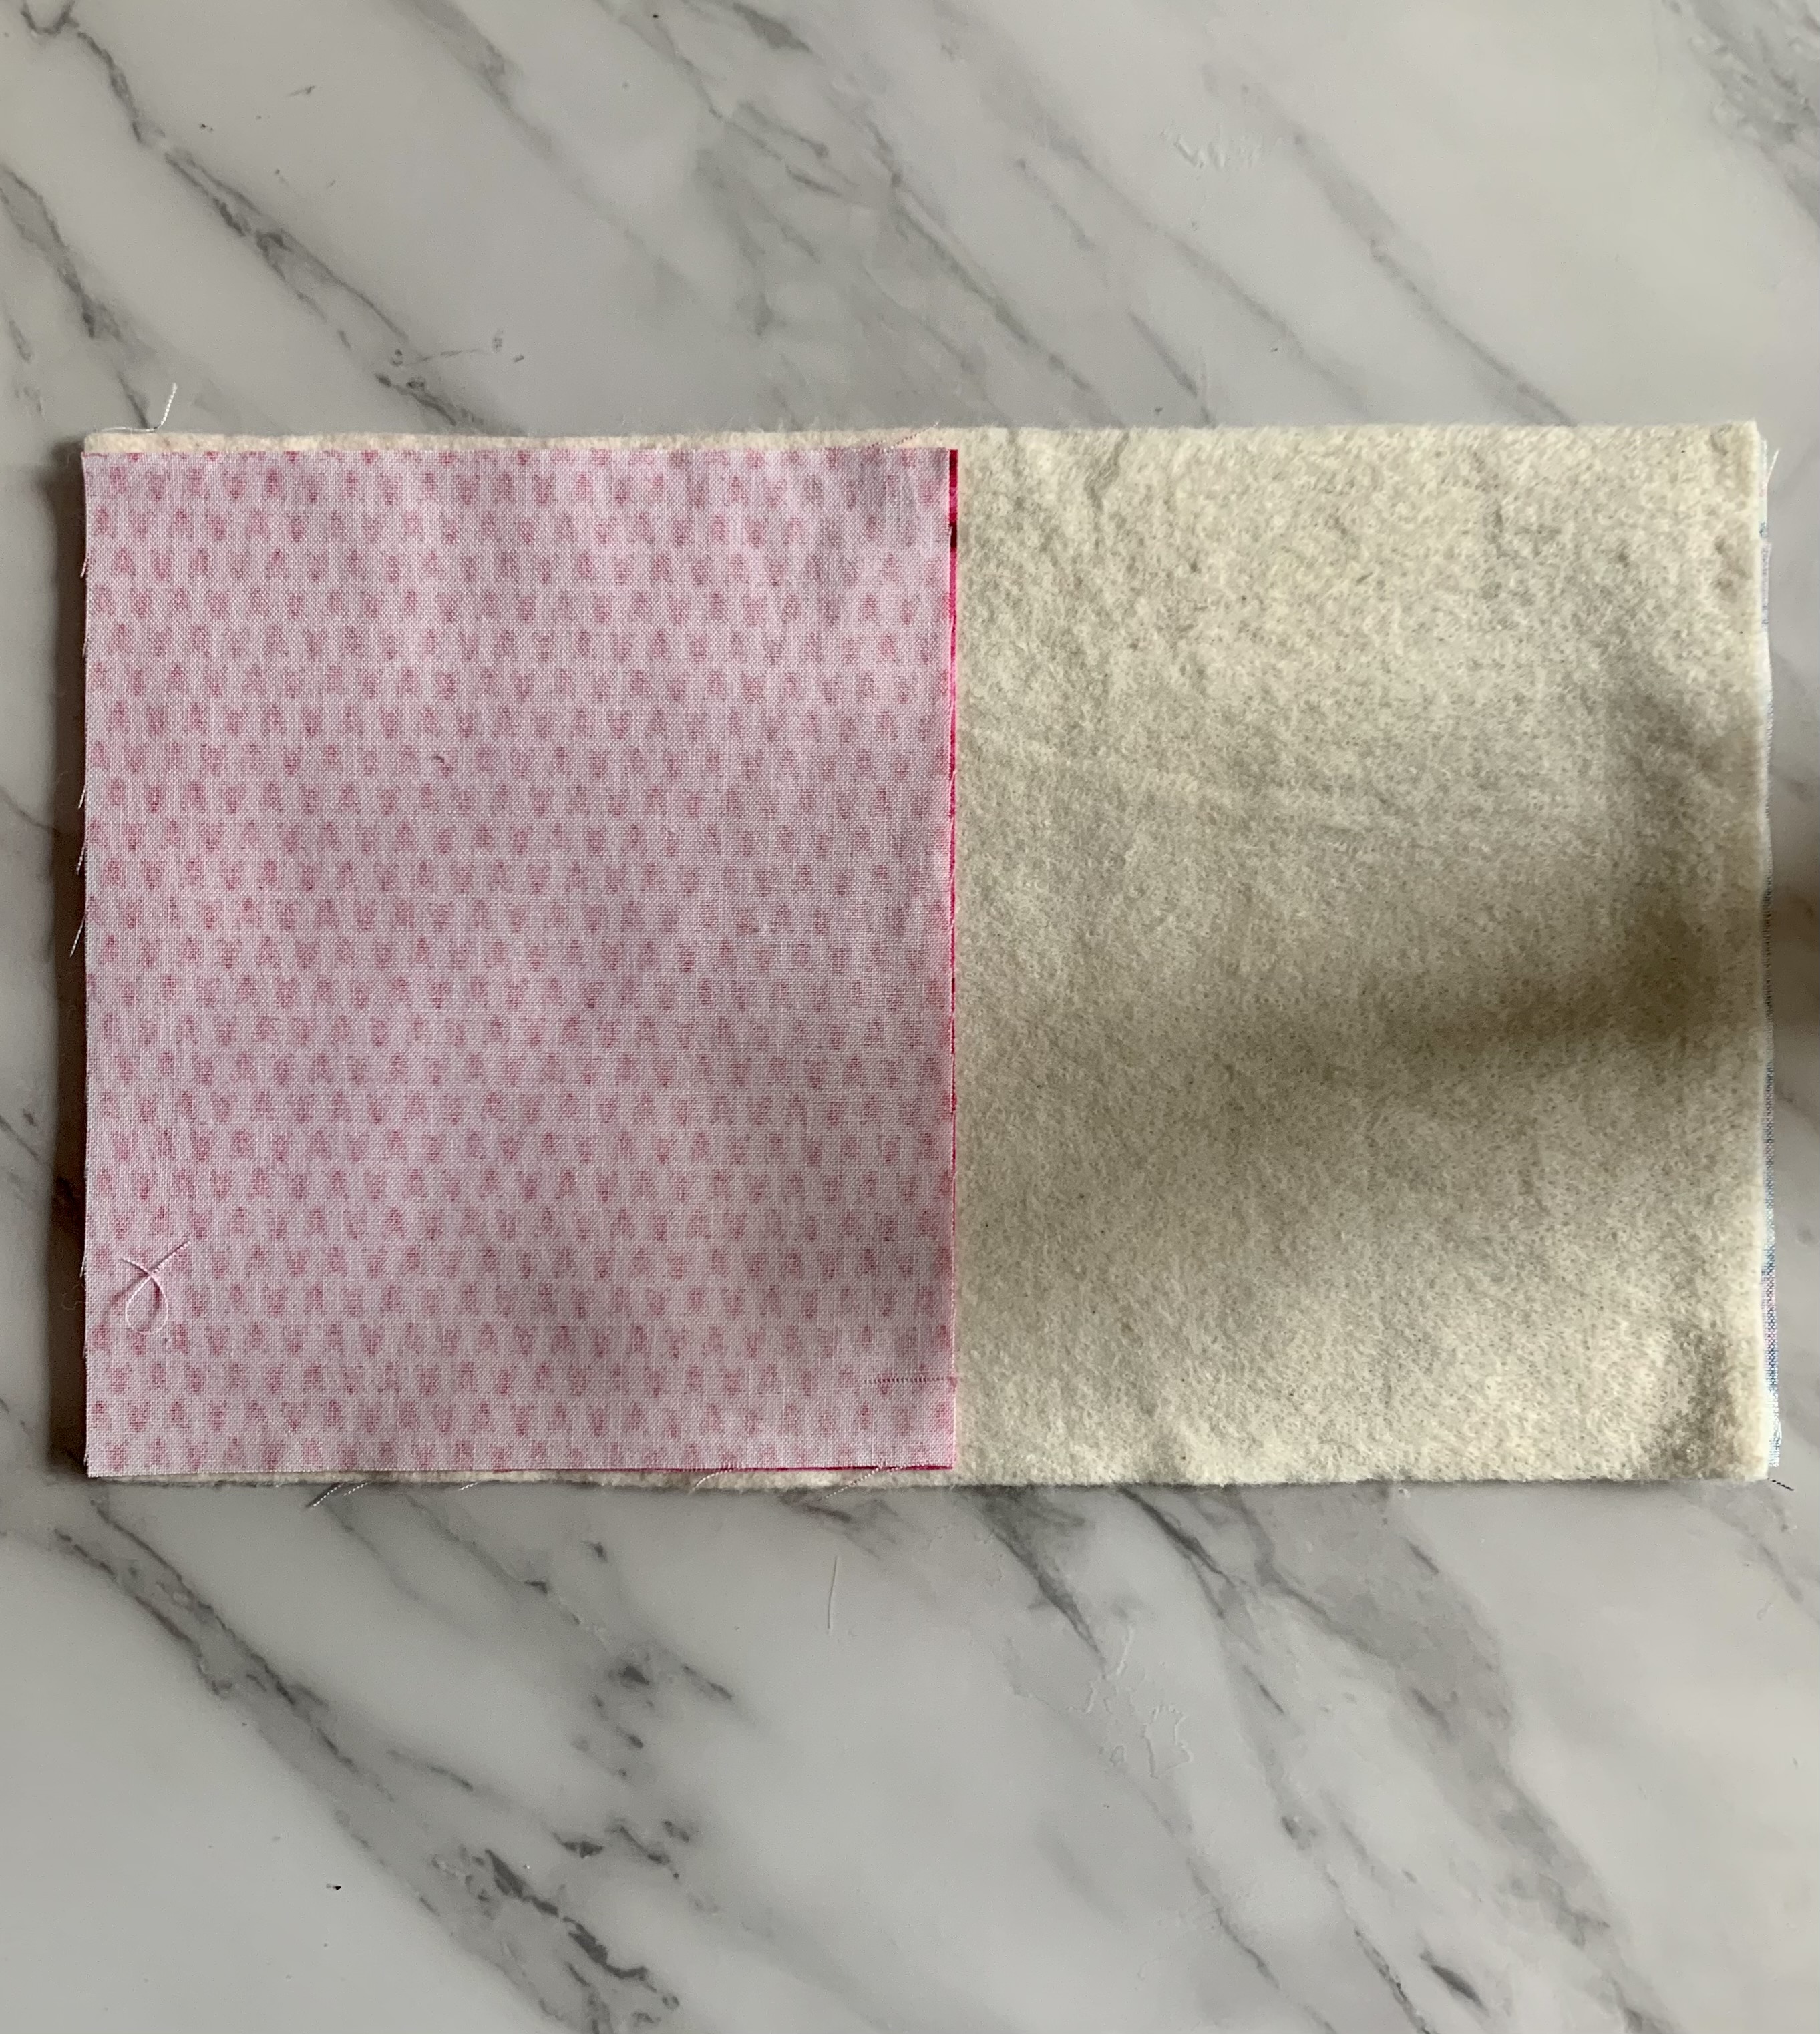
then finger press and fold over.
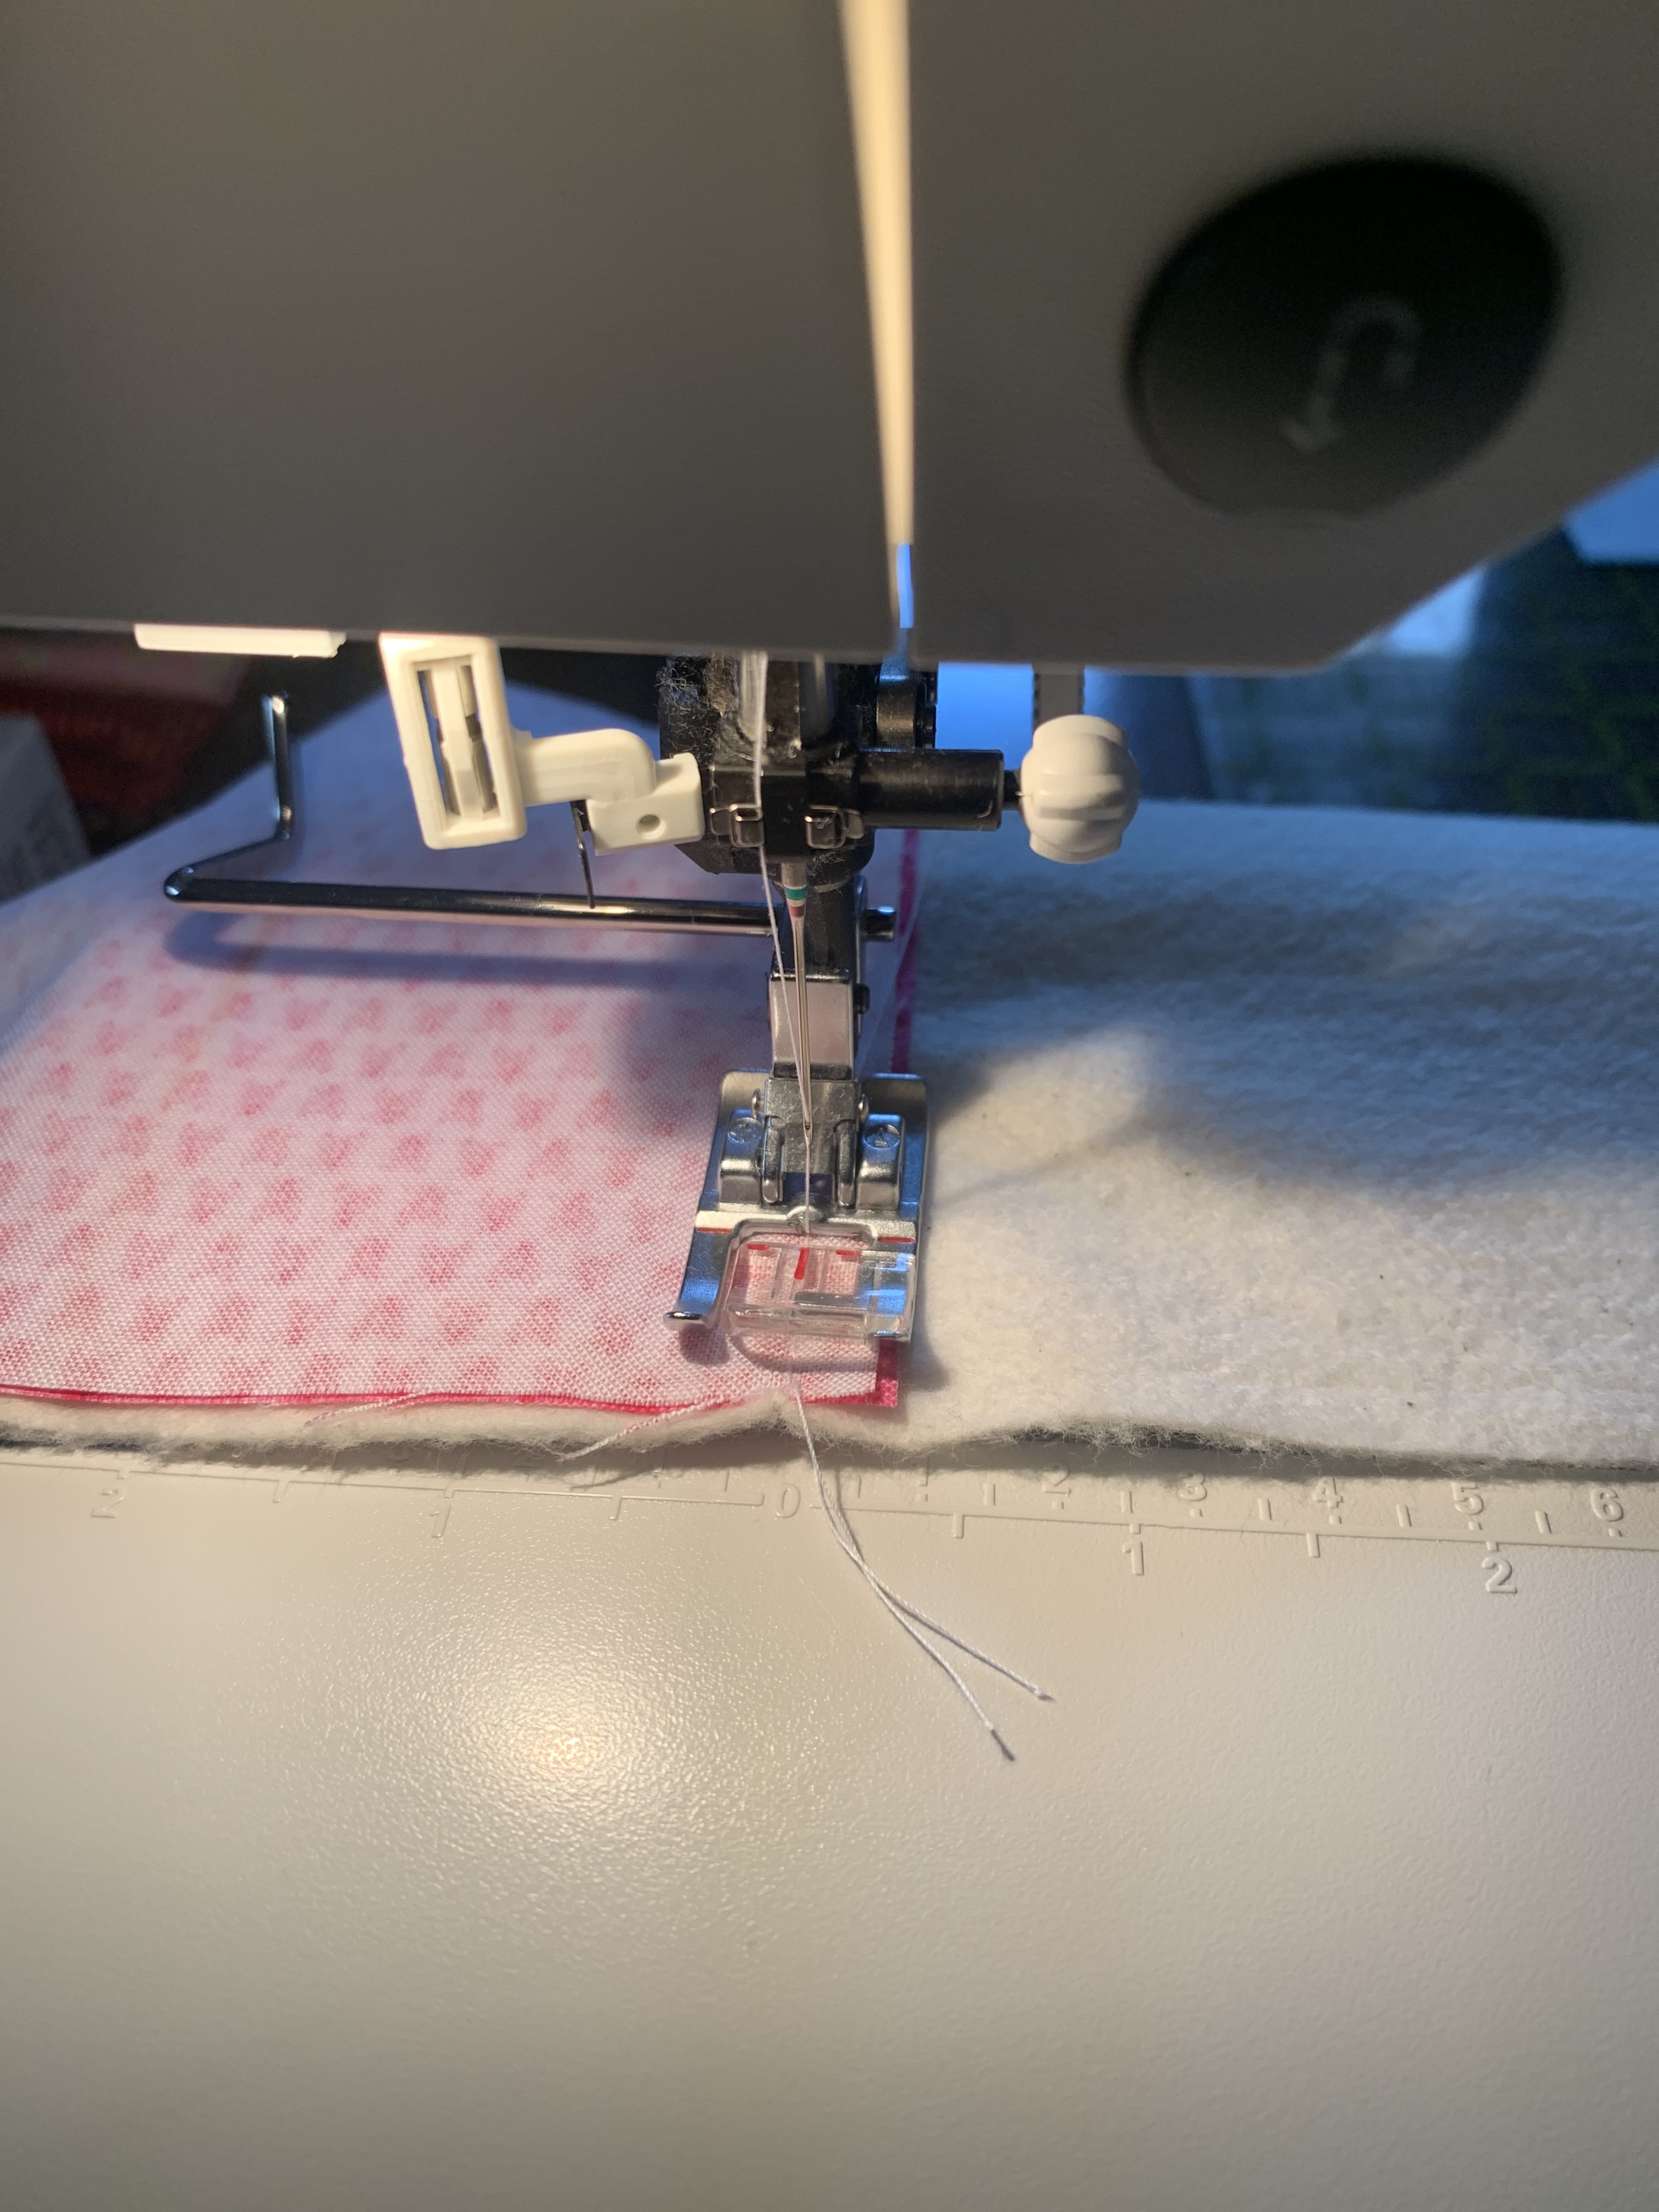
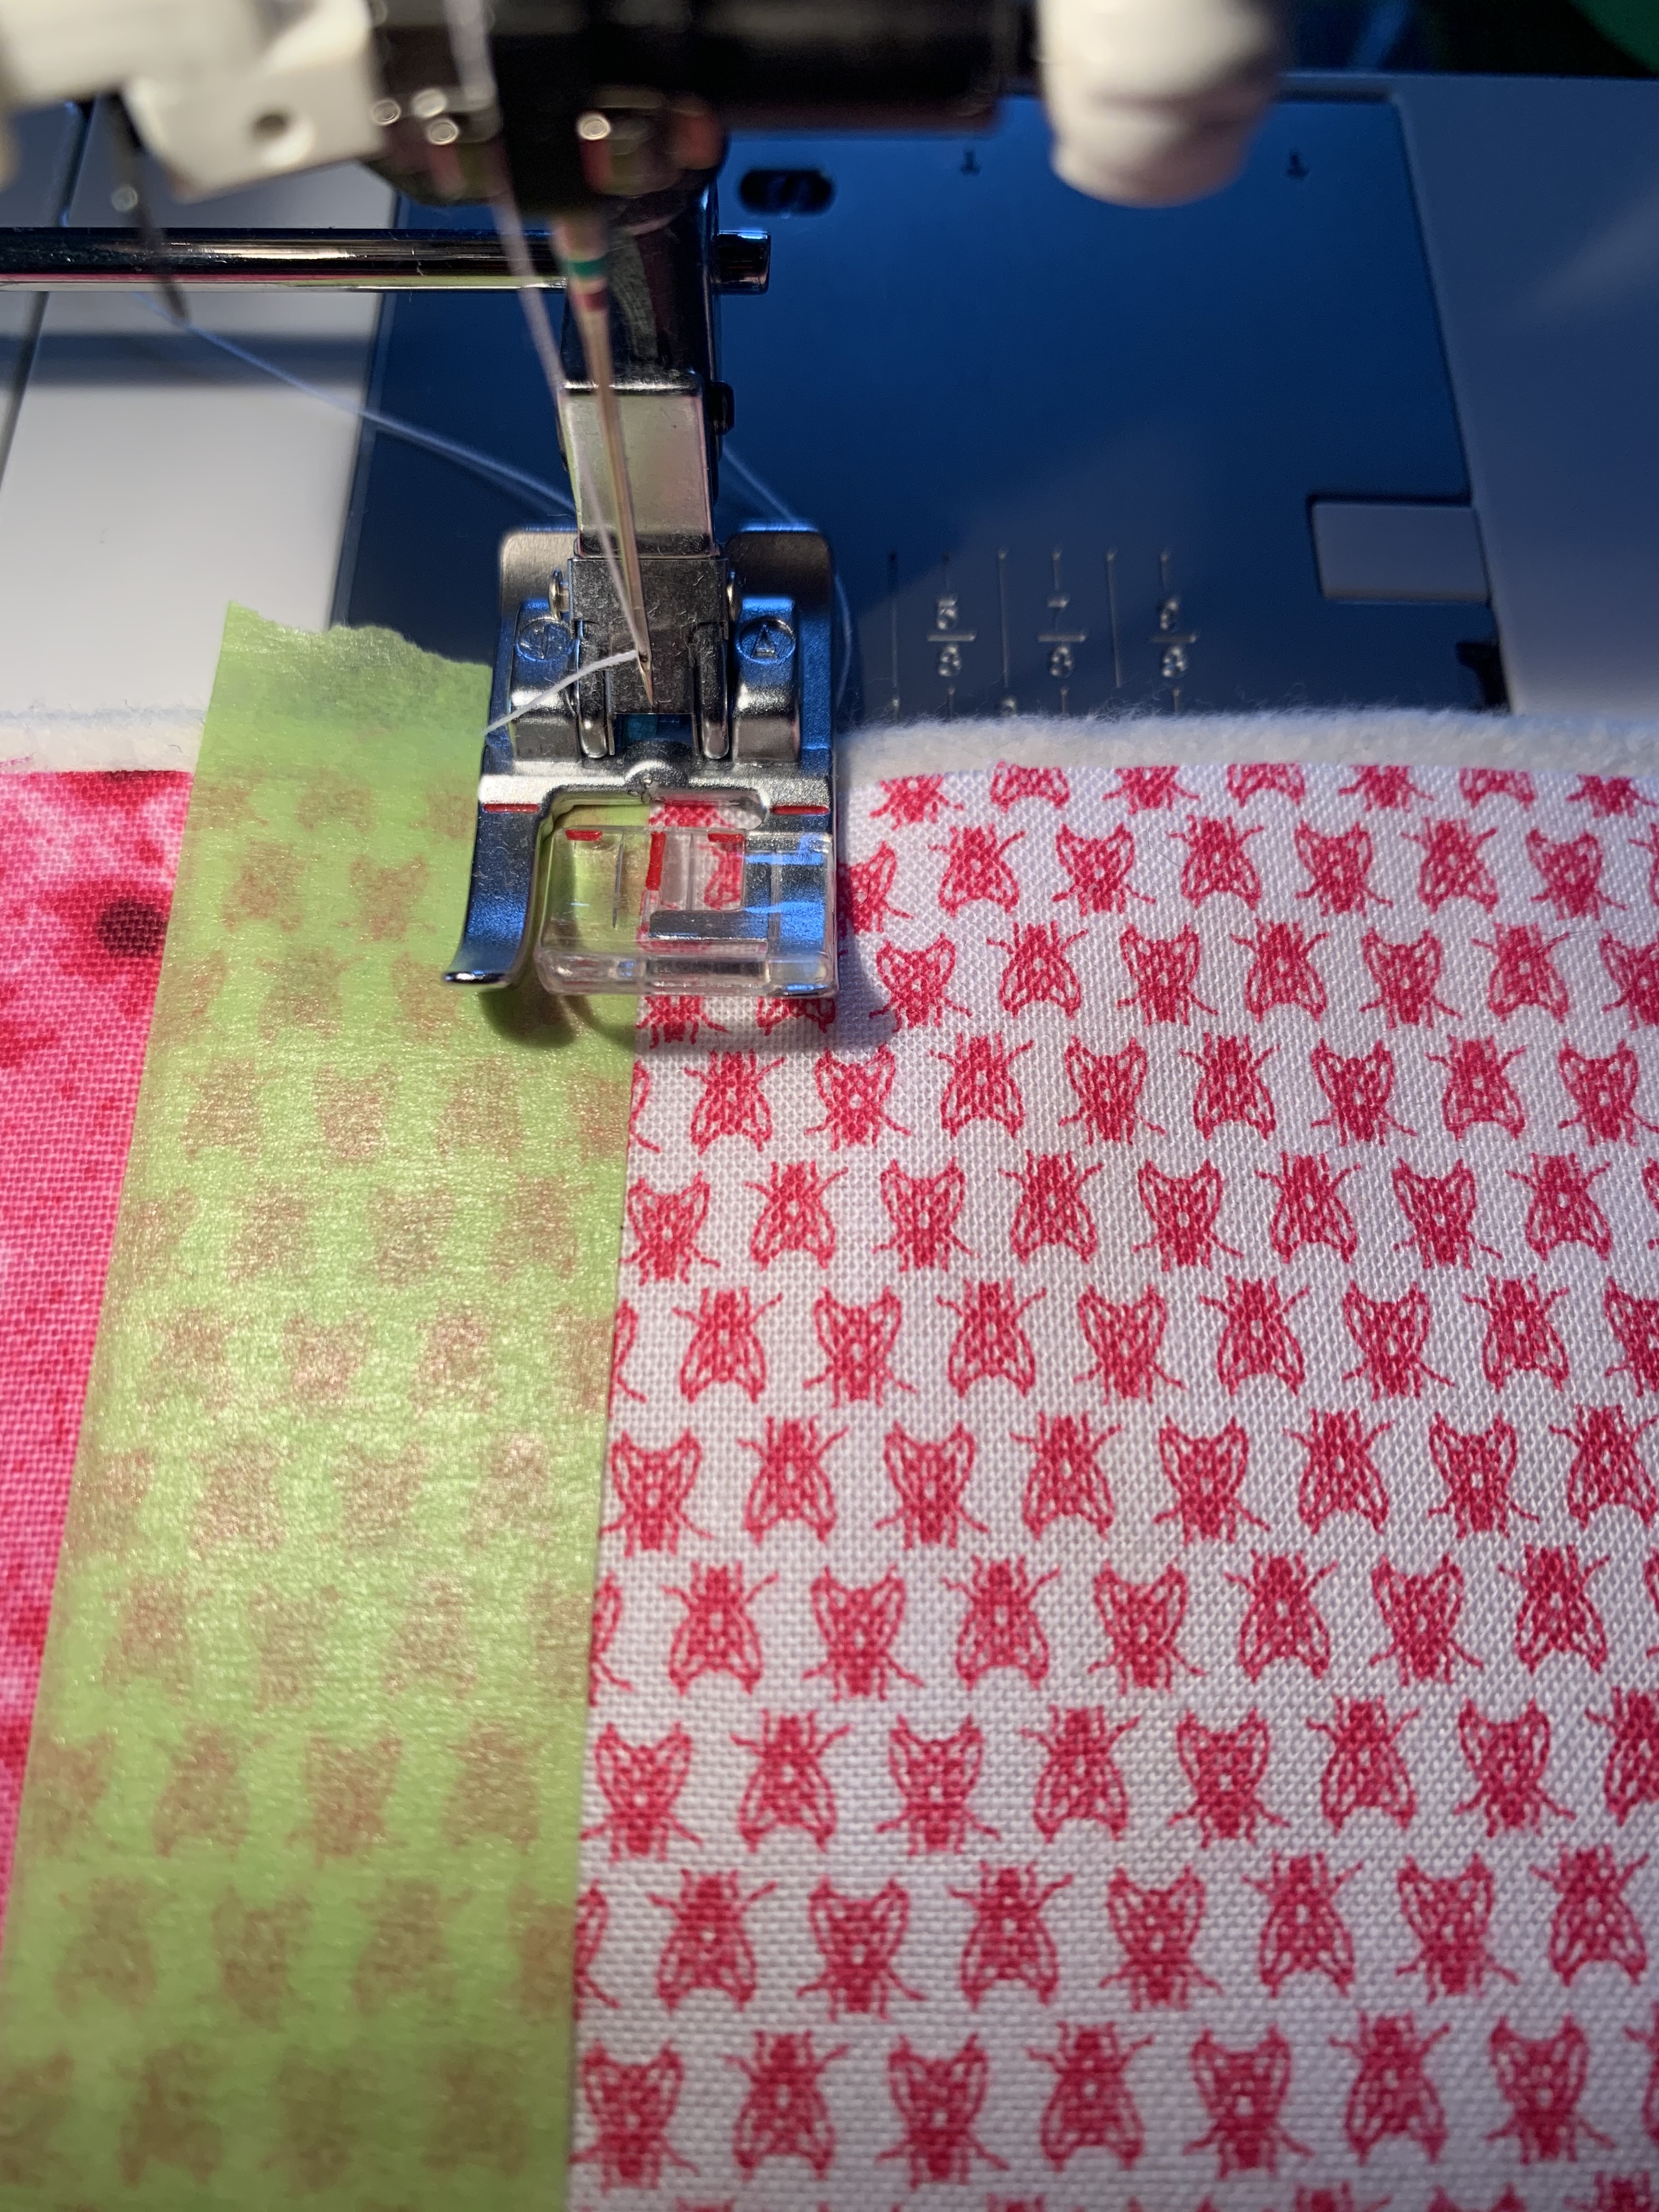
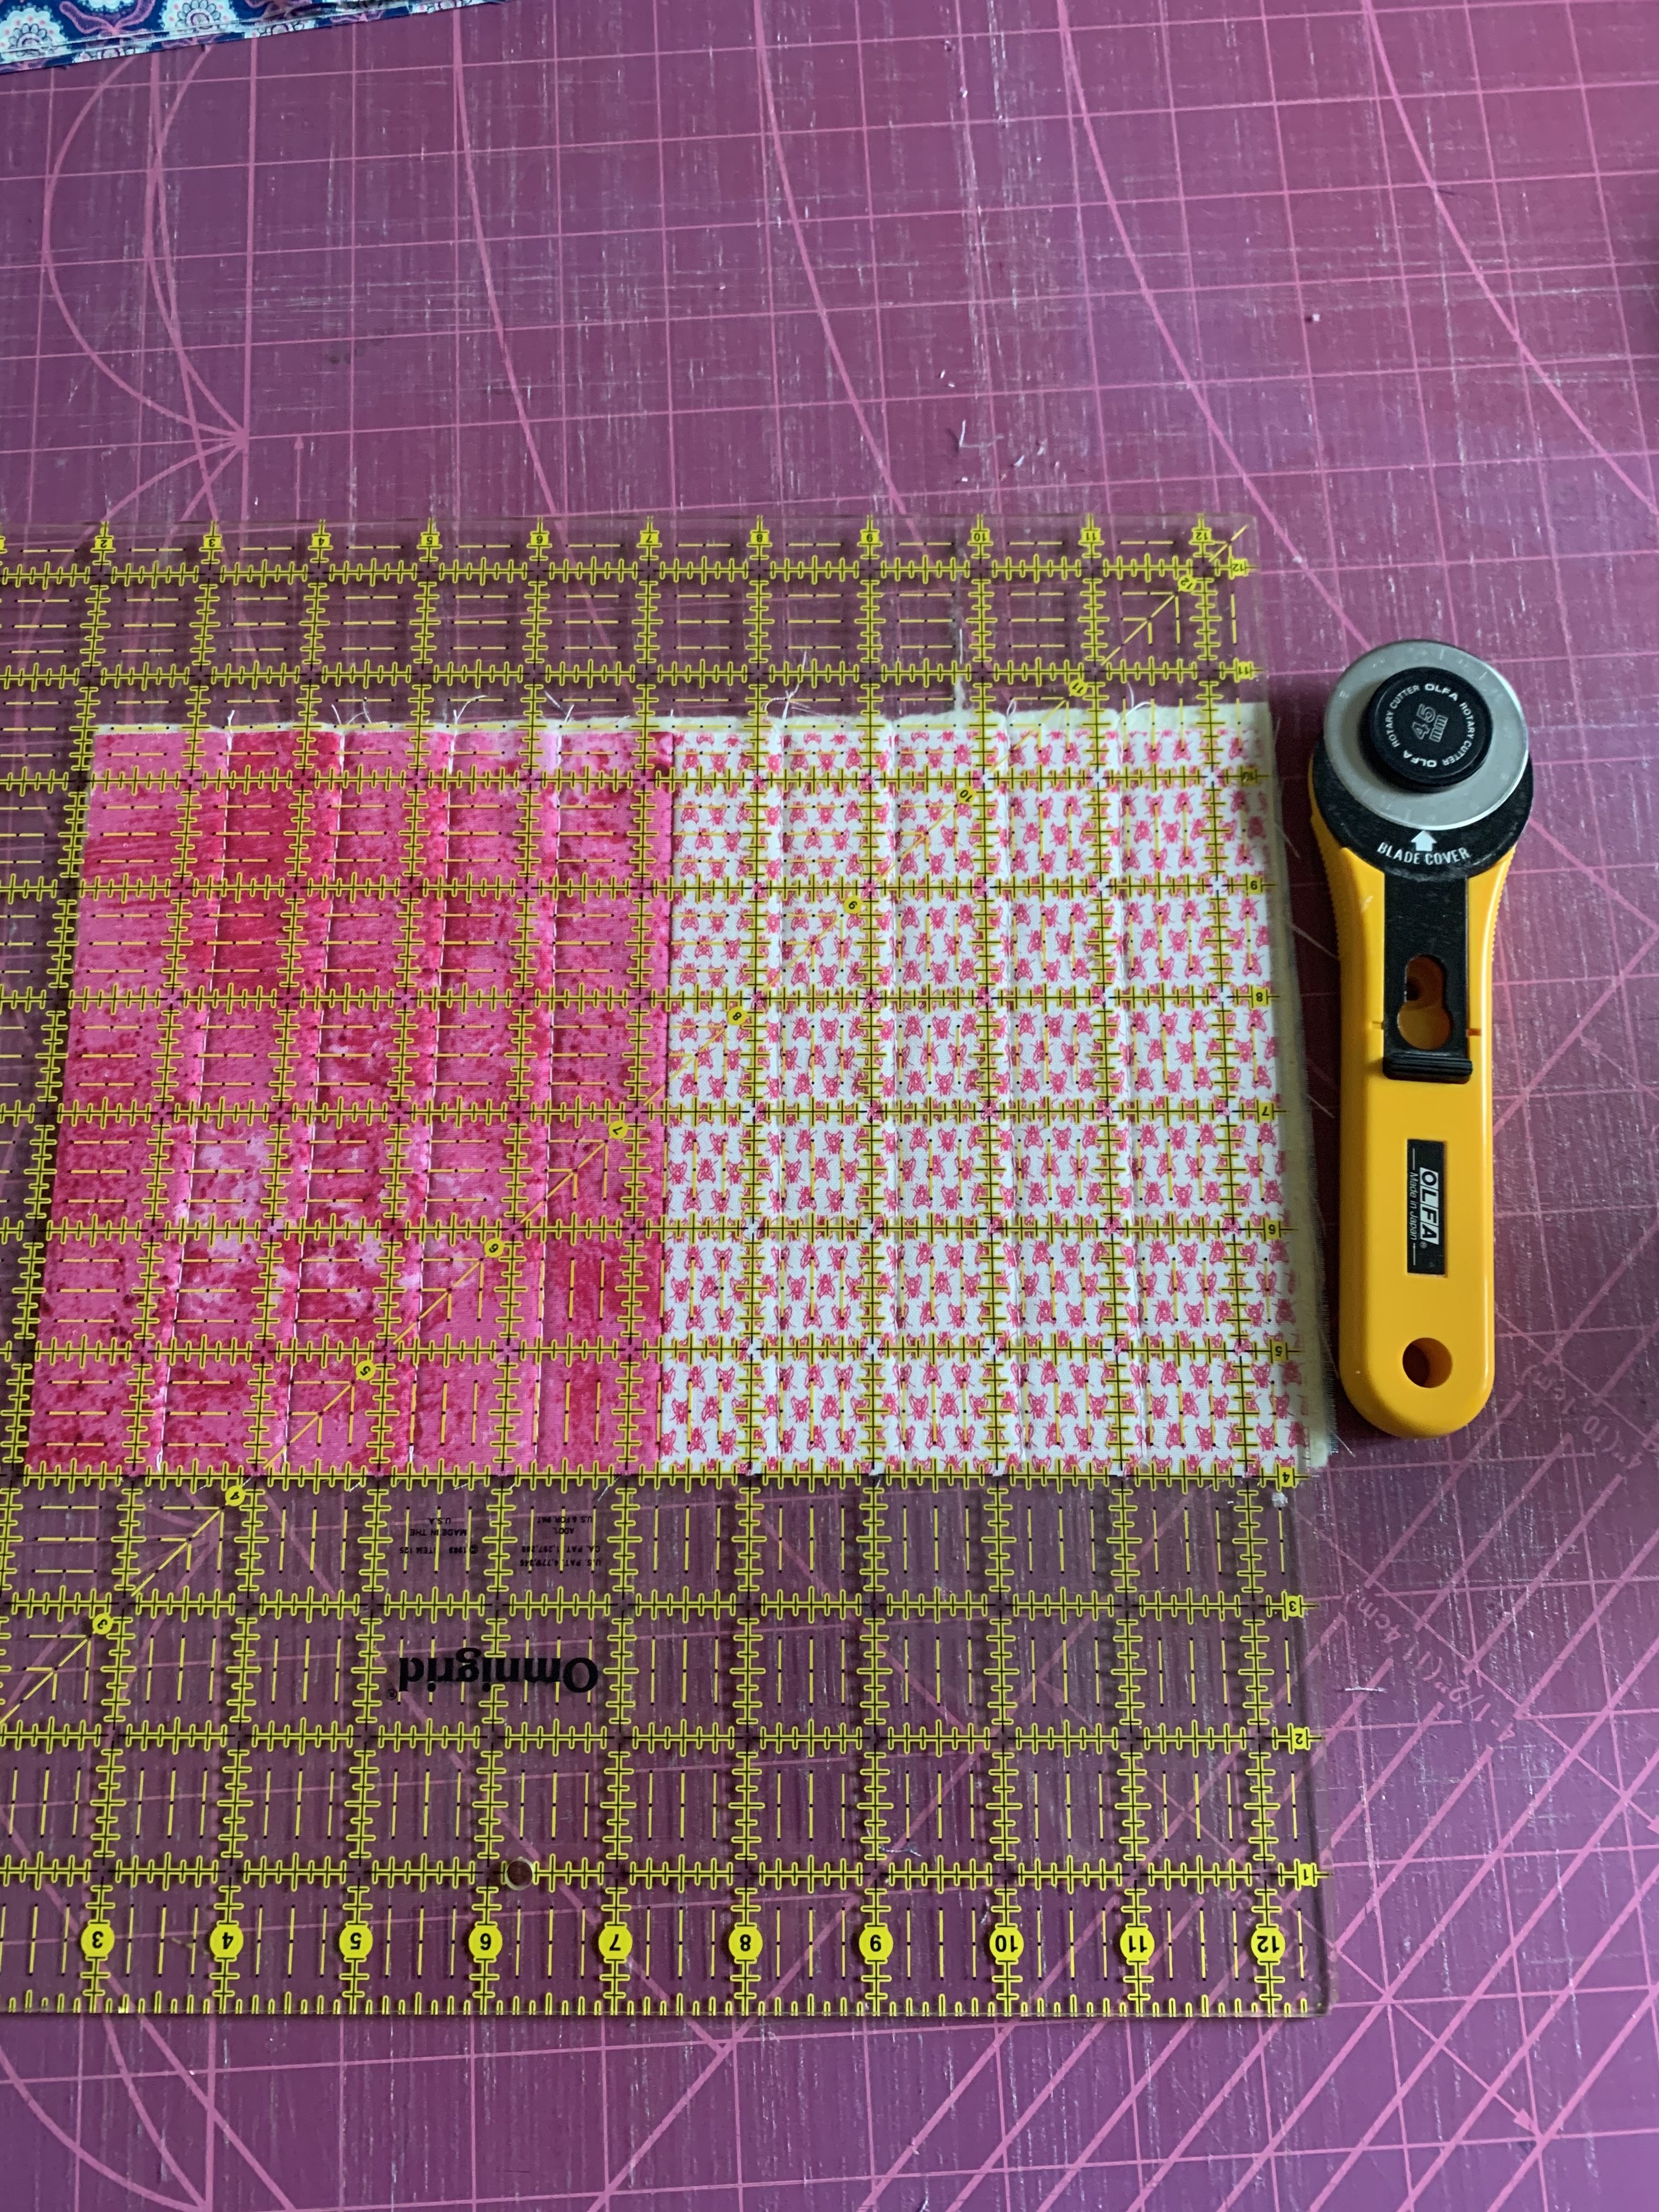
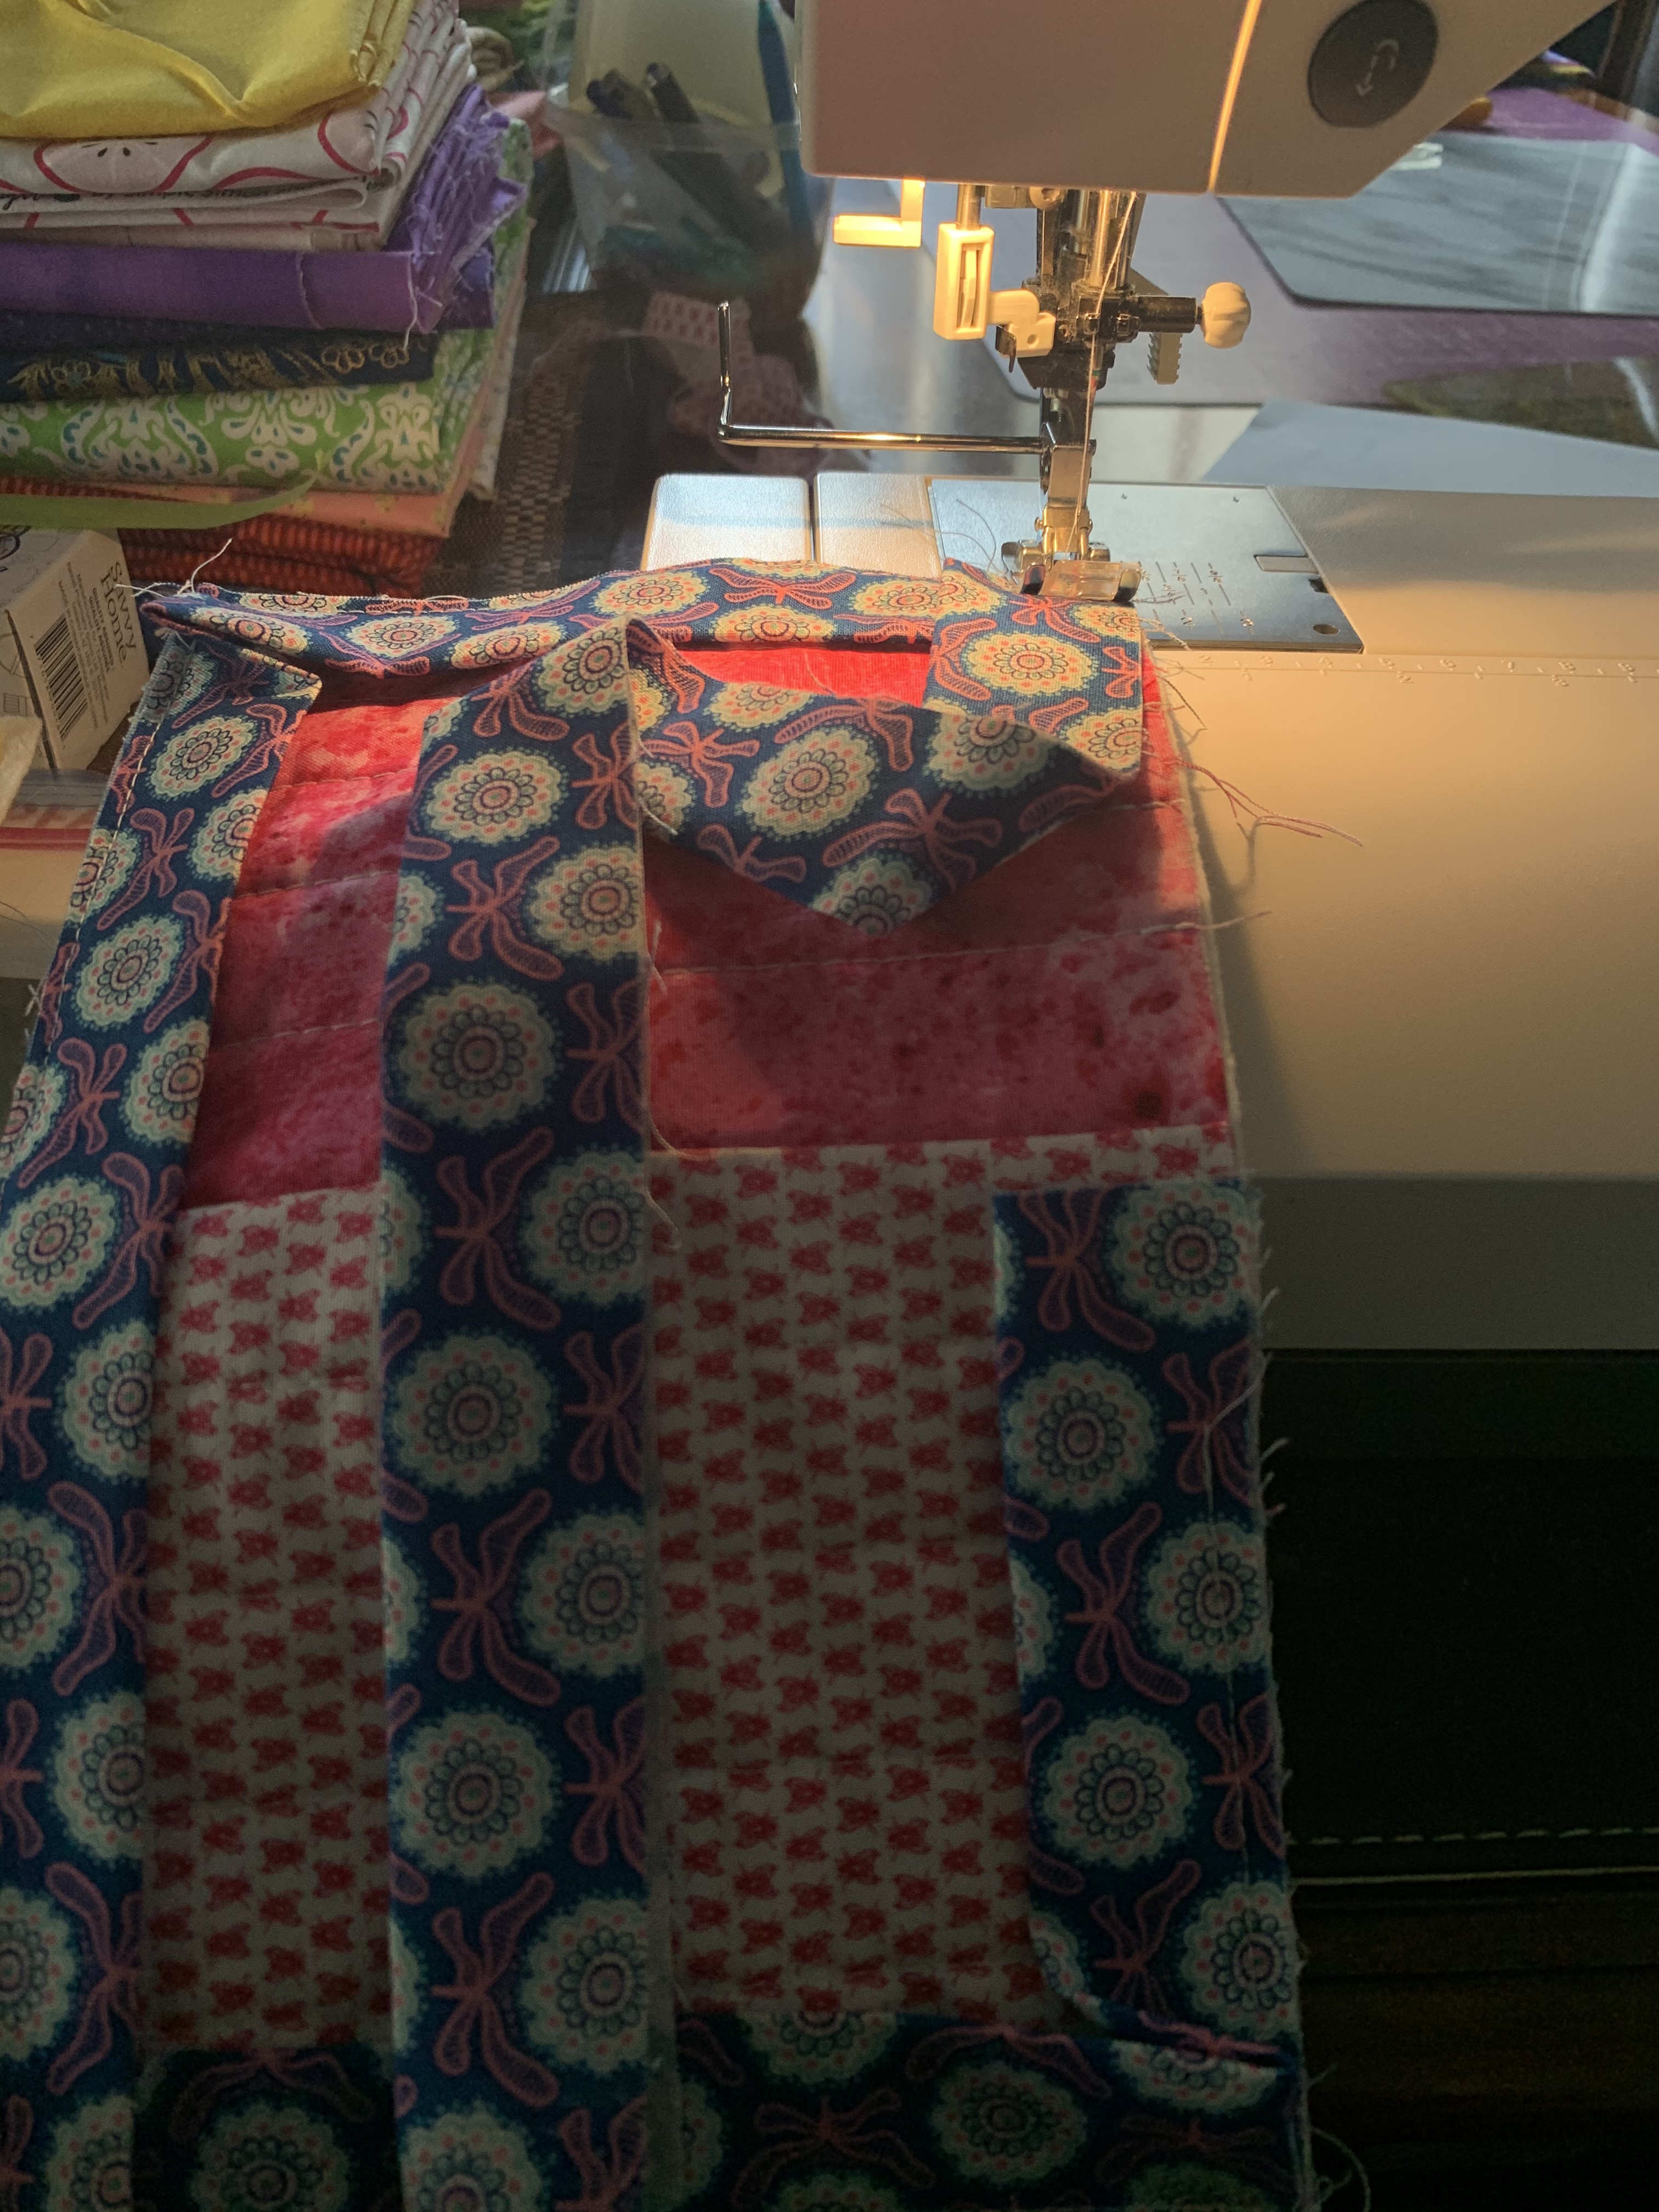
Now you can start quilting the top. I use a piece of green painters tape As a guide for sewing straight lines.
Now start sewing straight lines back-stitching just a coupe of stitches at every start and stop.
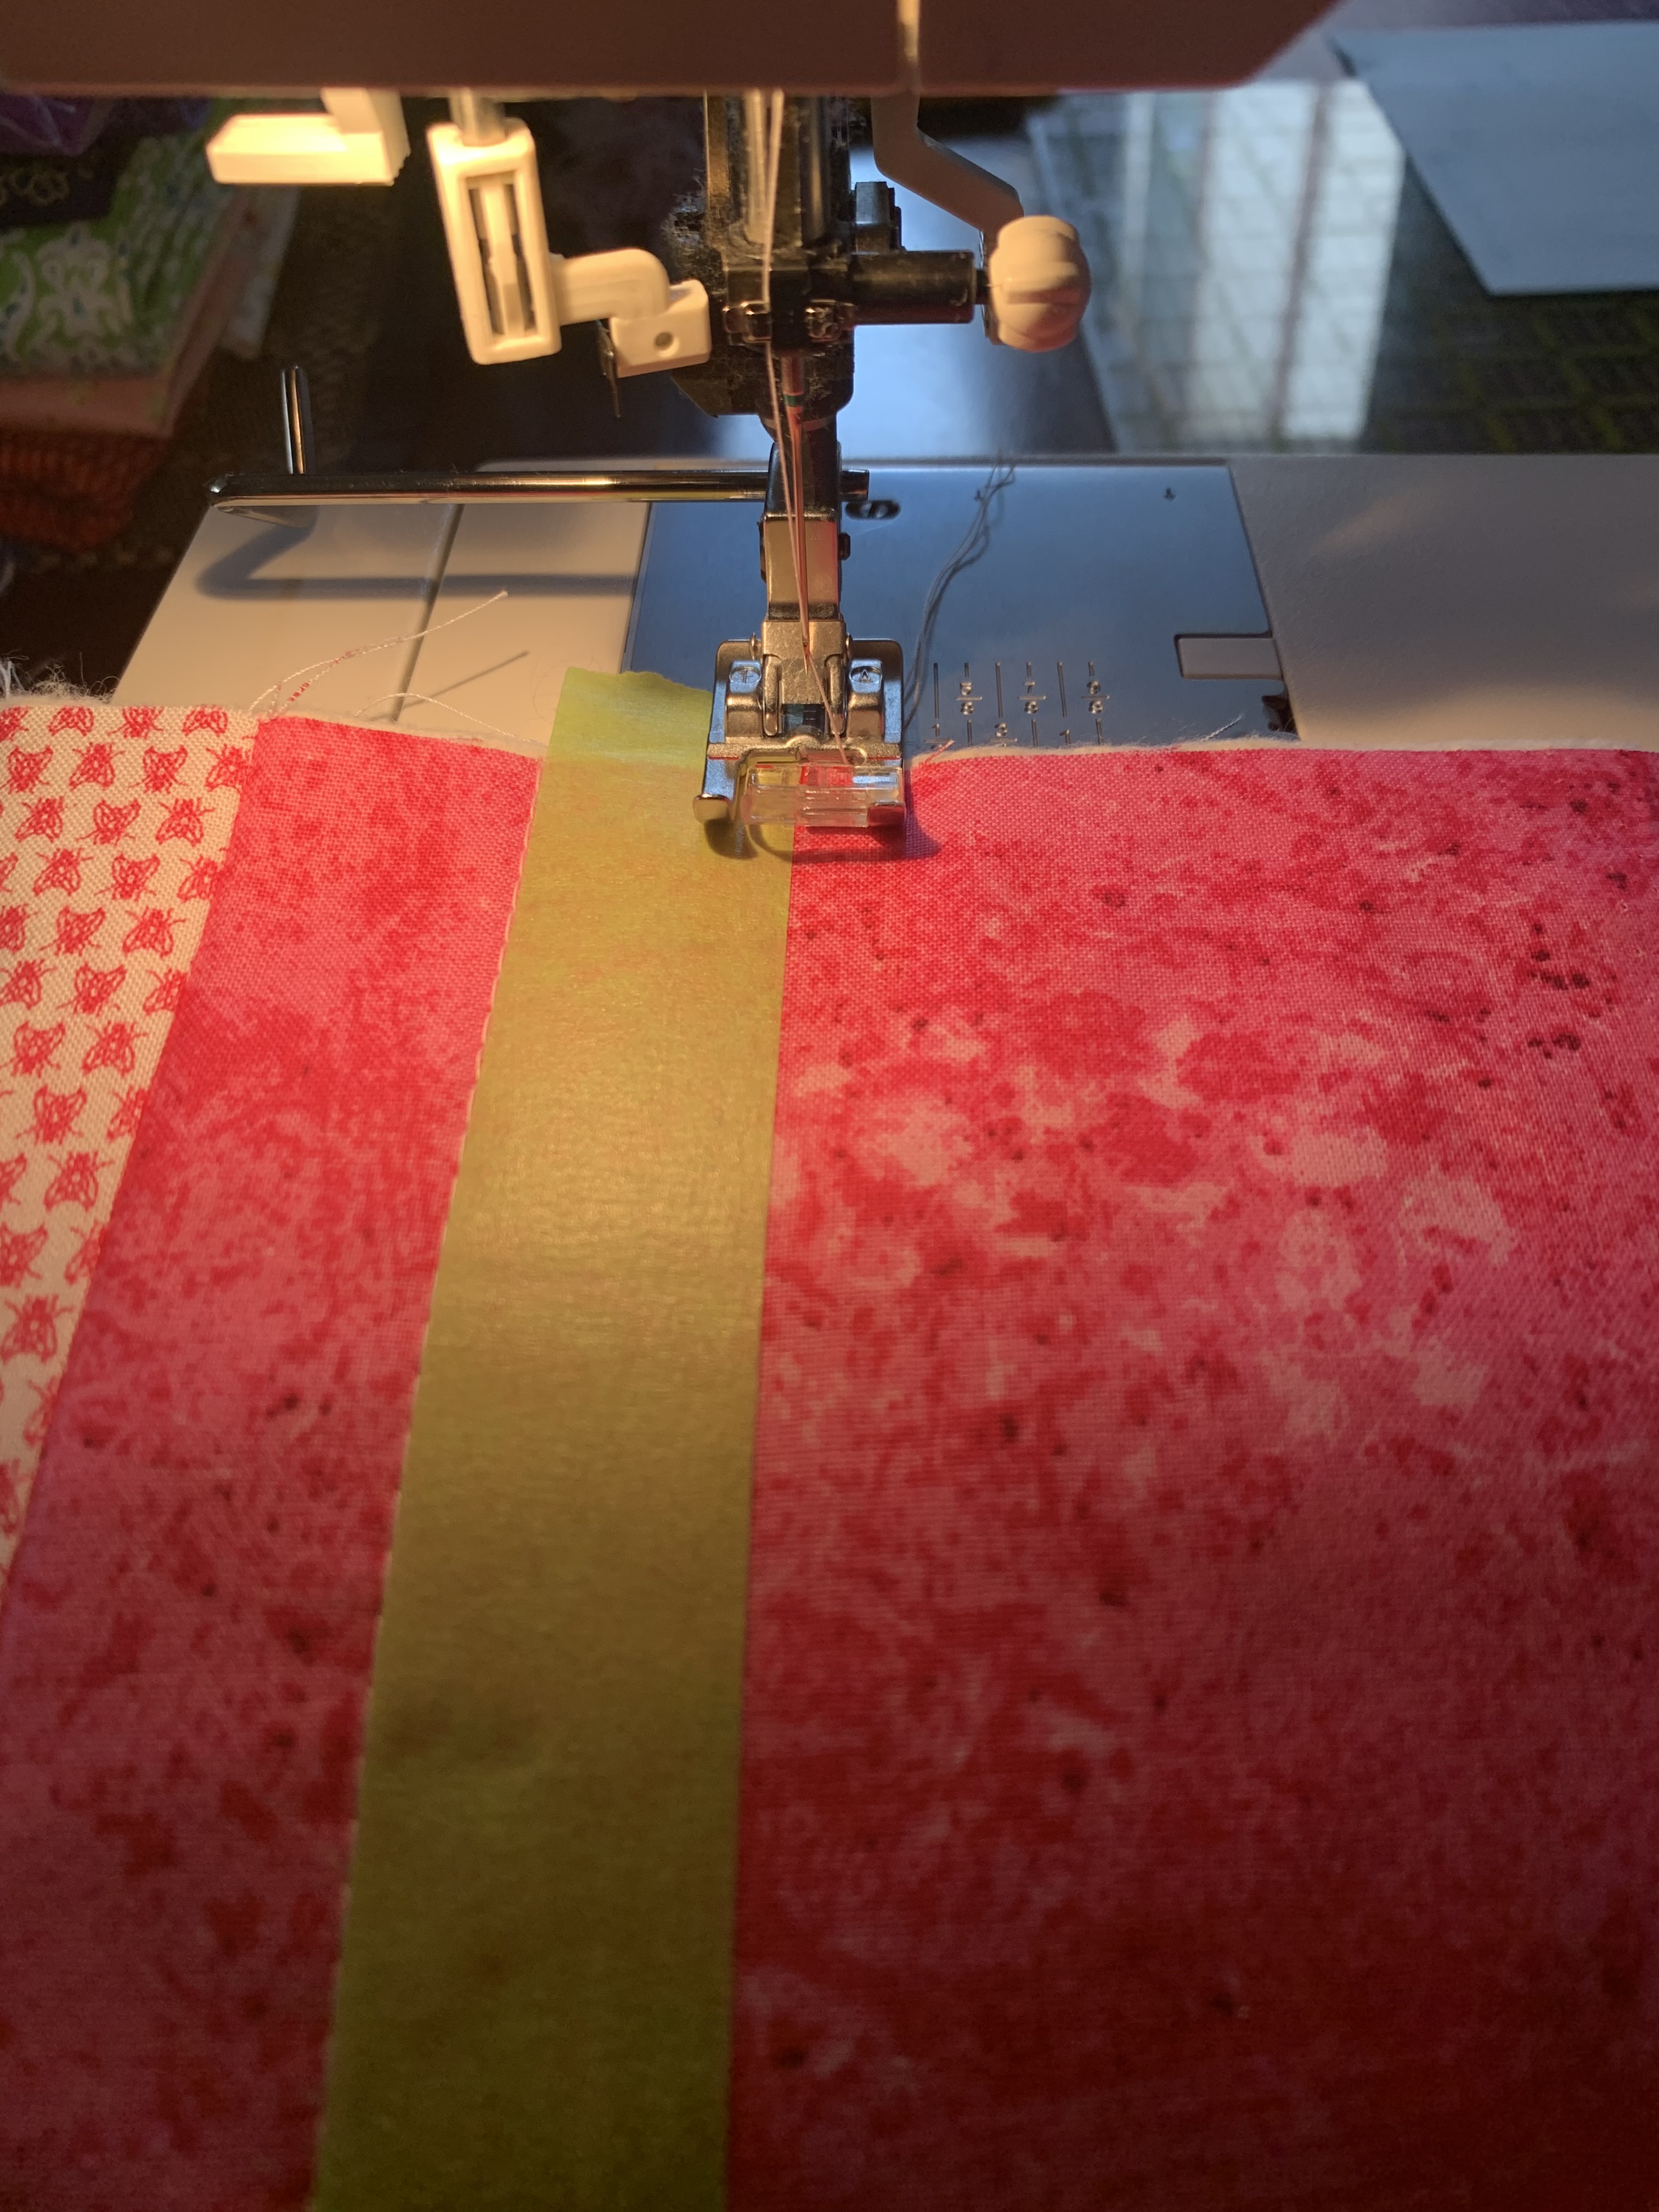
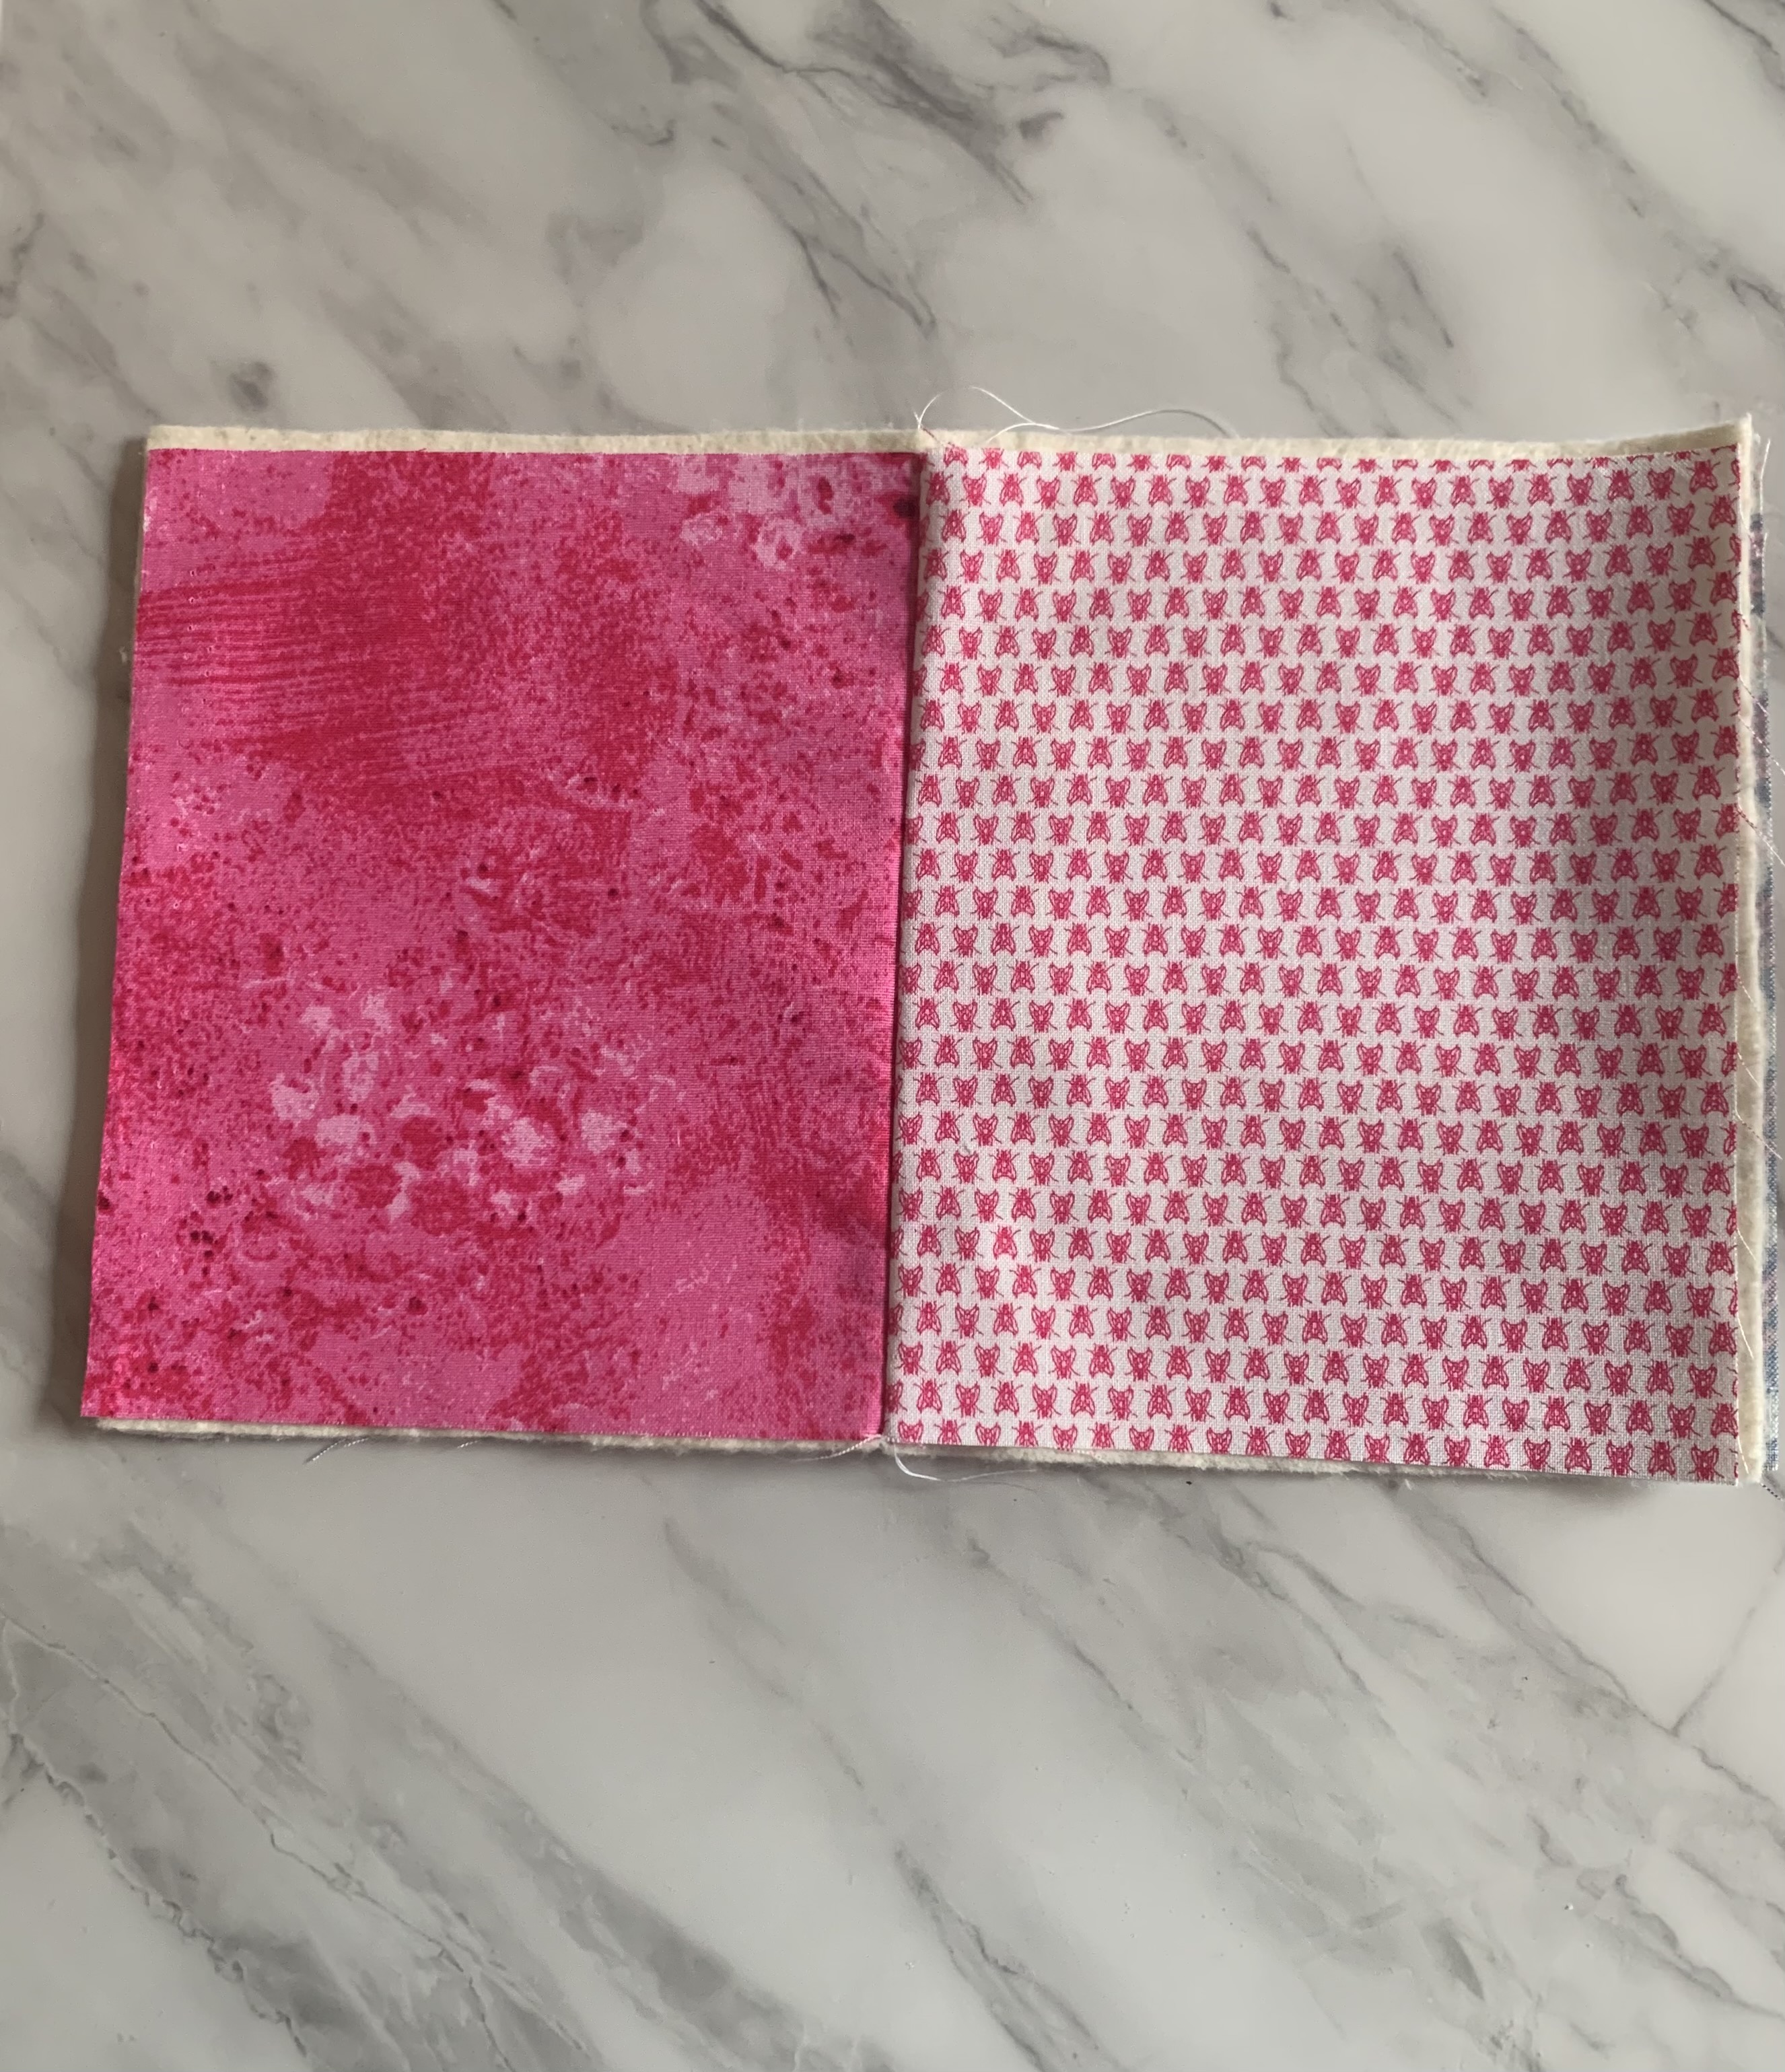
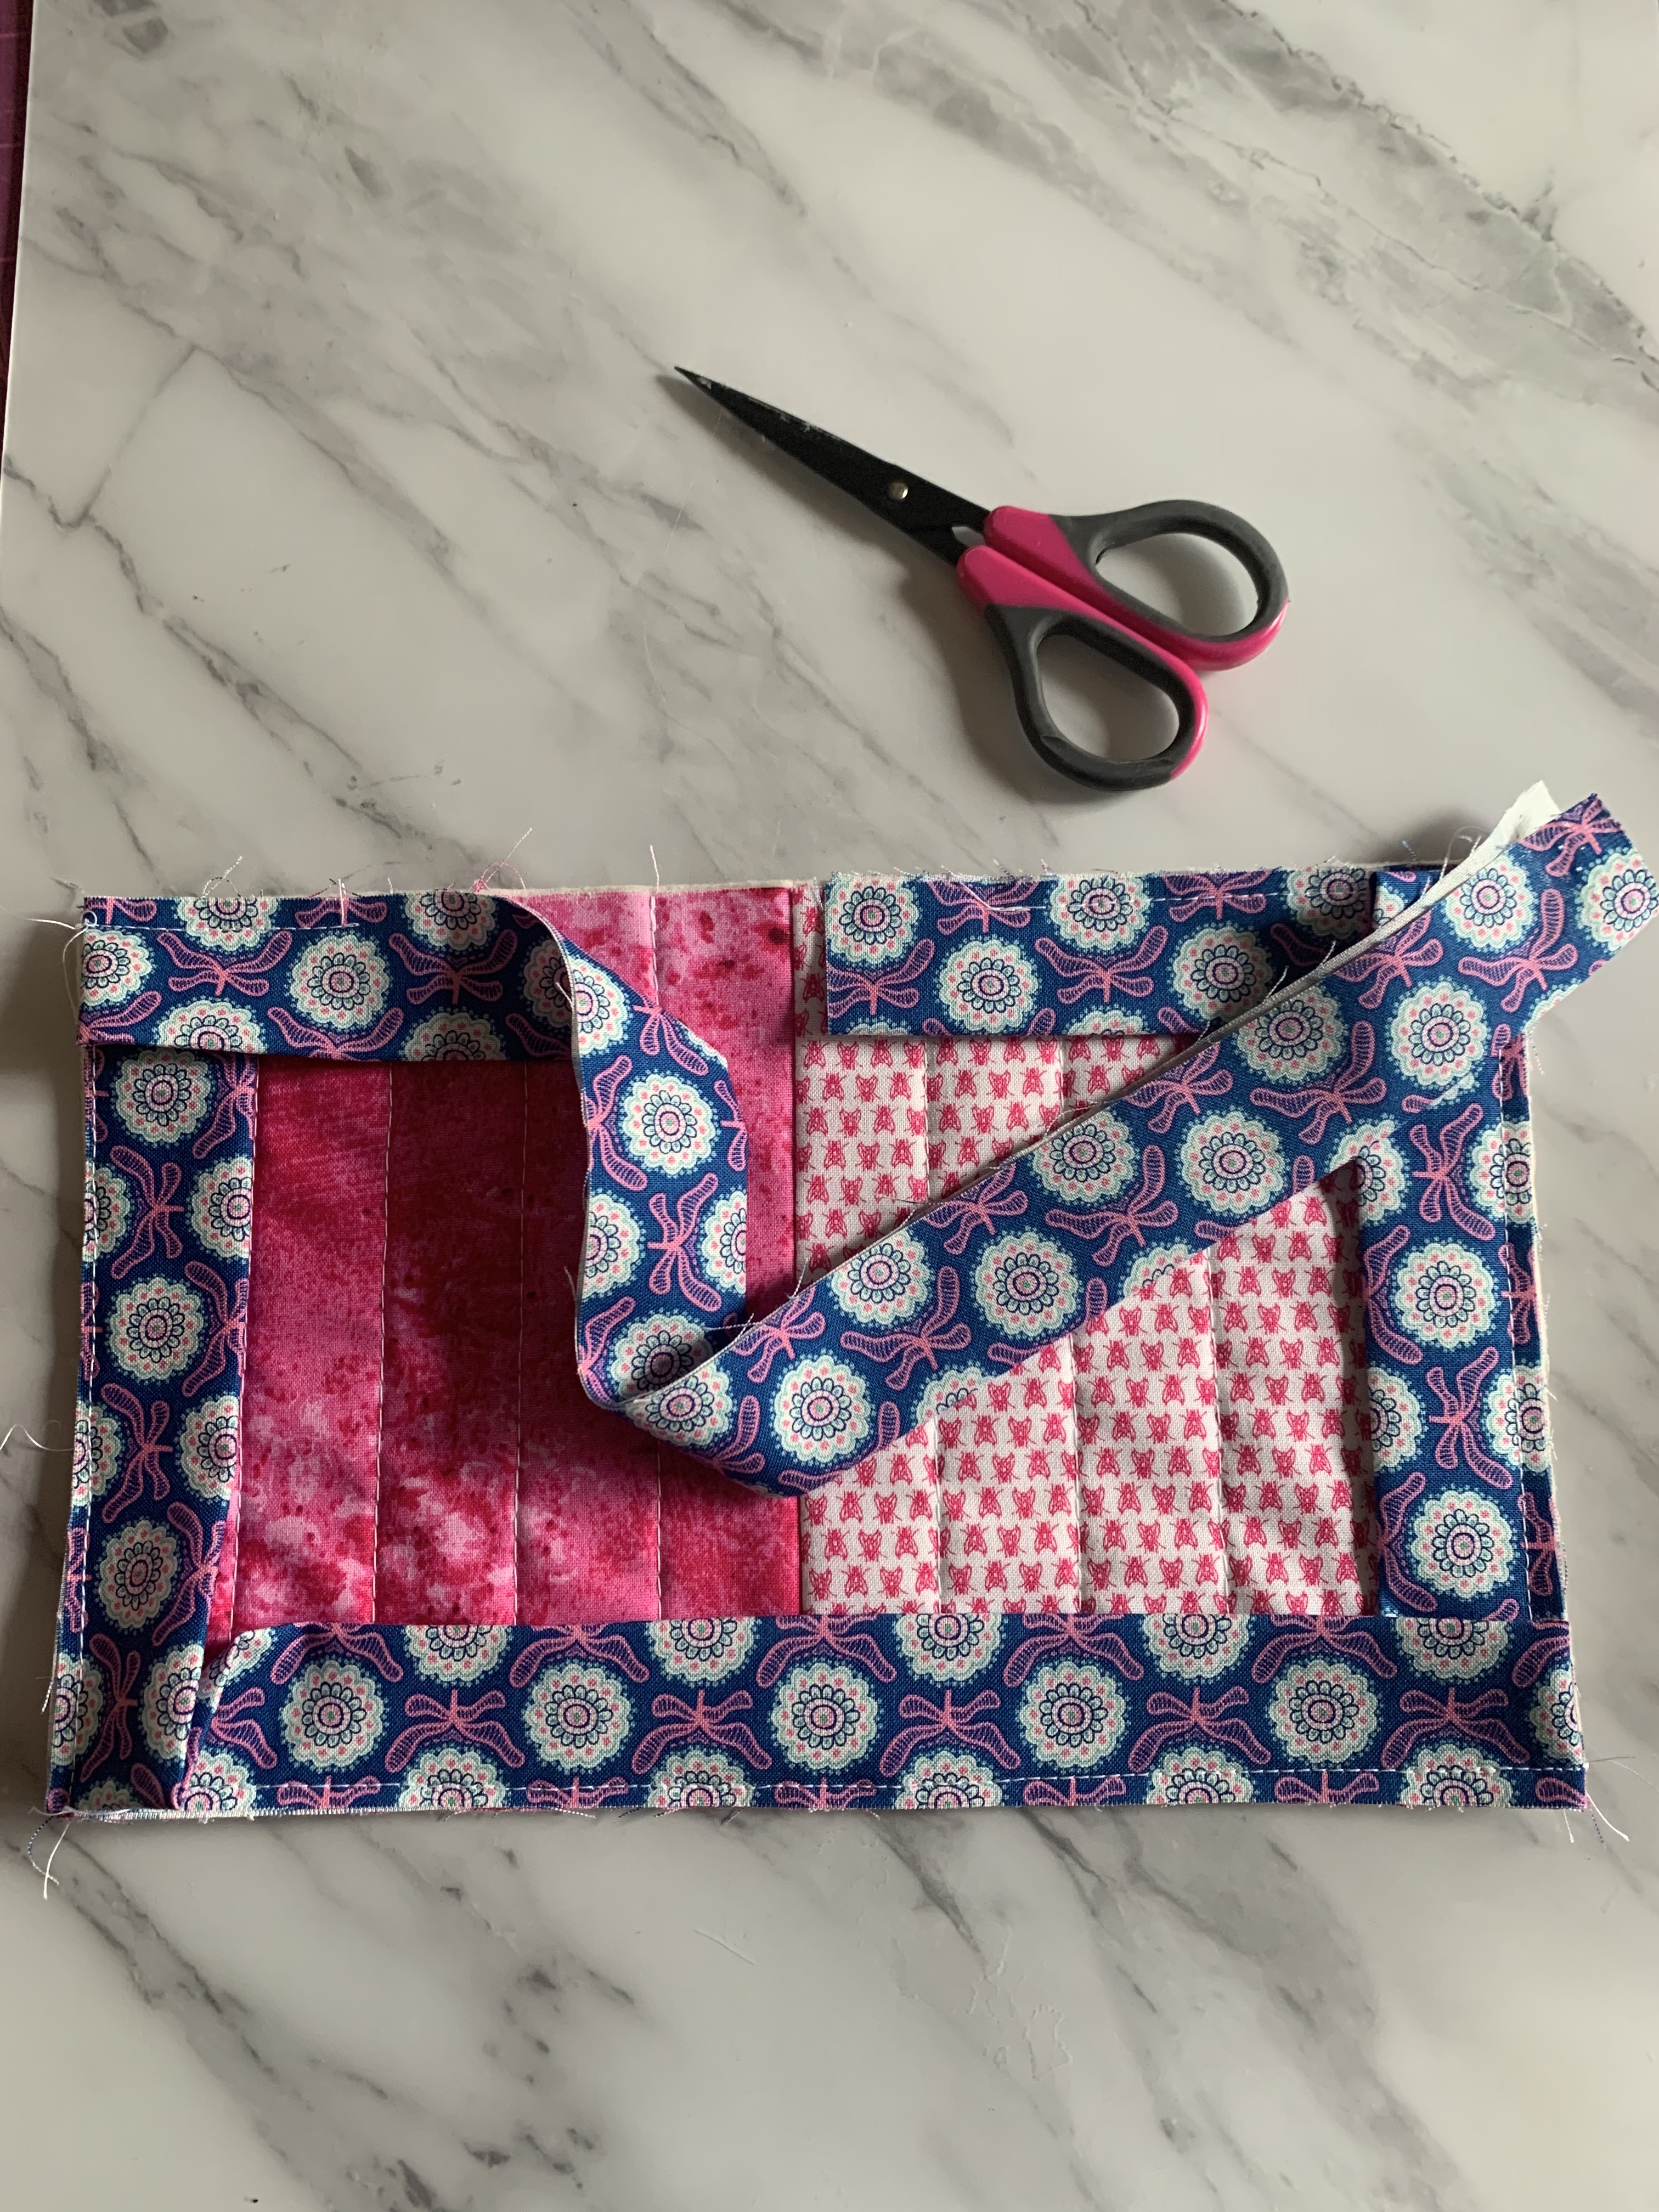
Continue sewing until you have completed quilting.
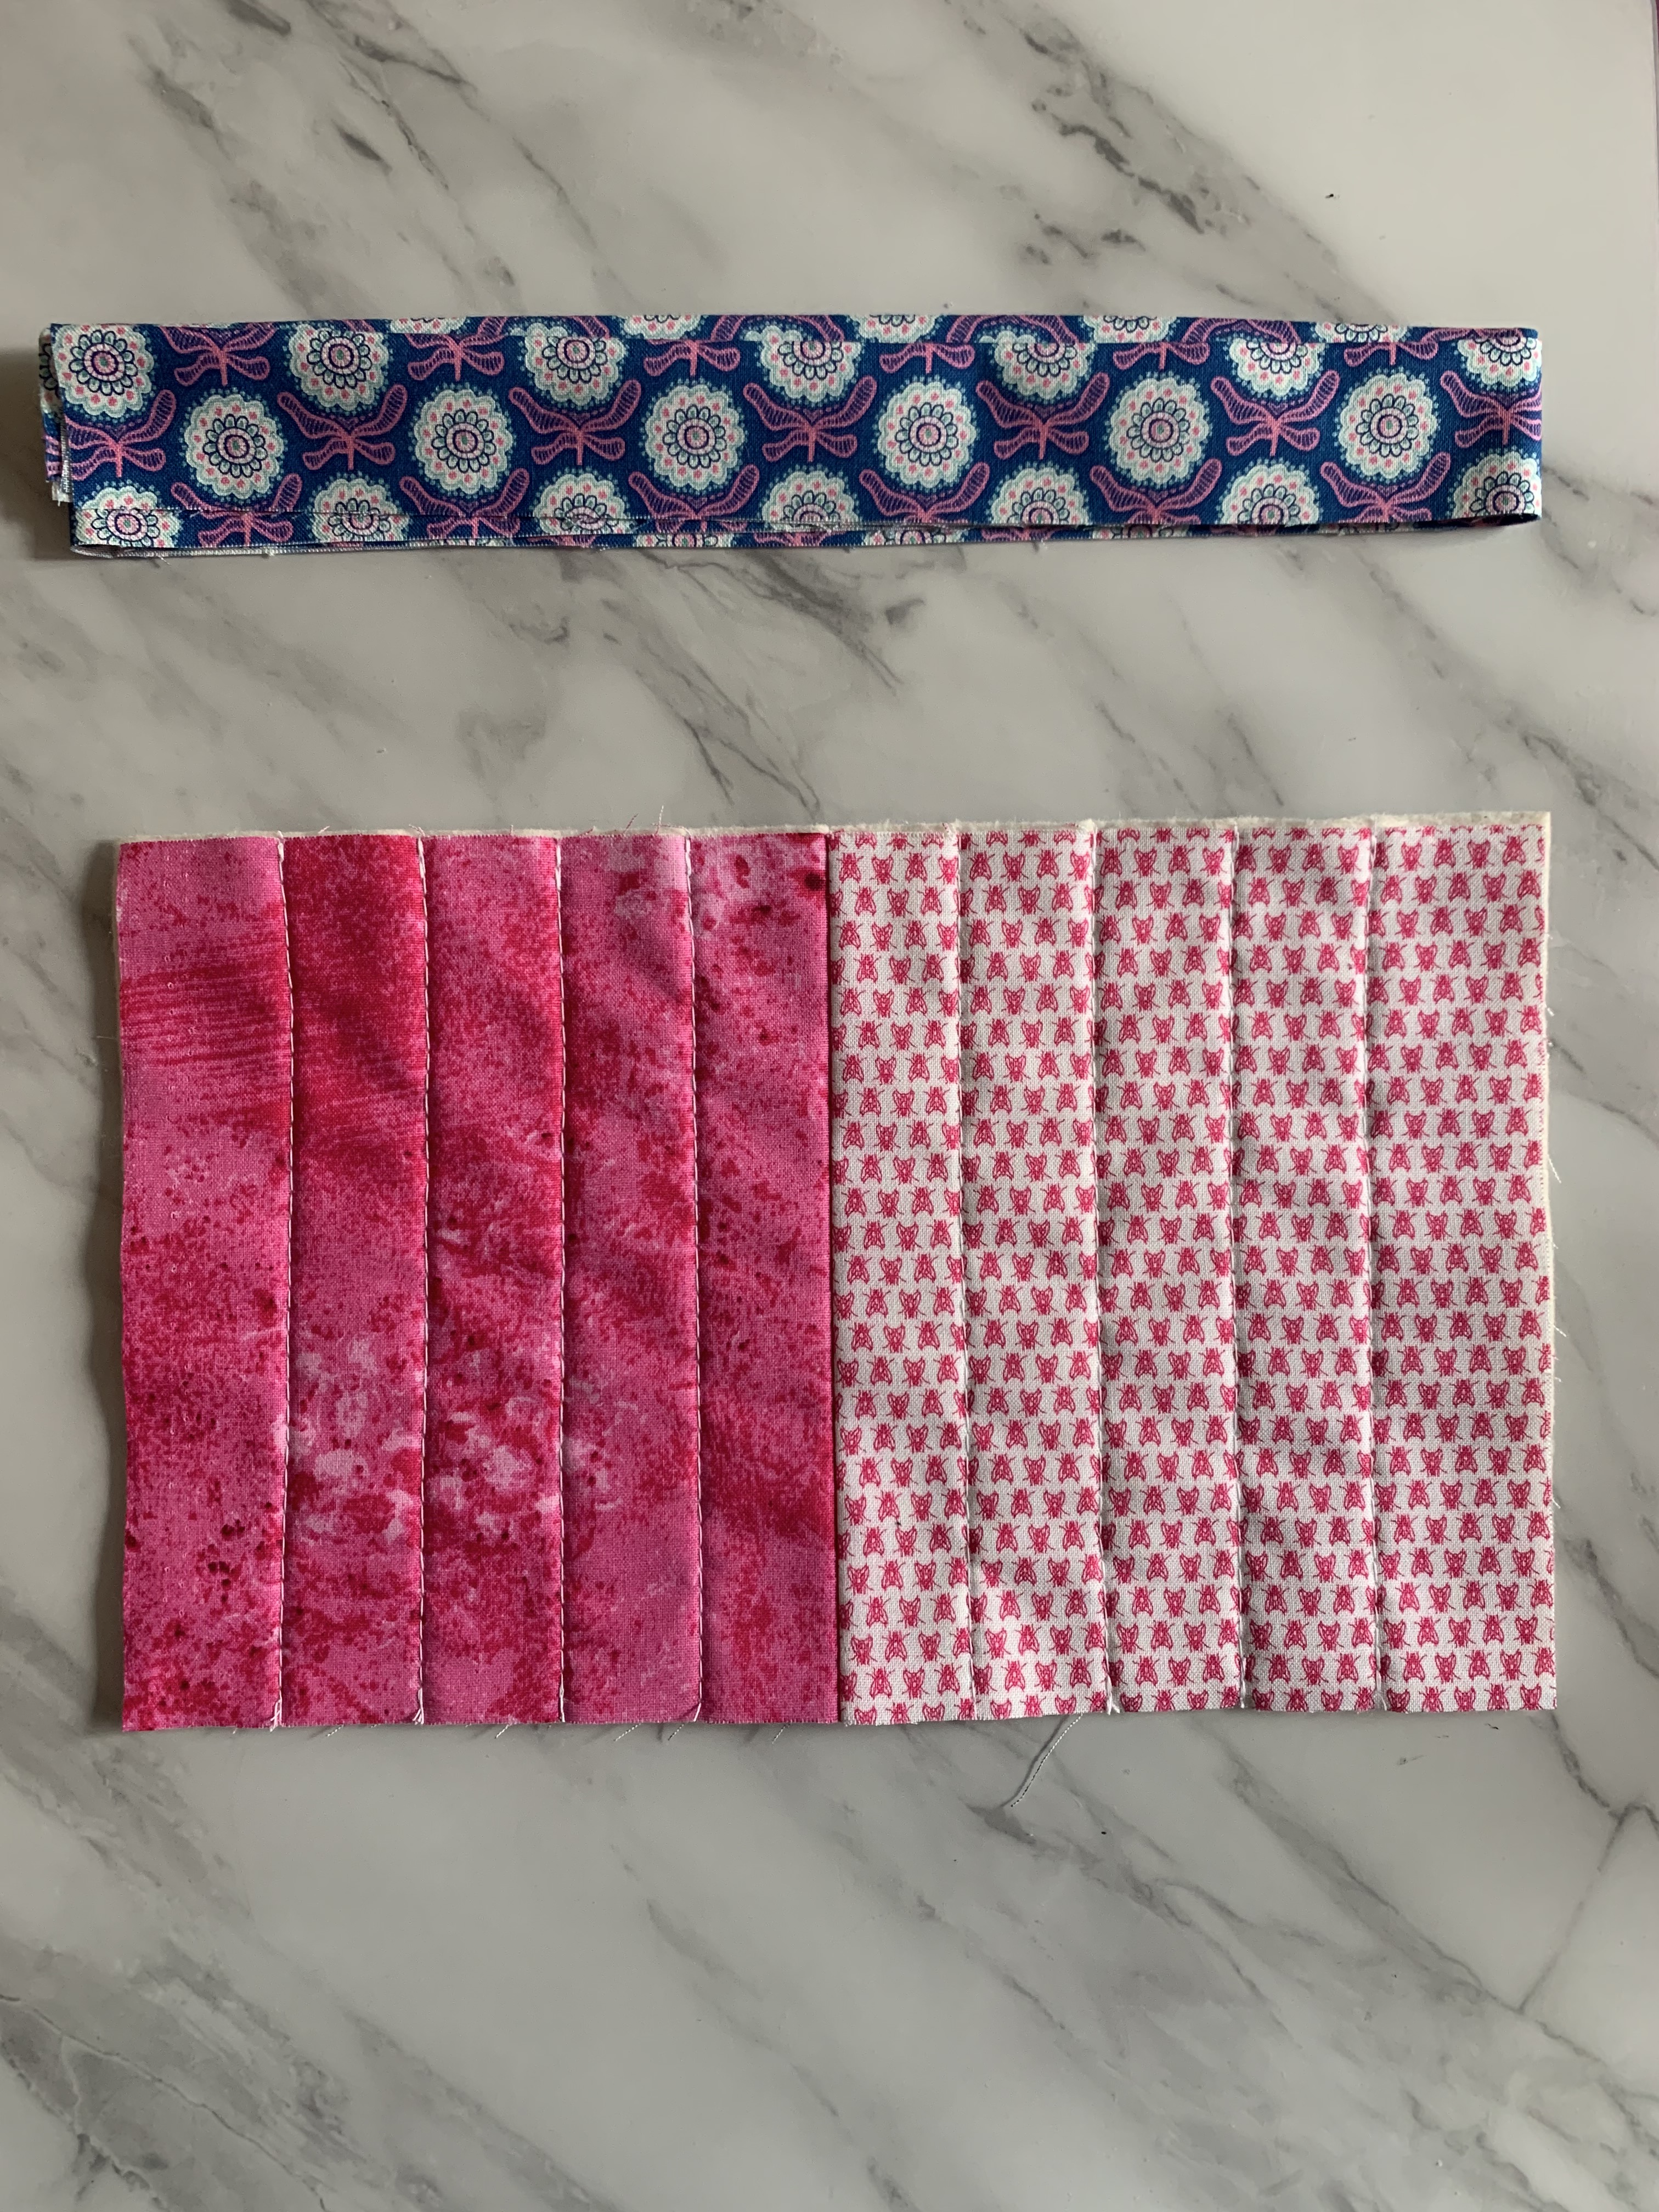
Trim off any excess and square off your mug-rug
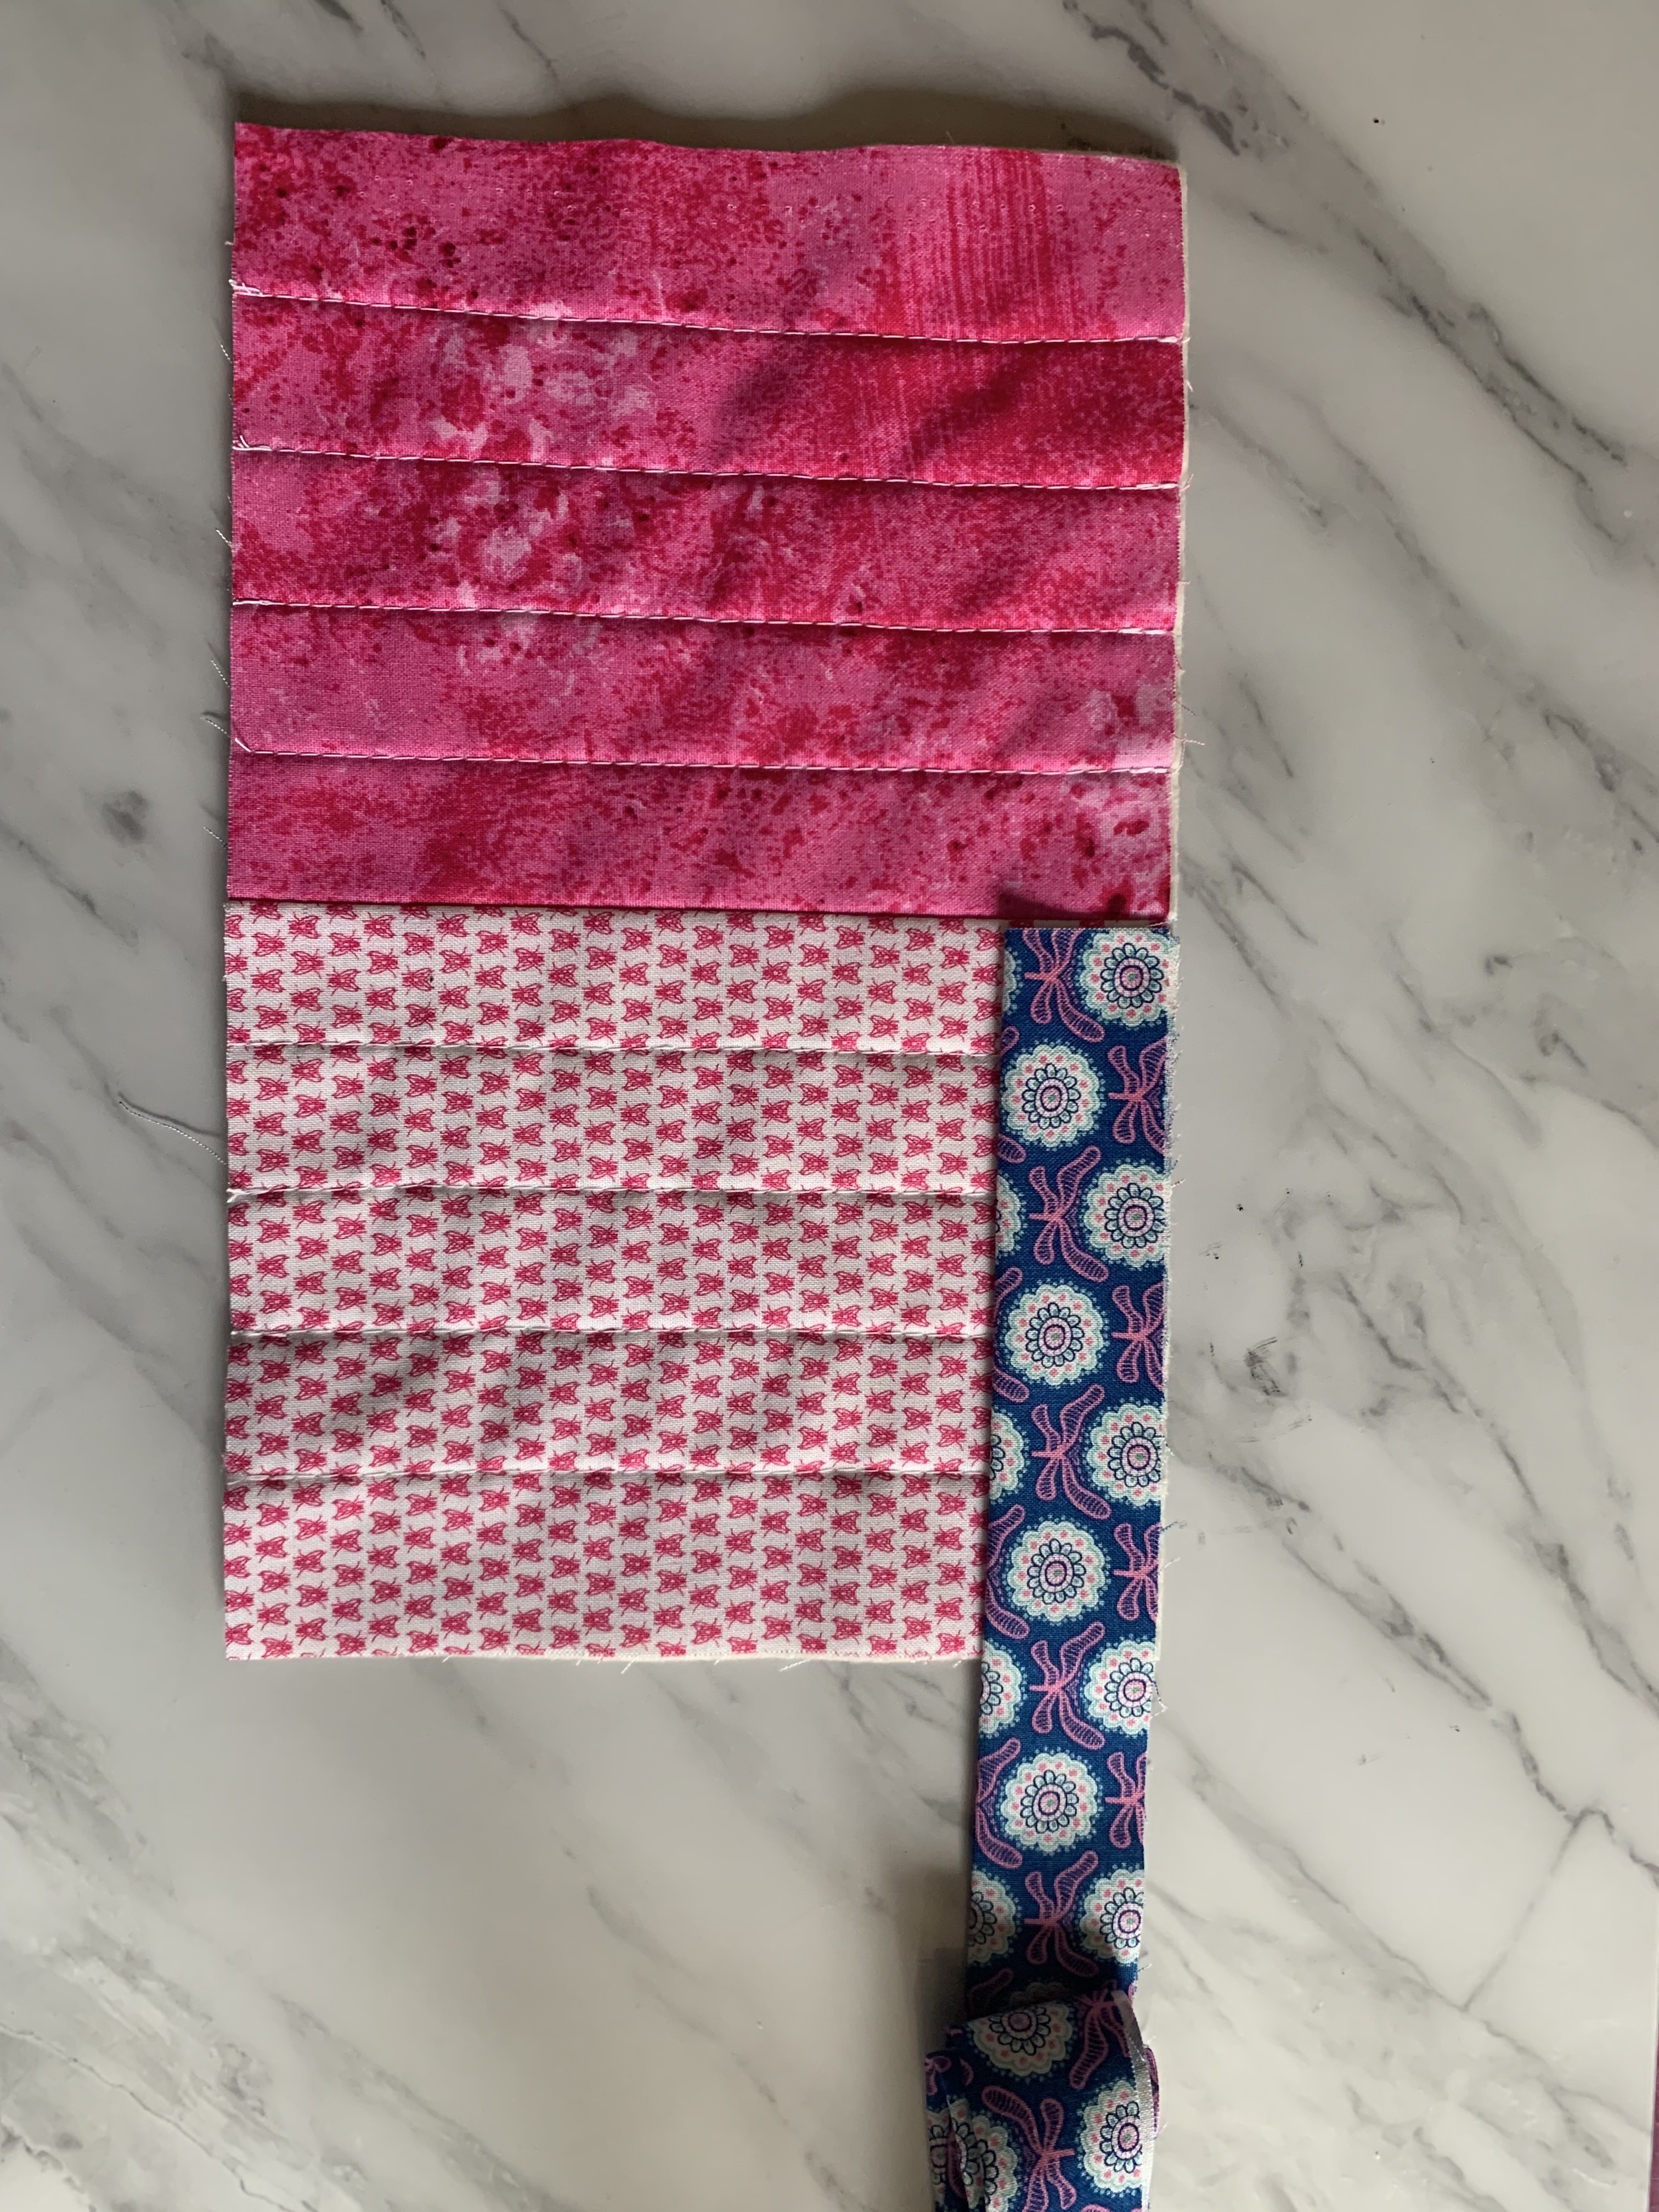
Now you are ready to bind your mini quilt / Mug-Rug .
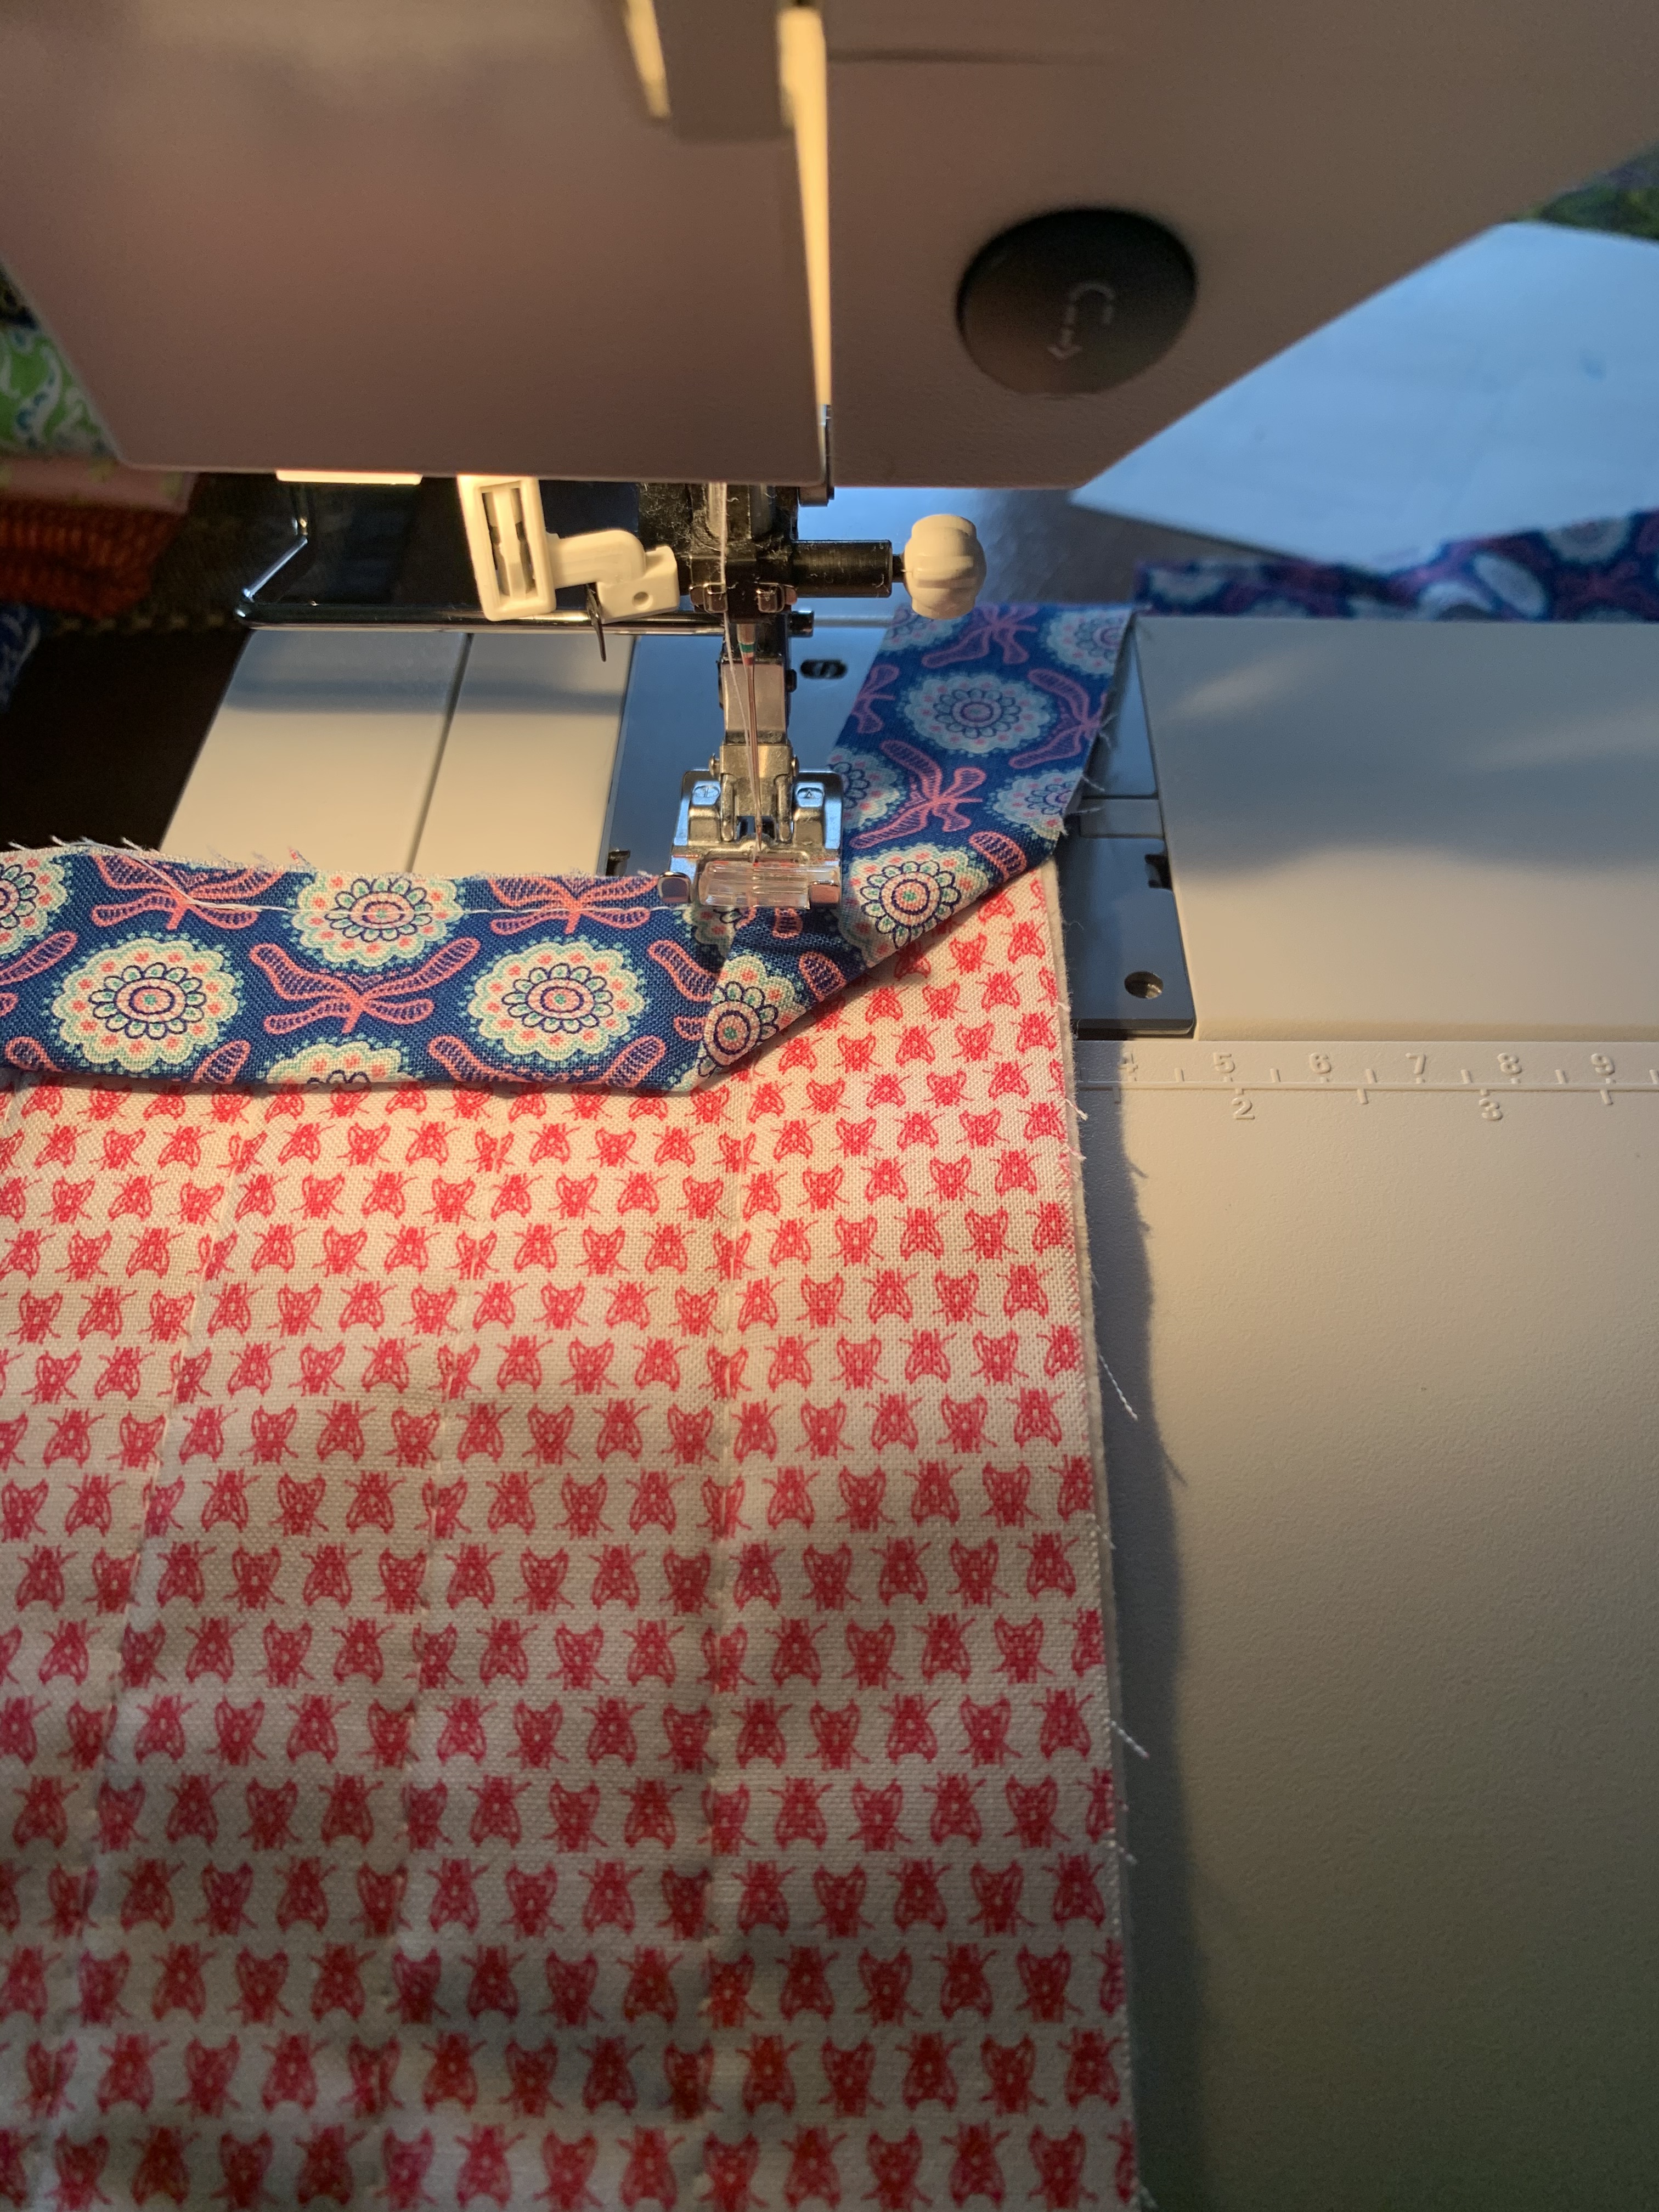
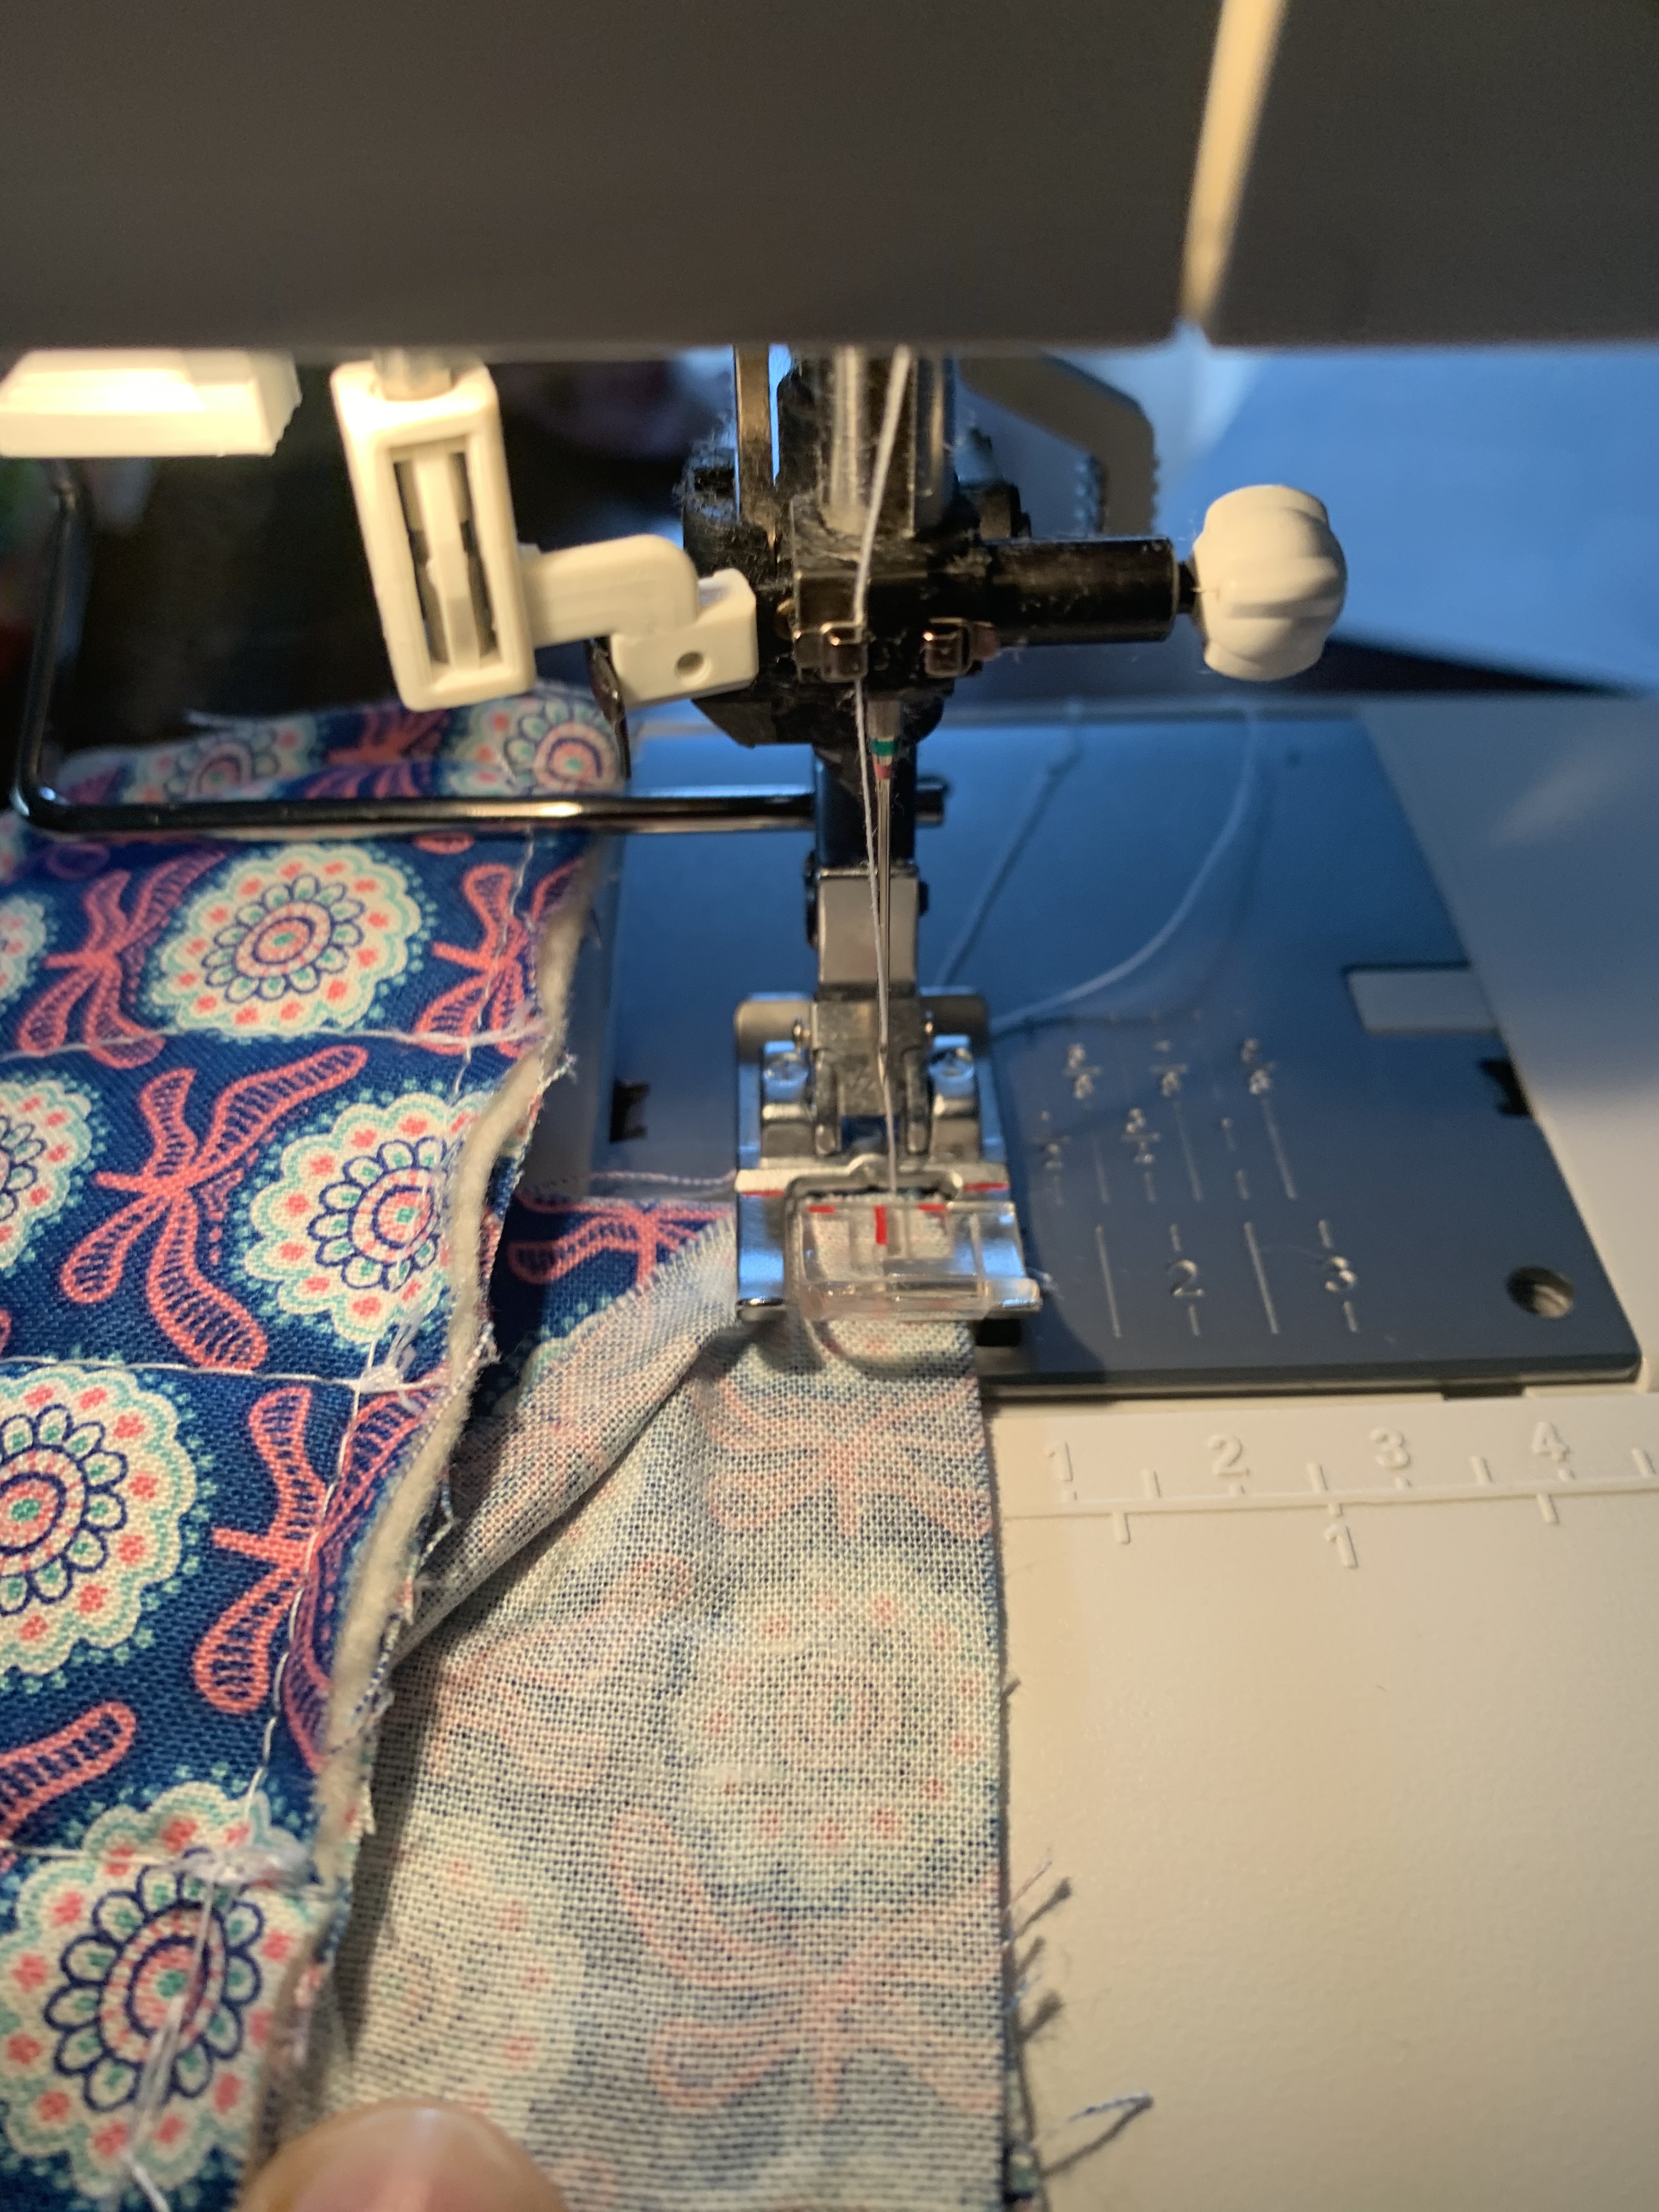
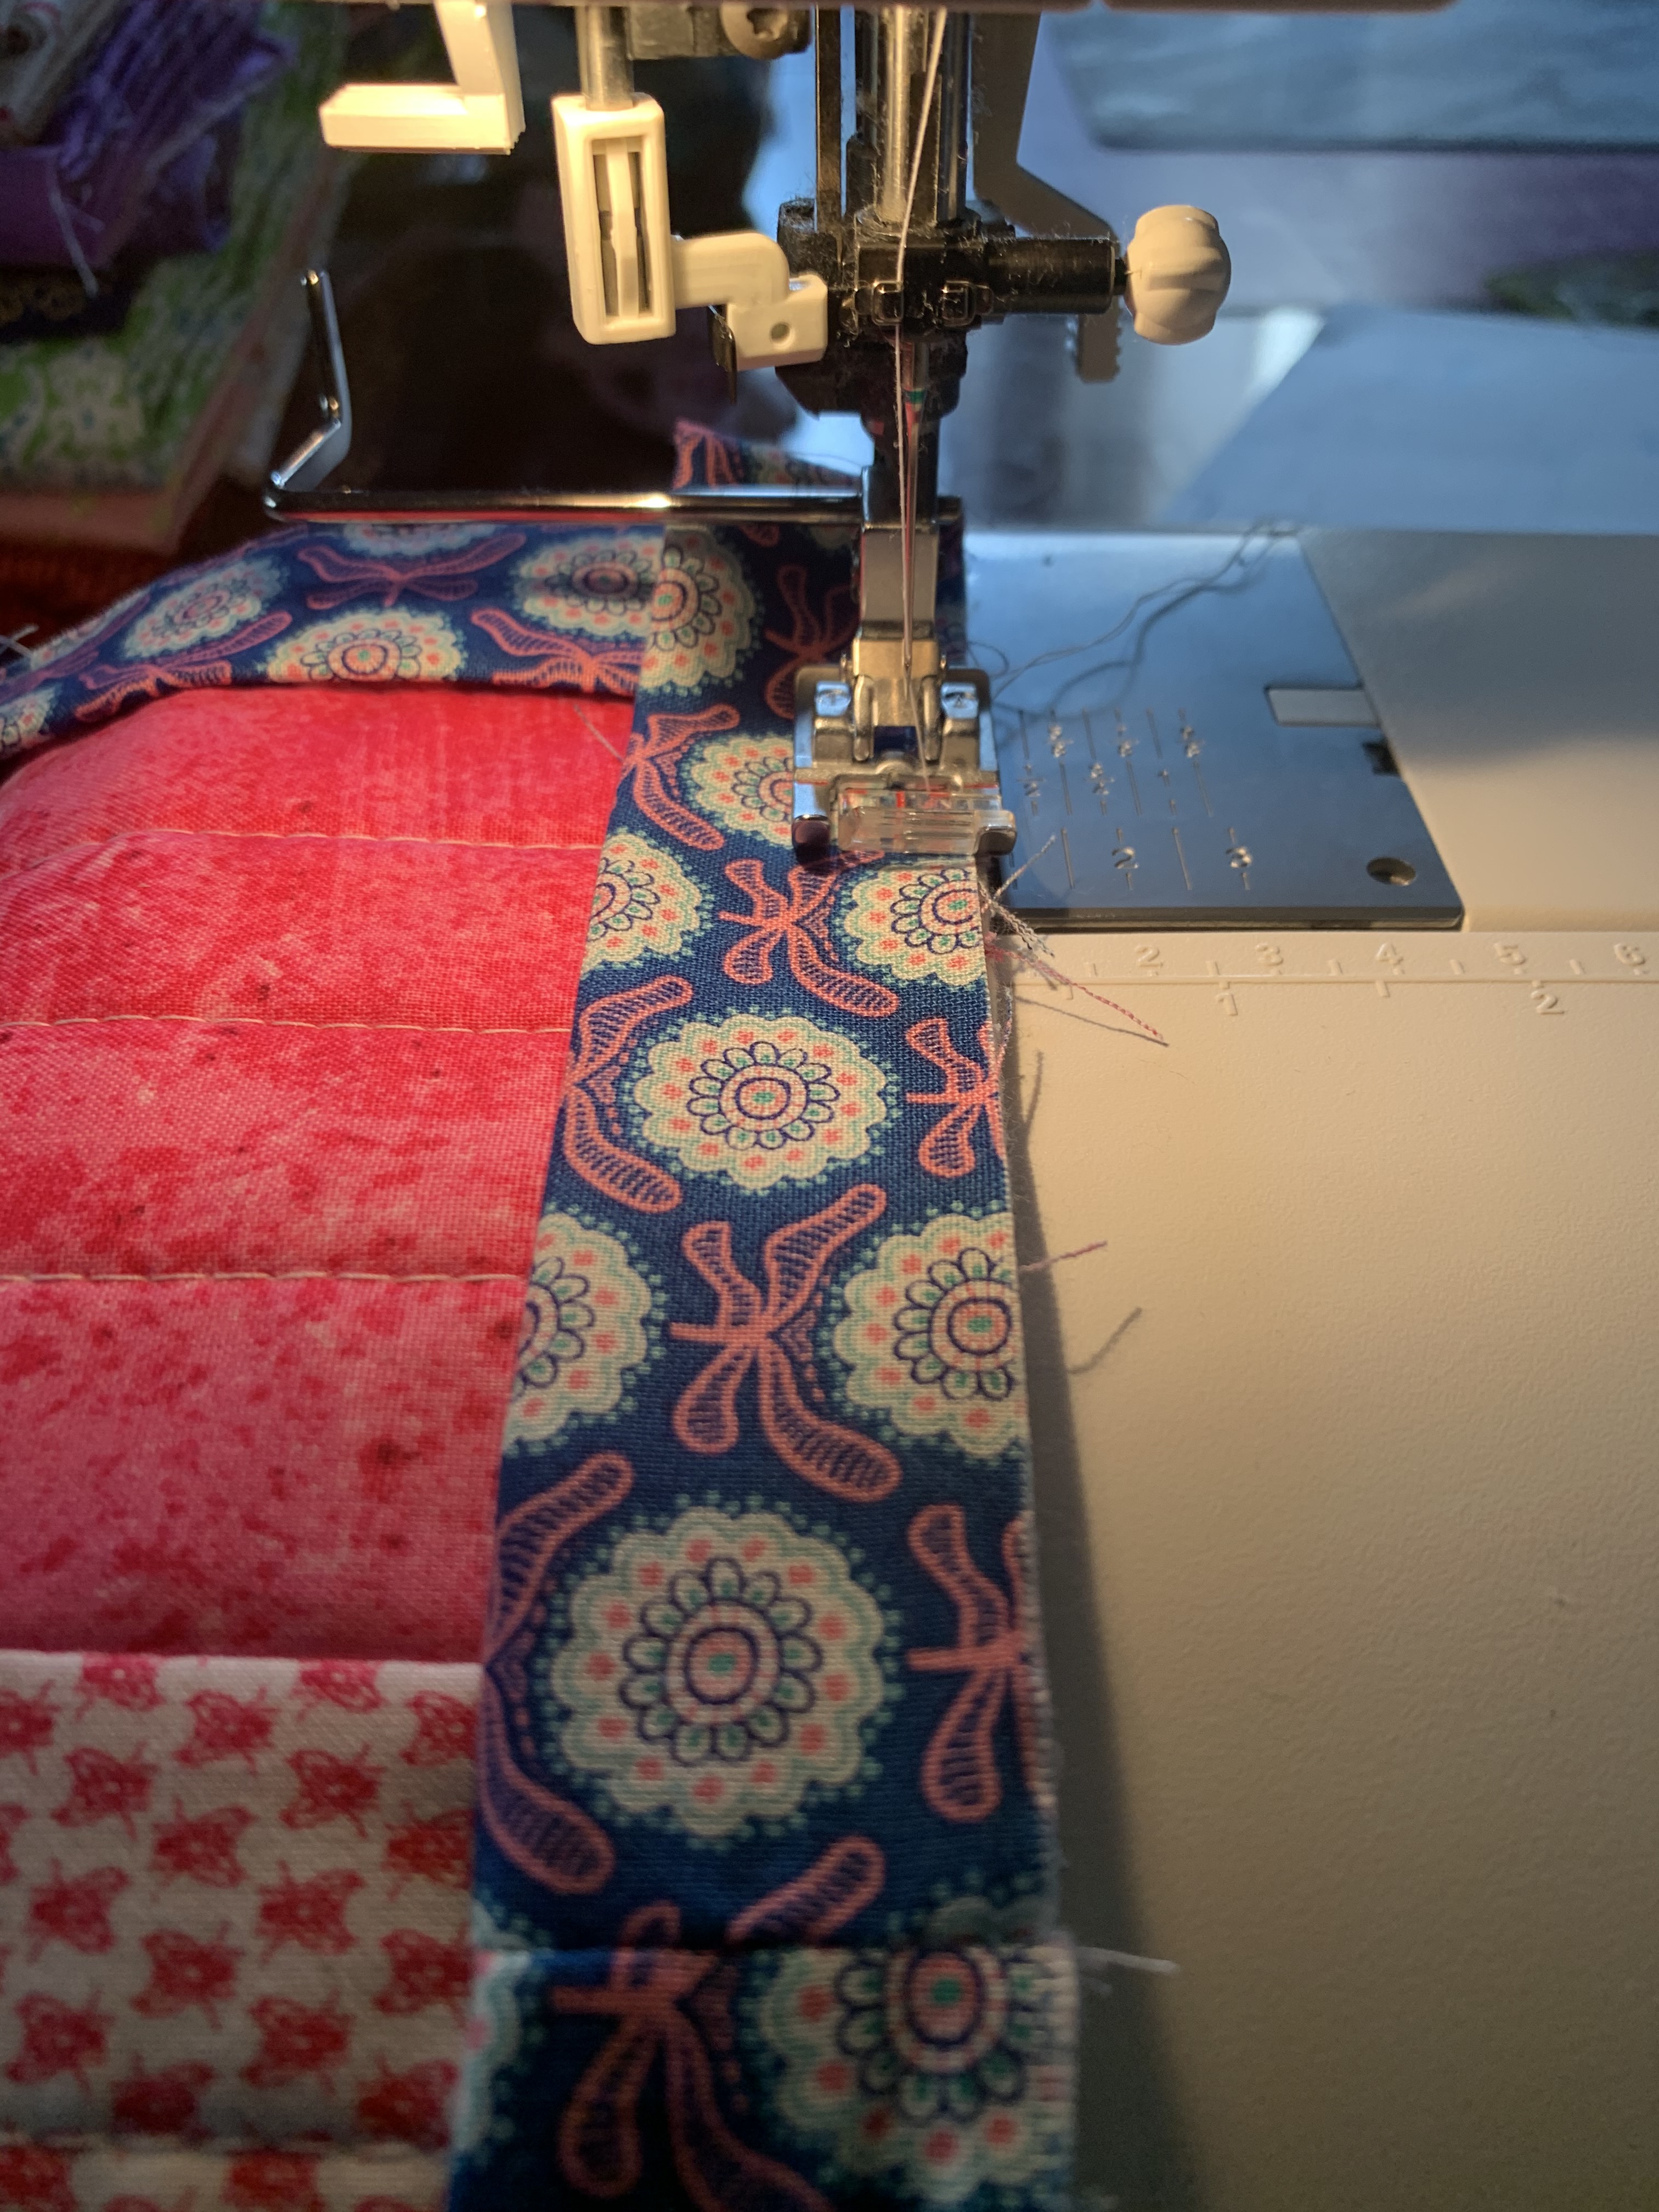
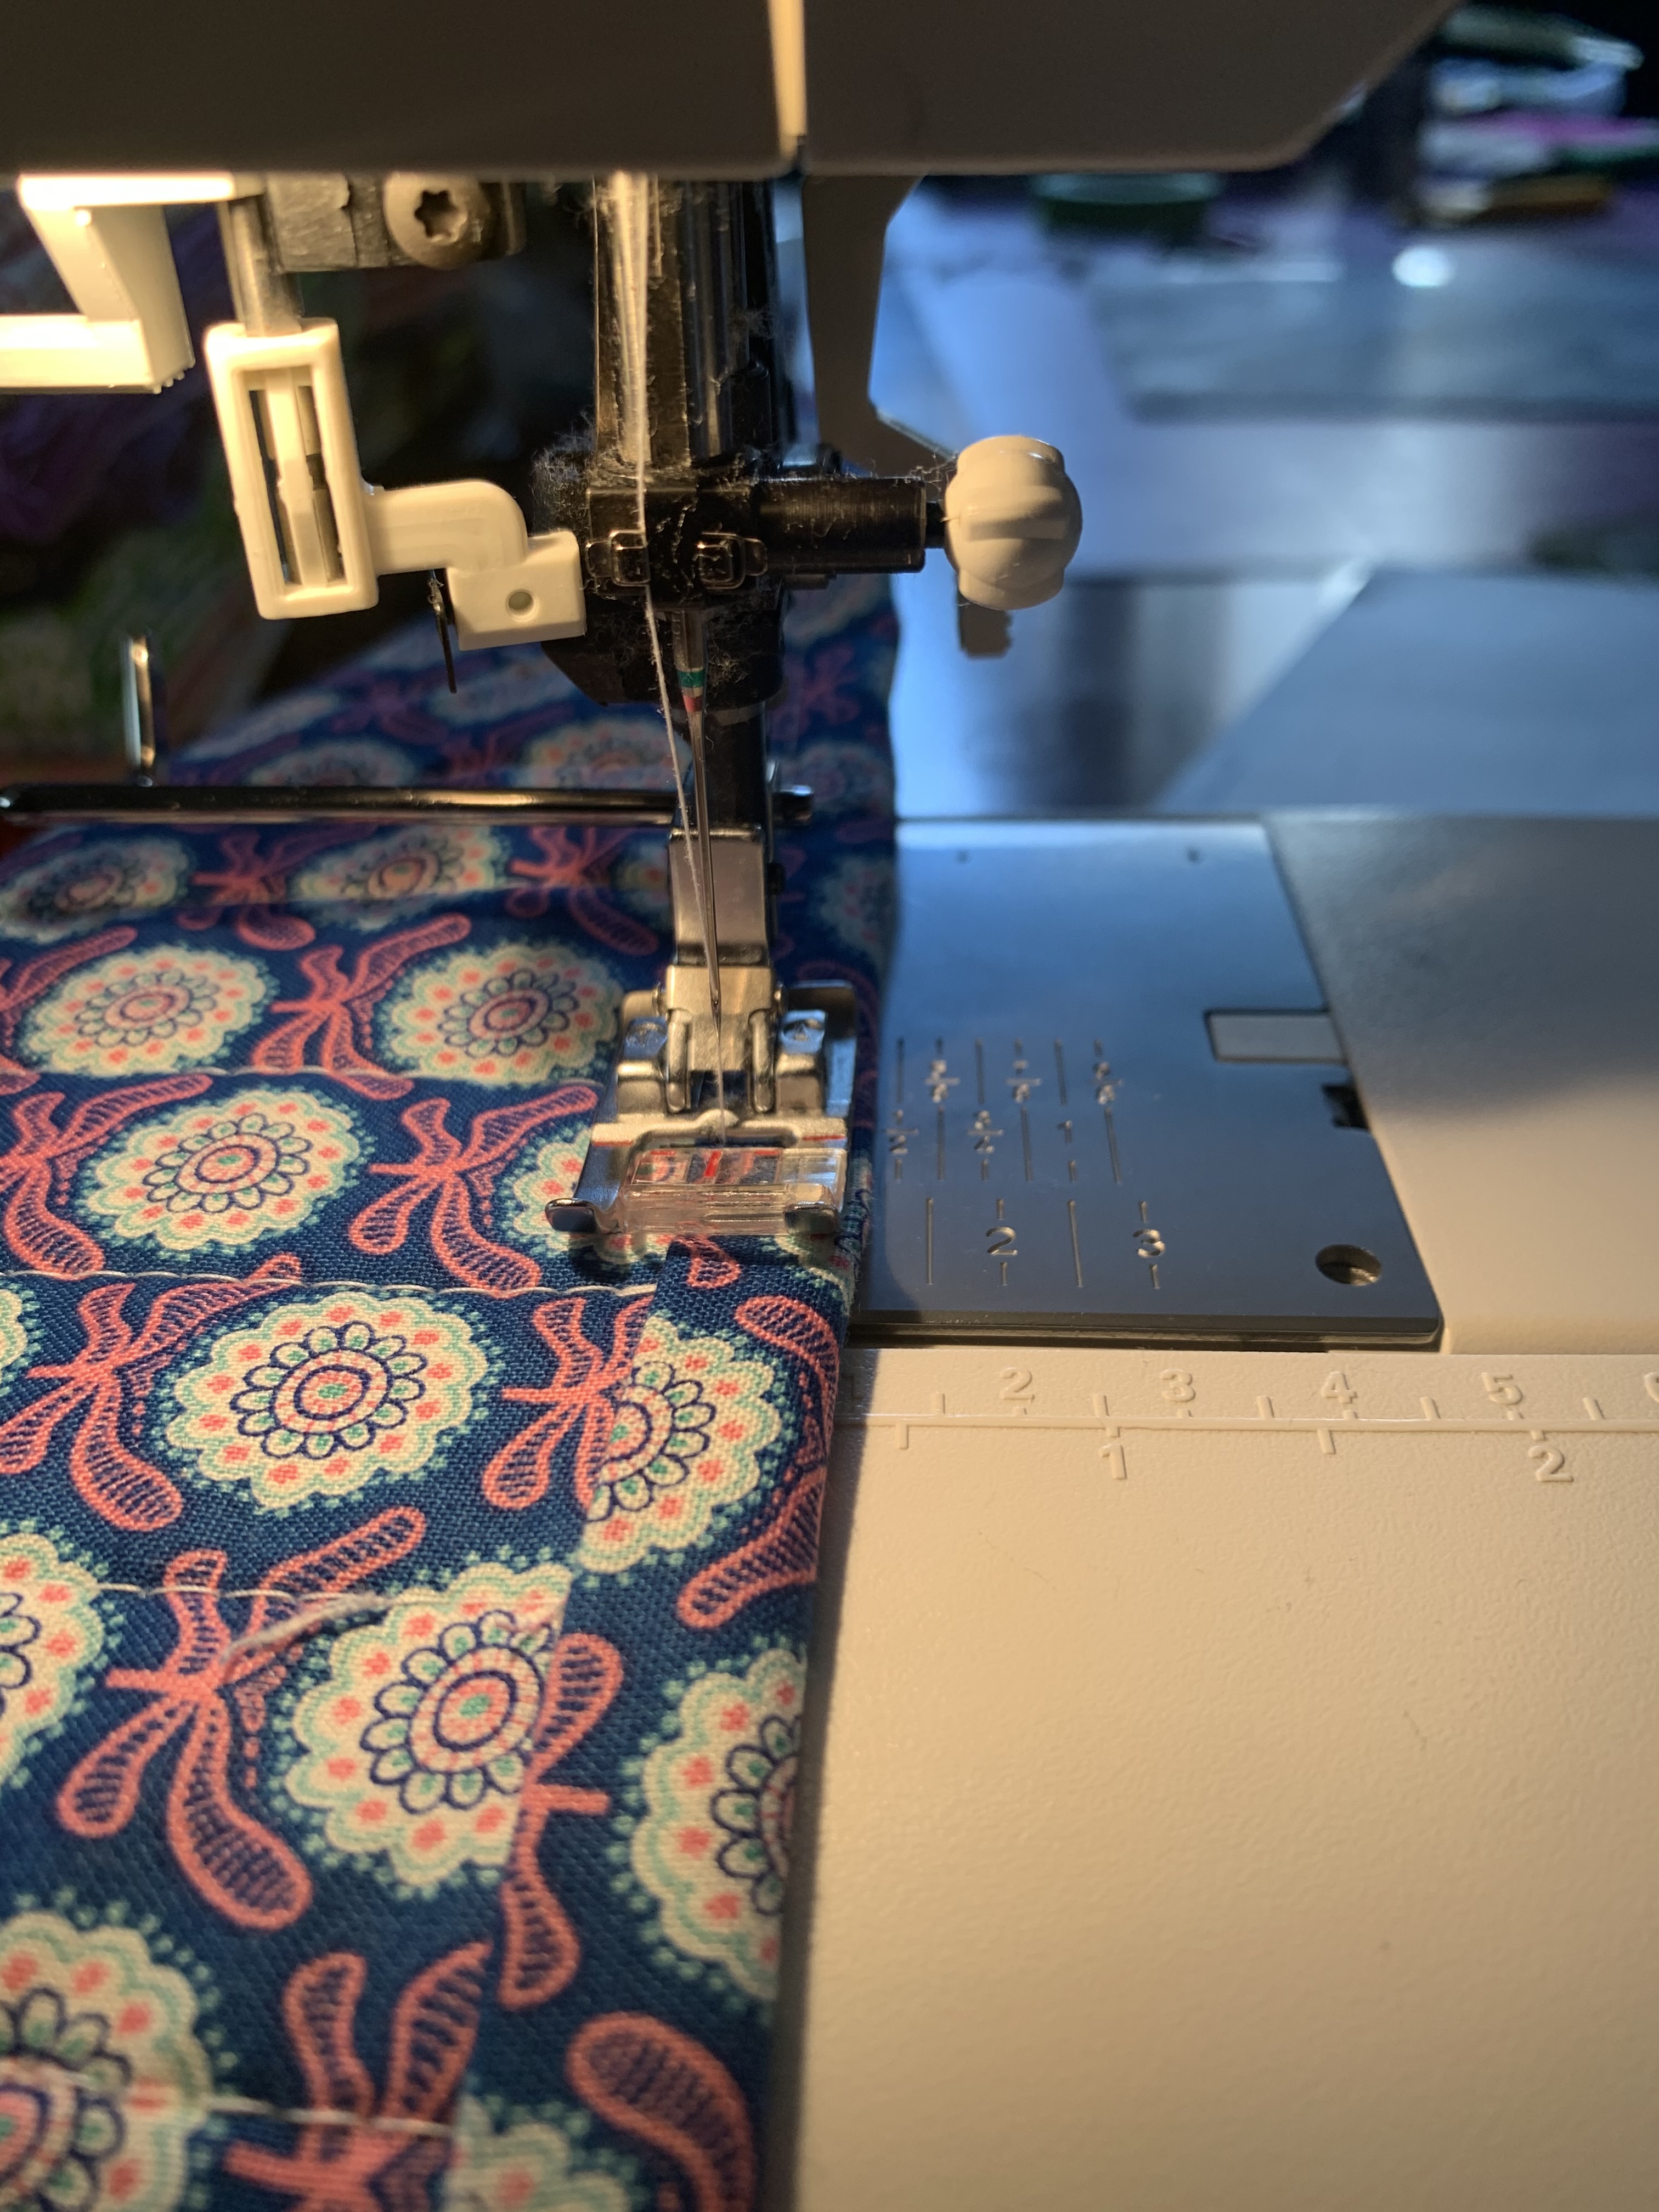
Lay the binding down mid-way on the long edge of your project, placing raw edge to raw edge . Start attaching your binding using a ¼ of an inch . Stop when you are ¼ of an inch away from the end Lift of your pressure foot diagonal and do a little back stitch. About a ¼ inch. Place your needle into the fabric. Now turn your project to the side. Place your finger on the binding and pull the fabric straight up and then back down so that it is in line with the right edge of the fabric. Finger press the fabric. You will have a bit of a flap there.
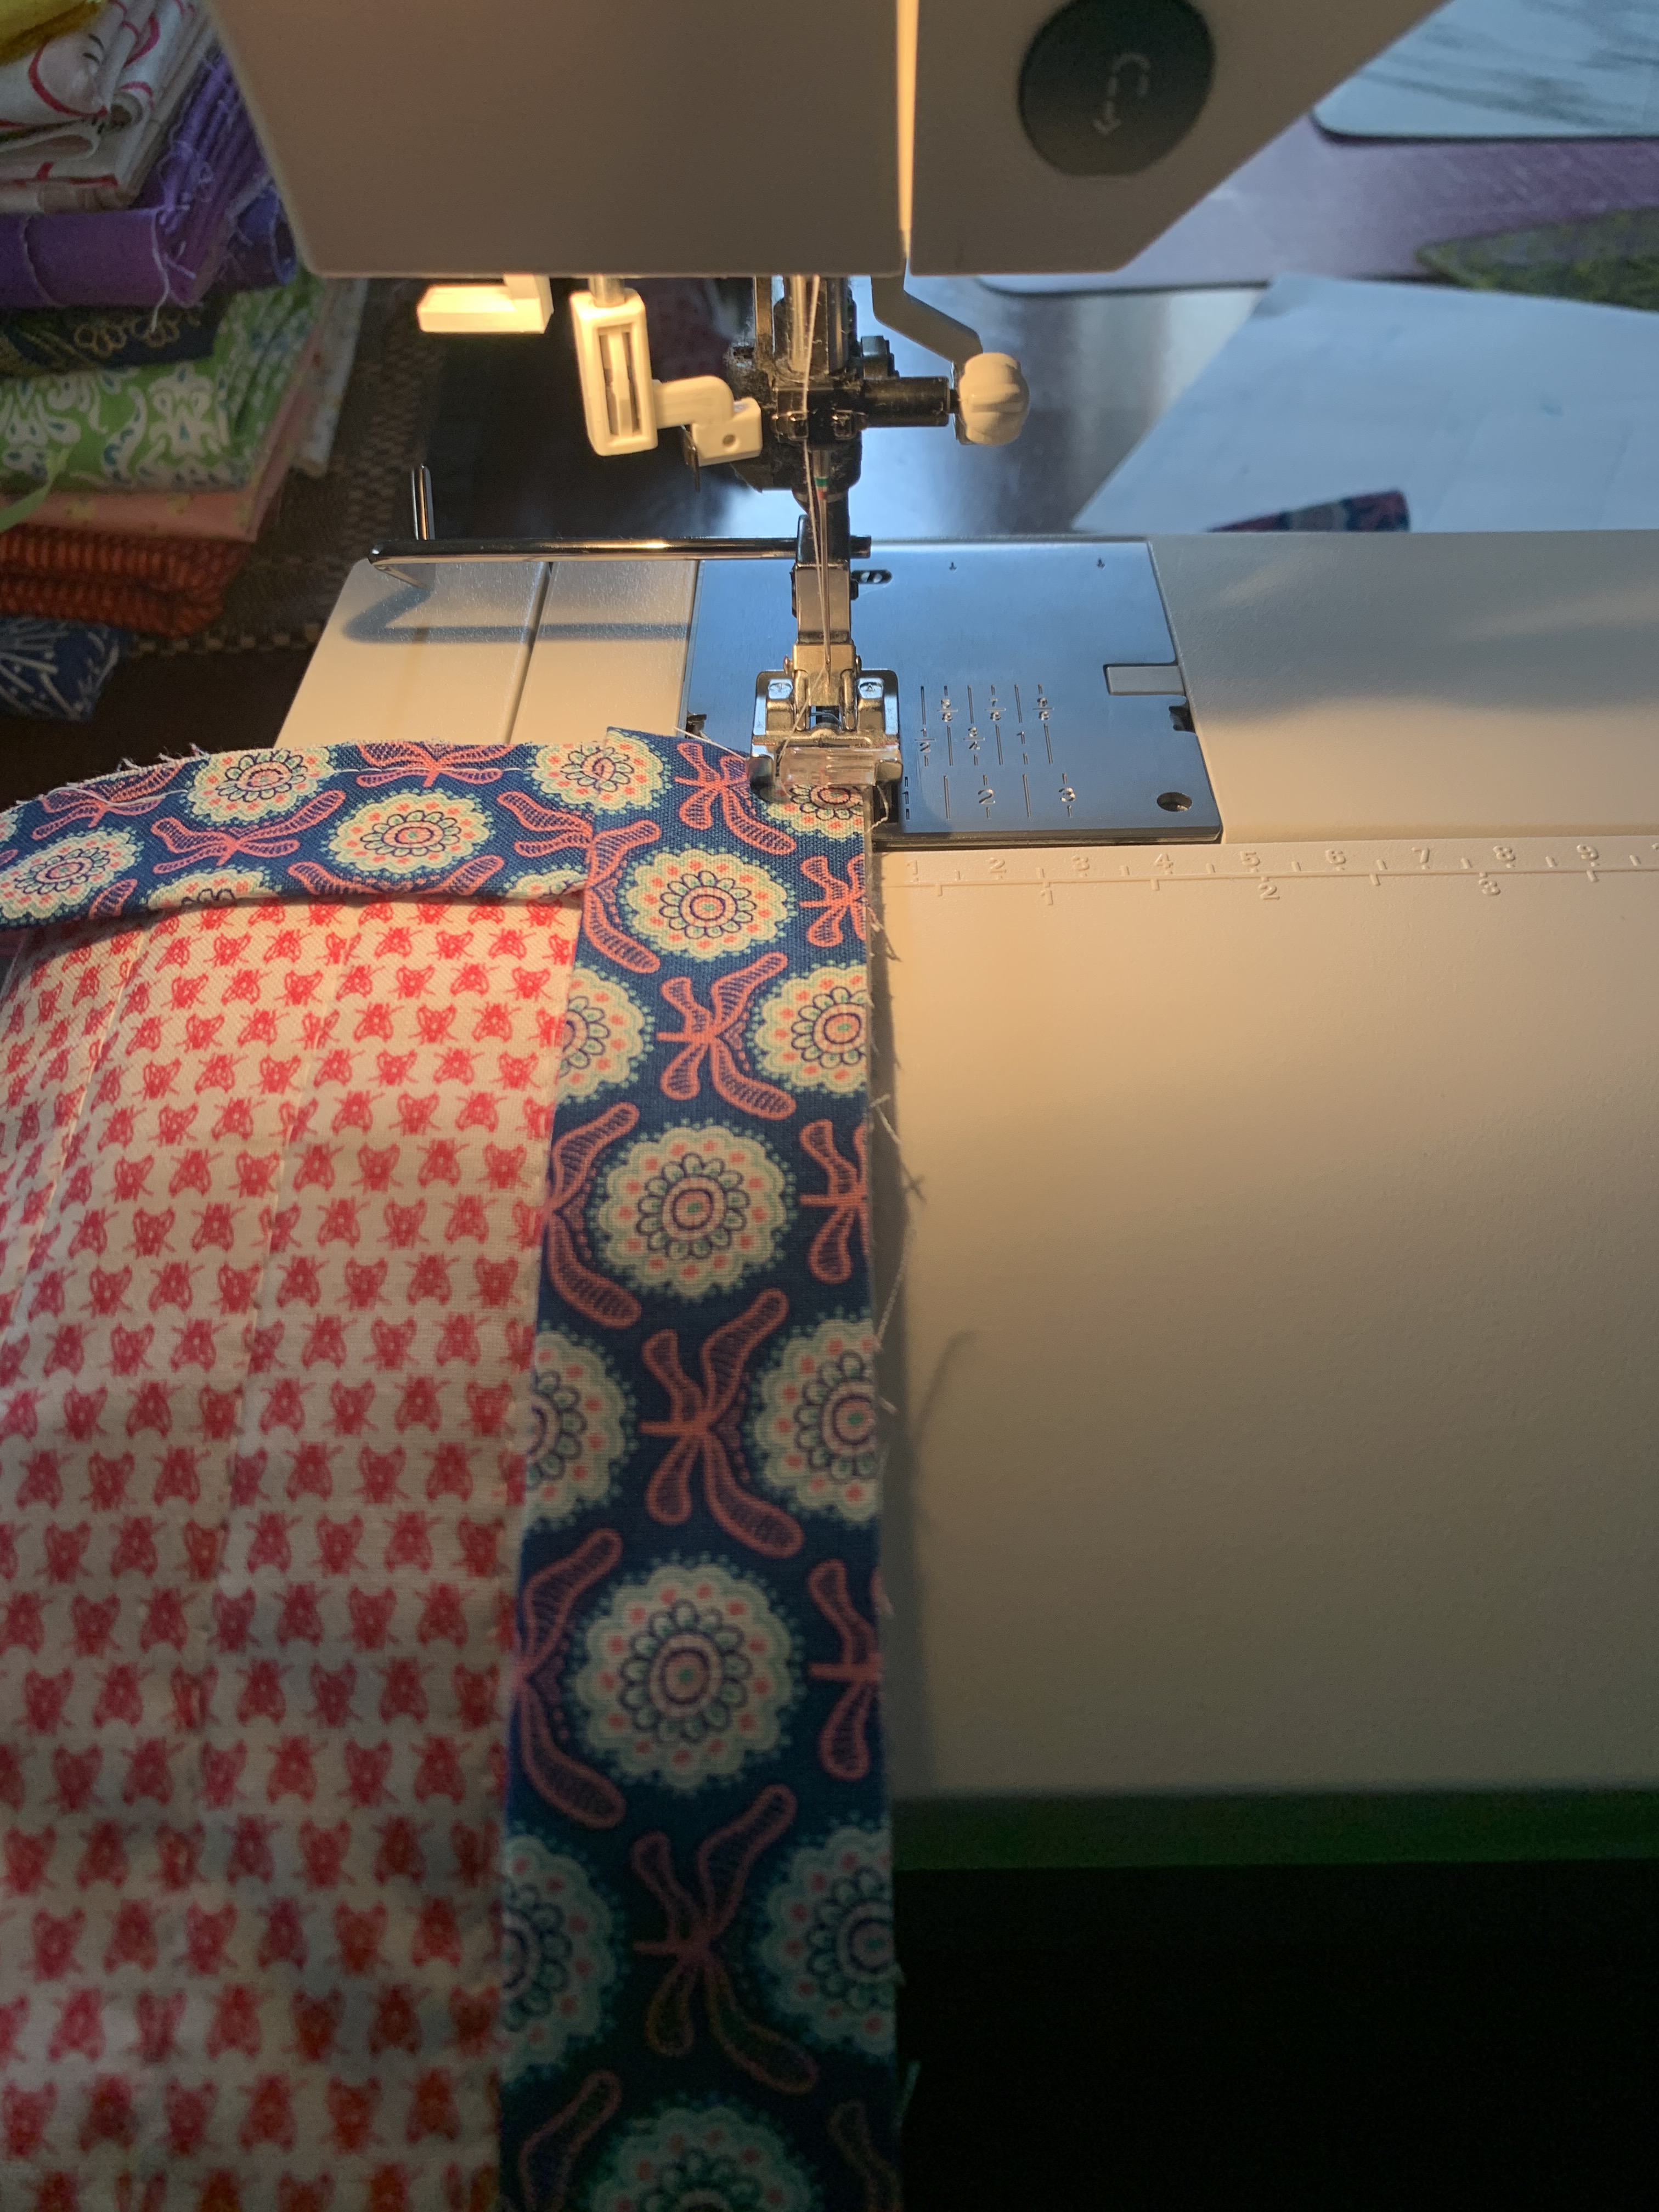
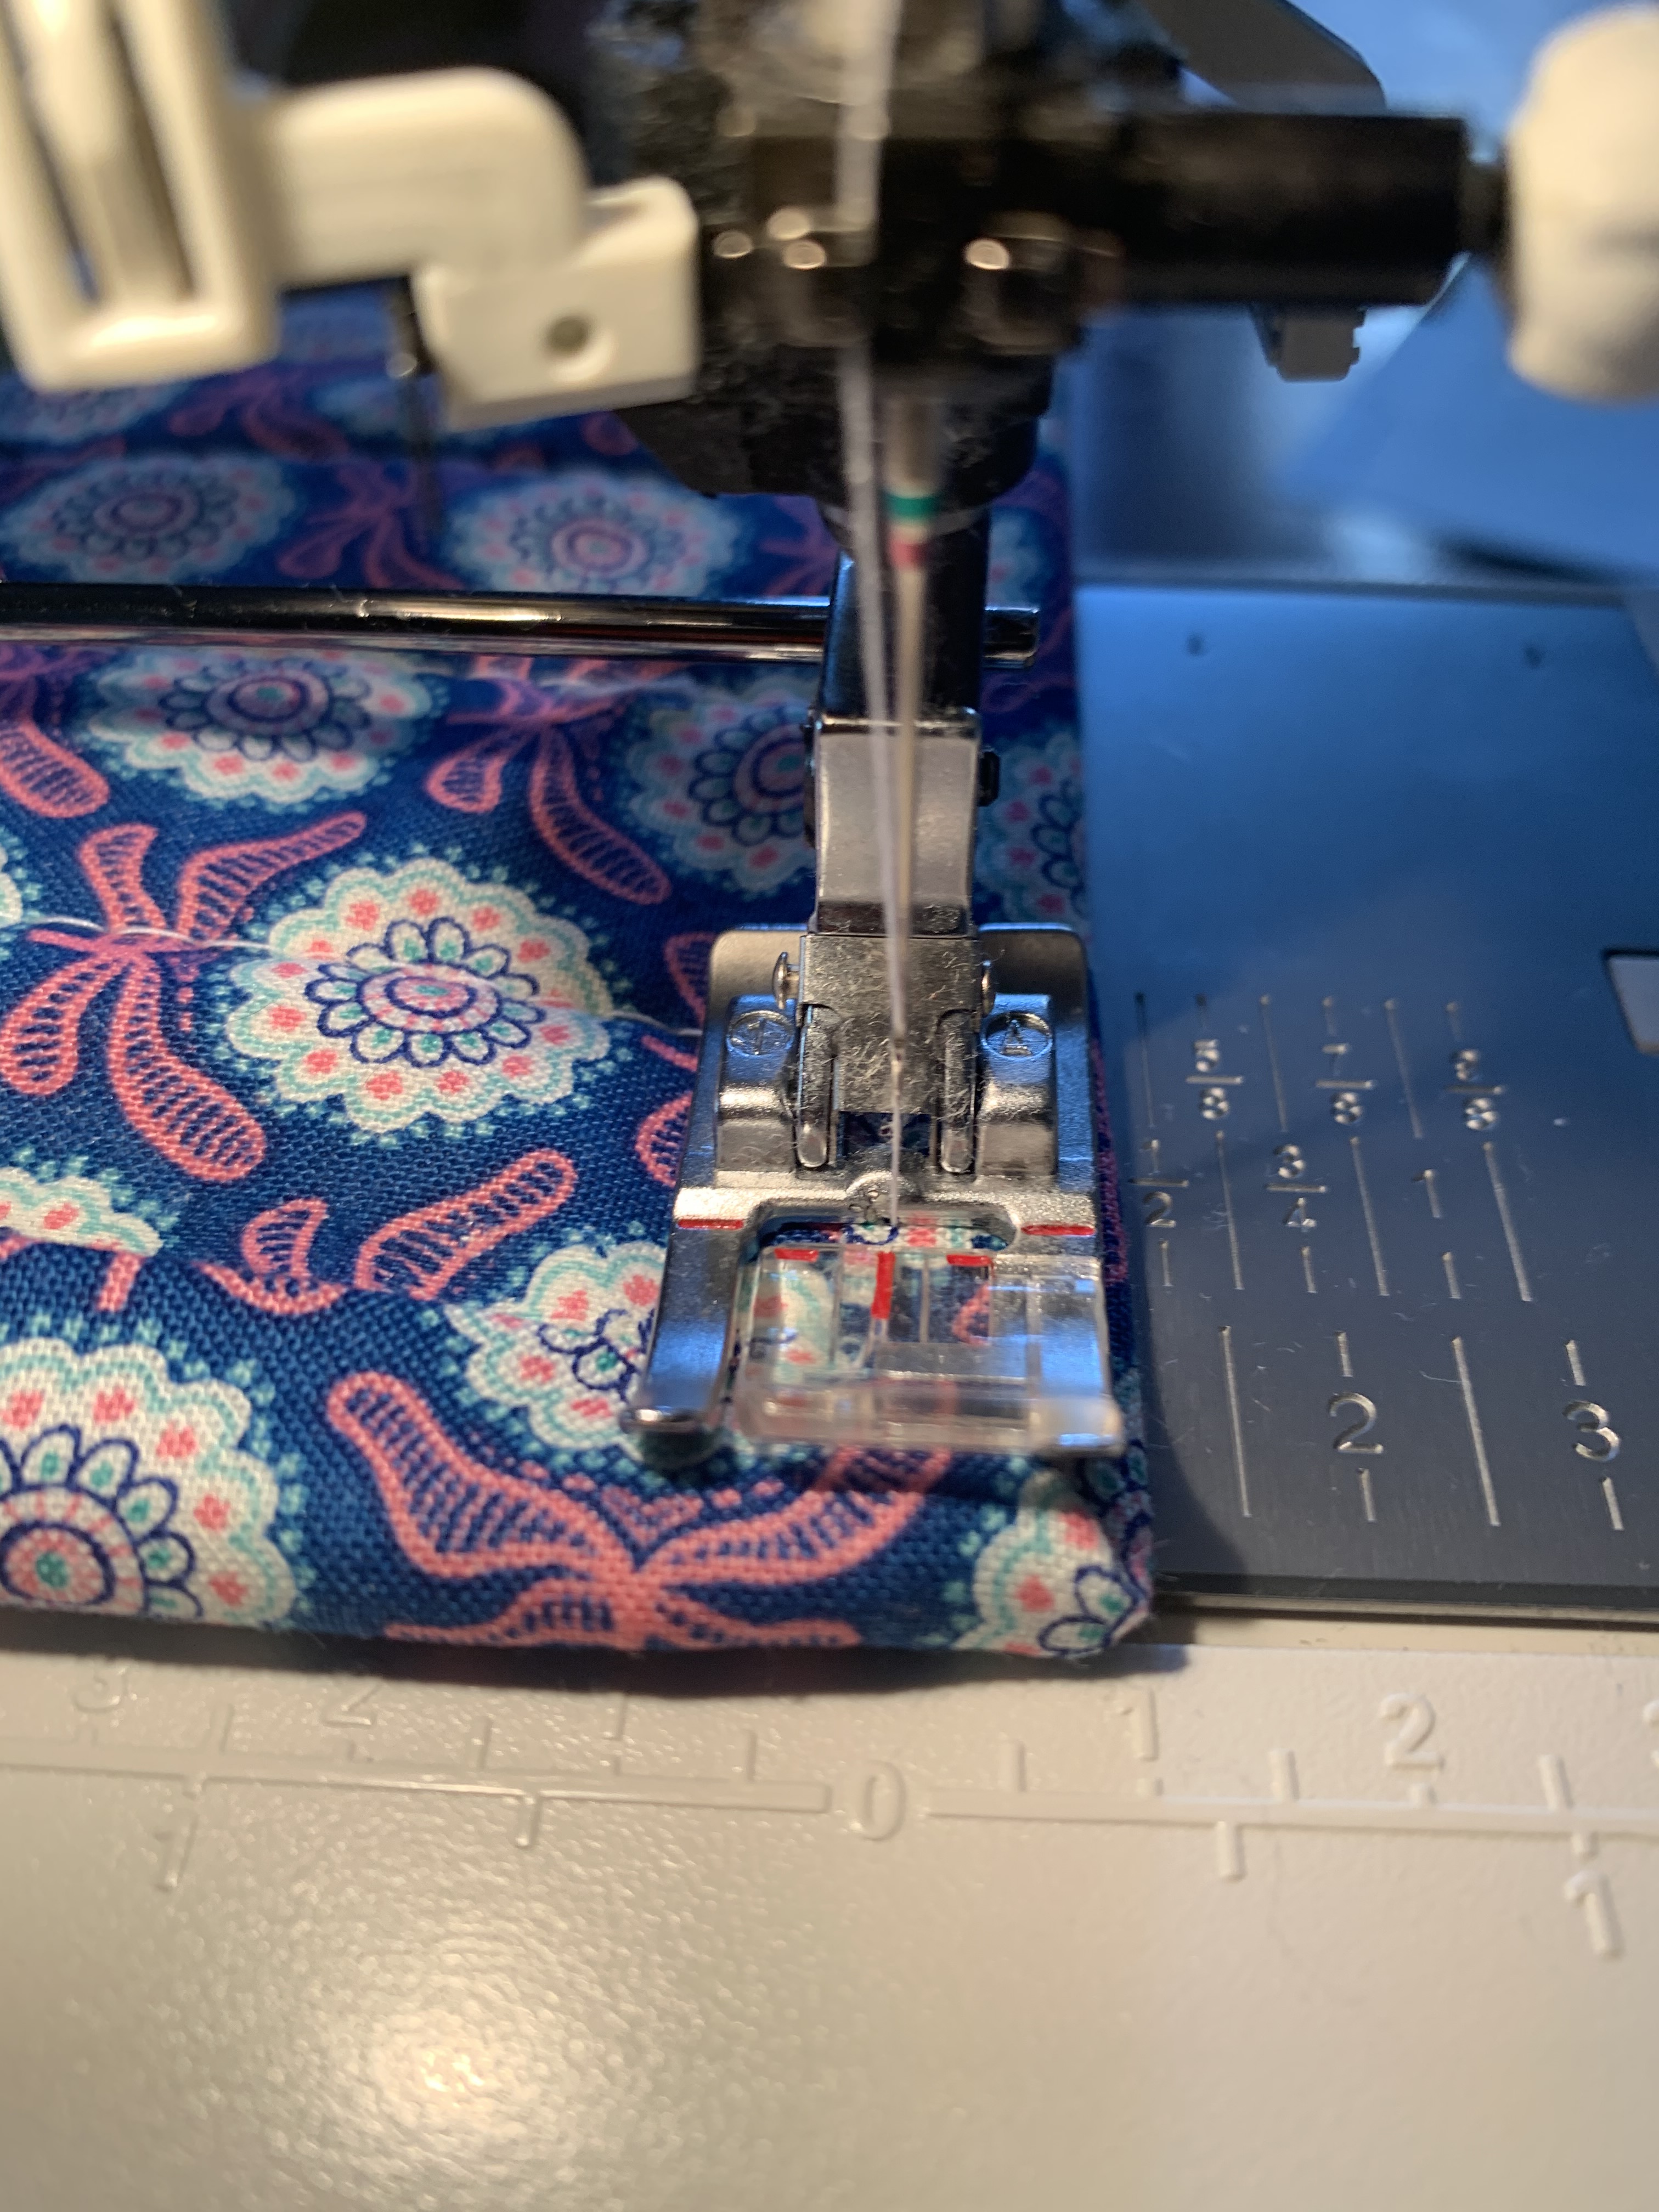
Start sewing again a ¼ inch repeating at every corner
Sew about an inch down from the last corner, back-stich then remove from your sewing machine. You are going to want to trim off the excess binding leaving a quarter in extra. Once you have trimmed off the extra, lay the right sides of the fabric together, laying flat and sew along the edge. Finger press the seam.
Now you an finish attaching the binding to your mug-rug.
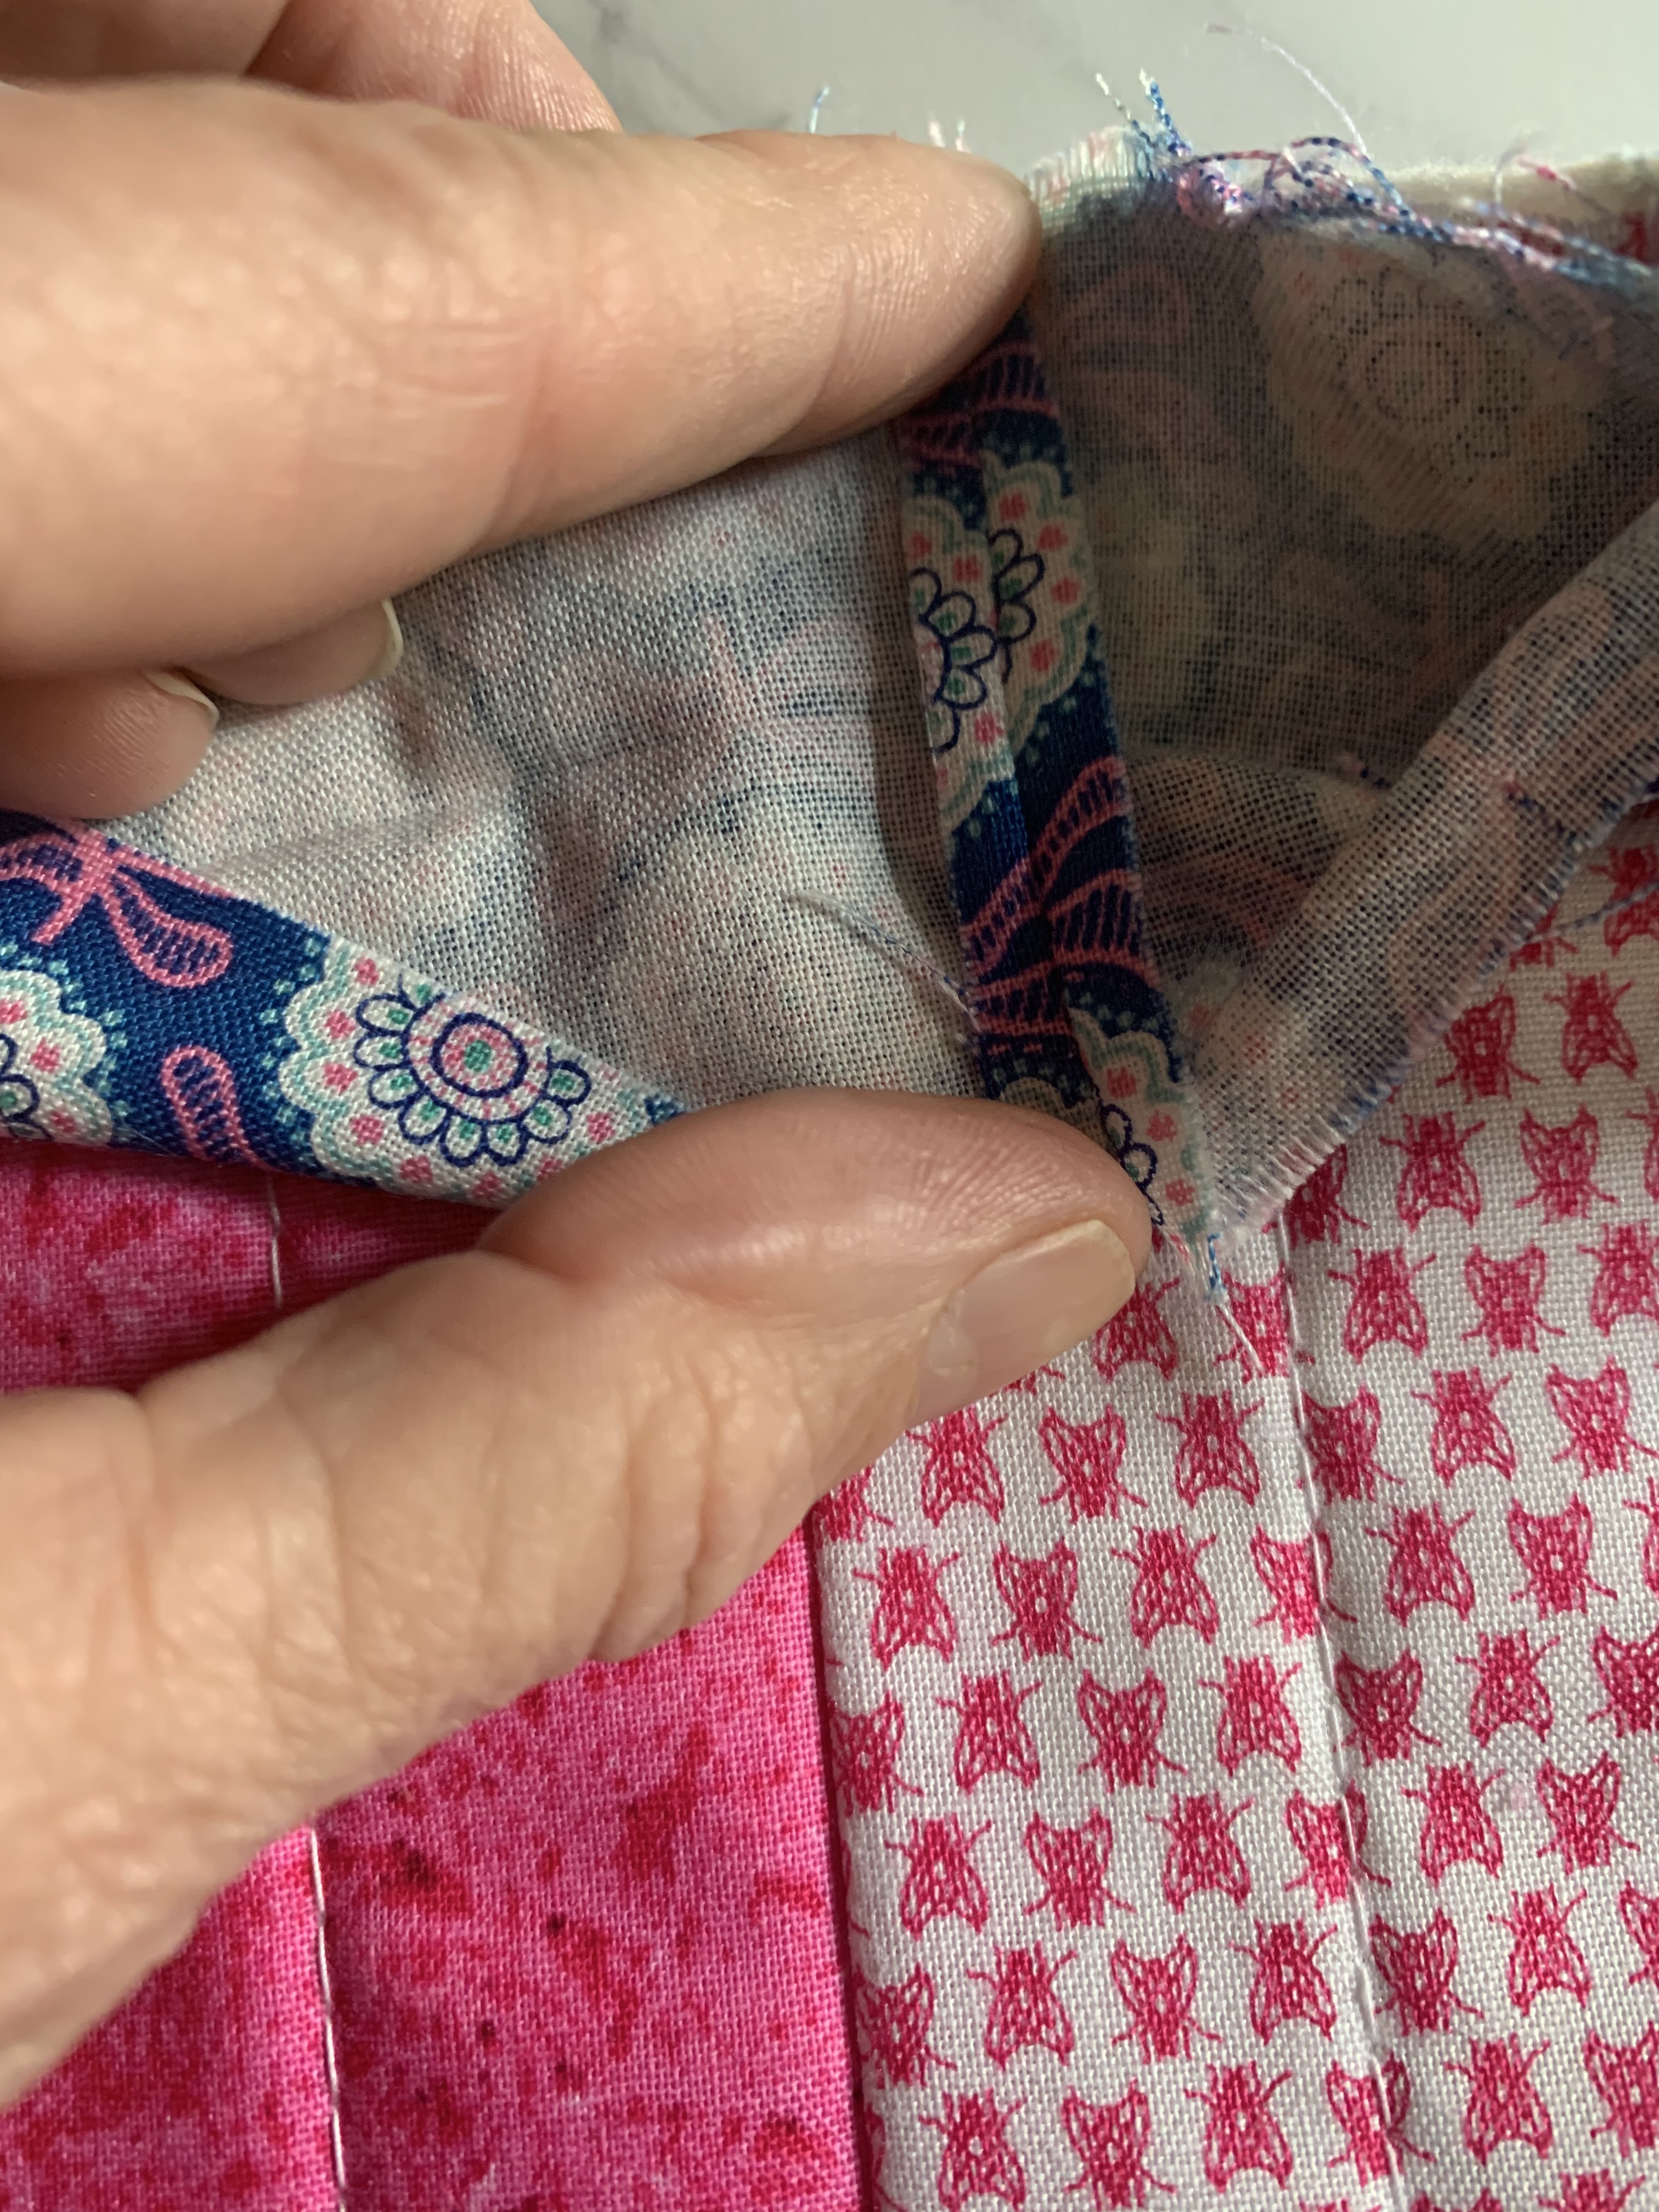
Now flip over your mug-rug and fold over the binding on the back.
You can hand sew the back of the binding using a hem stitch or machine sew.
Pull just so that it is nice a snug on the other side You can feel where the binding is on the opposite side. You just want to stitch right along the inside of that and right on the outside edge of the backside binding to secure it to the front. When you are working on small projects I find it easiest to let the binding lay all the way down then fold the corner all the way up just before you are ready to sew the corner down. Do your best to make these corners line up. Take one stitch into the new side and before turning the corner, with the needle down, lift up the presser foot and turn your fabric. Lower your pressure foot and keep on going until finished!
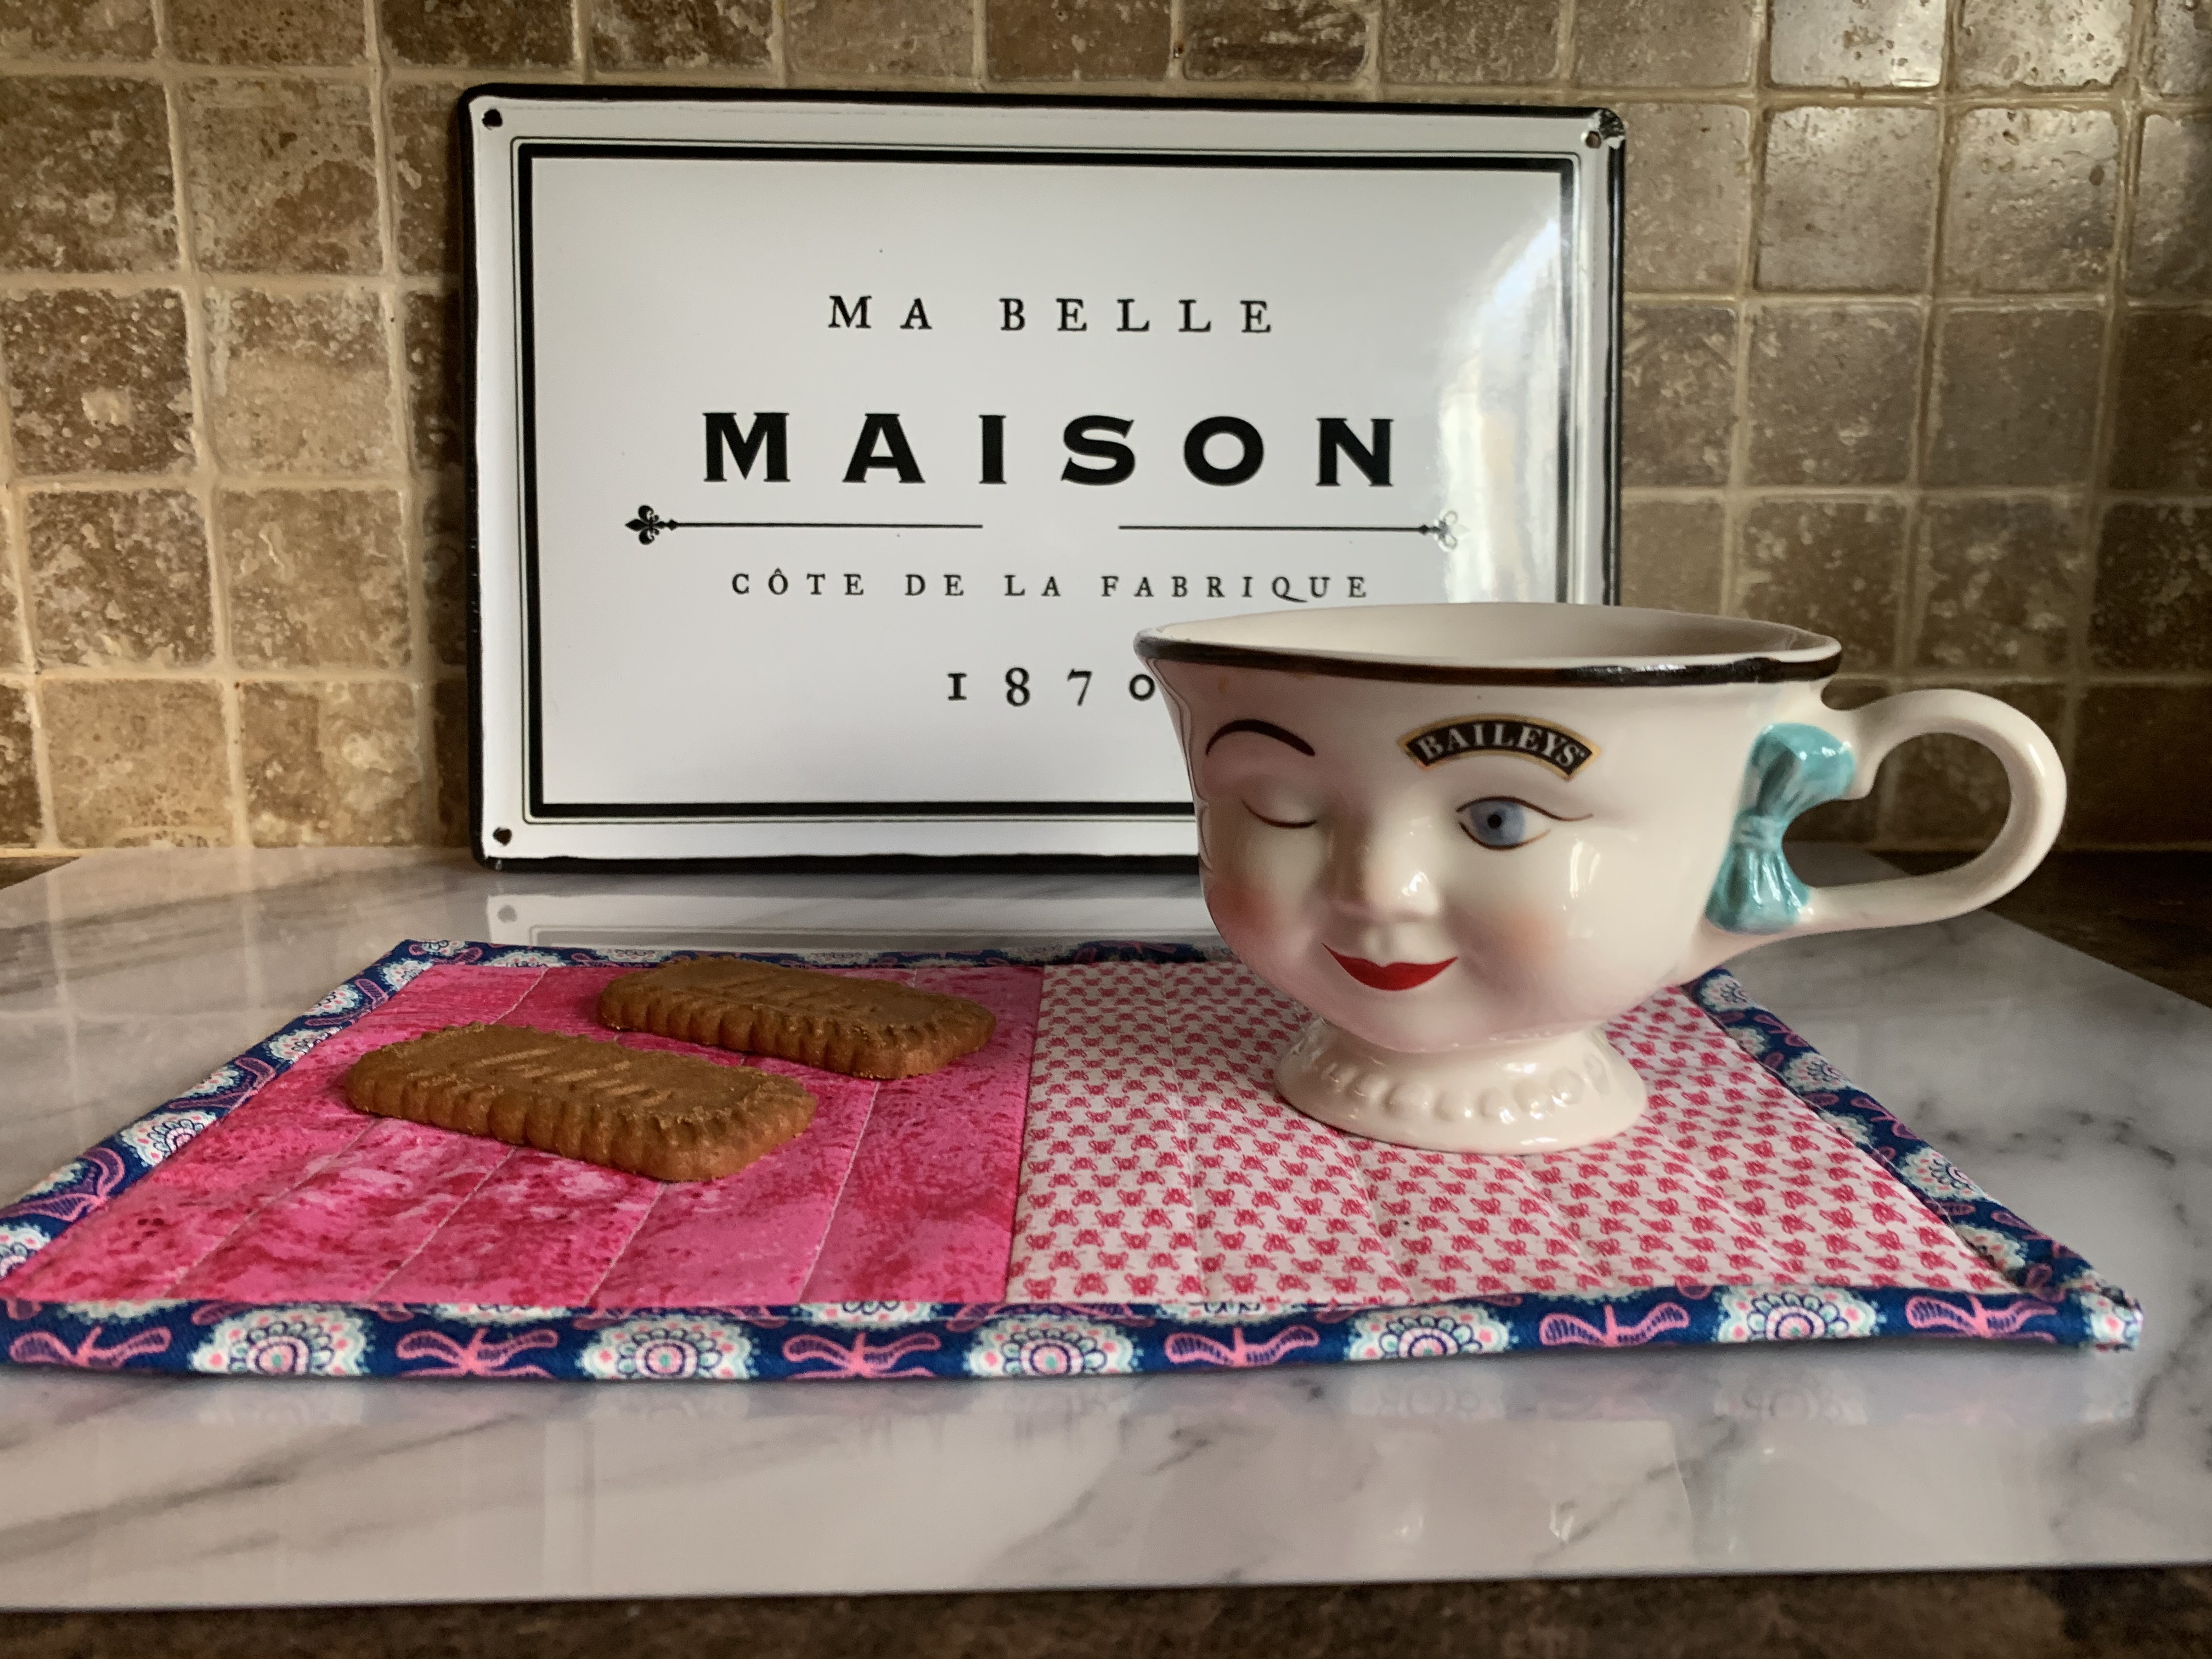
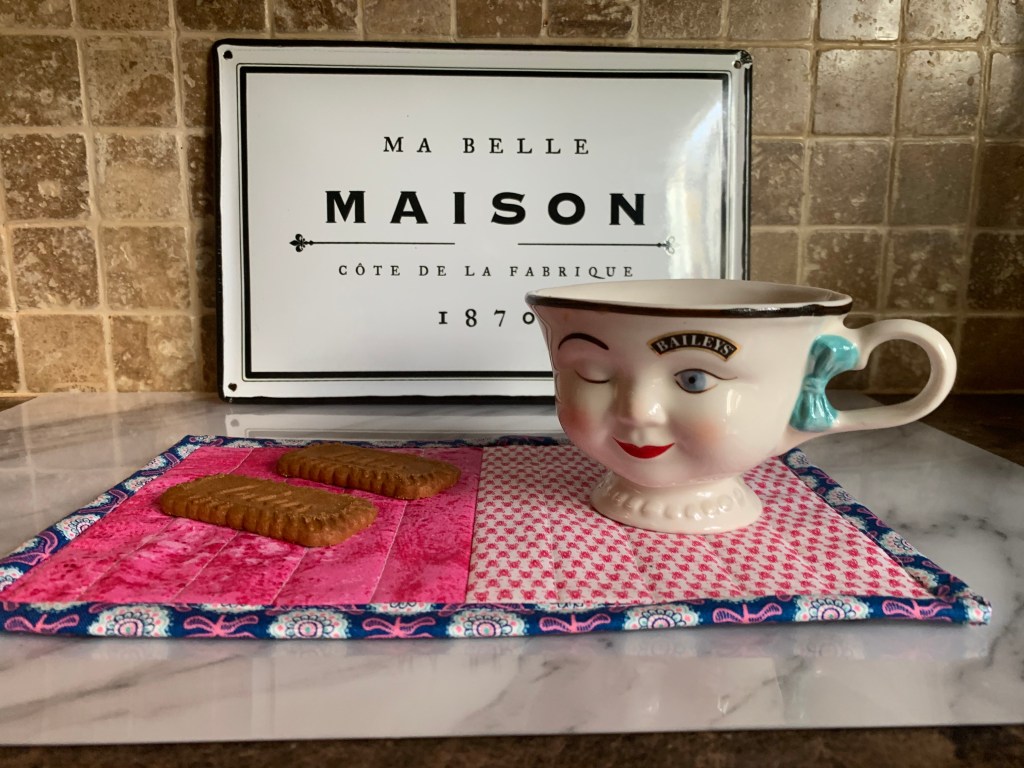
I hope you enjoyed this tutorial ! You can use this same method for coasters and placemats !